Quite often, the Installer or Integrator for the TouchIT Rapide LEDs in a School or a Business has never seen the product. They are the un-sung heroes of the tech world. Integrating the products into their final destination ready for the end-users. In this blog post we aim to give them all the information they need about the product, how it works, what is required etc.
What is the TouchIT Rapide LED?
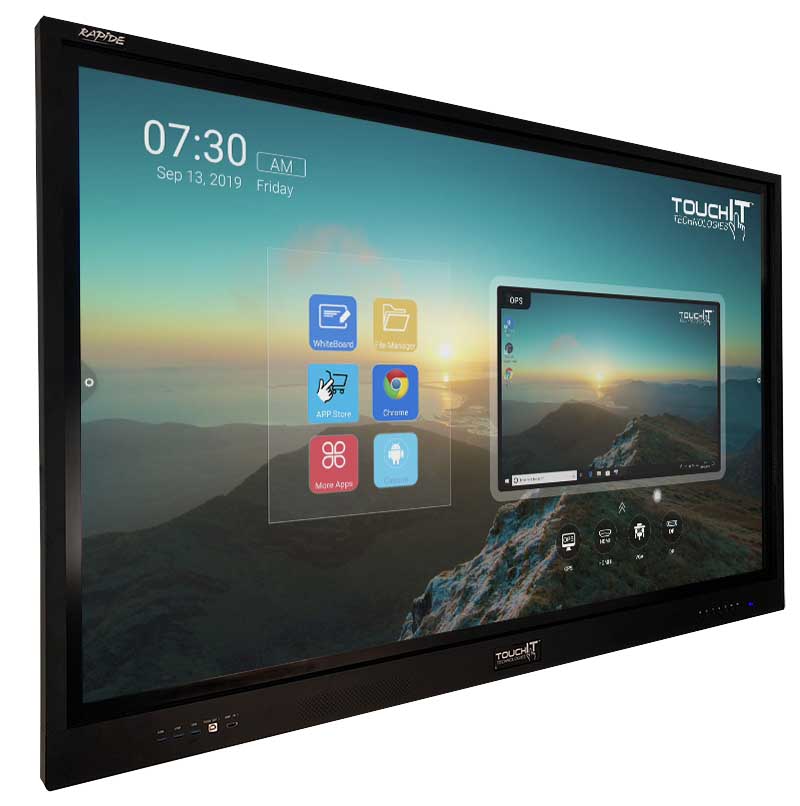
The TouchIT Rapide is the 7th Generation of Interactive Flat Panel from TouchIT Technologies. It is a large robust touch screen that has a built in Android 8.0 operating system. This means the touch screen is able to operate as a standalone machine. Think of a large tablet that you can hang on a wall. The LEDs themselves come in 4 different sizes, 65″, 75″, 86″ and 100″. All of the Rapide LEDs come with their own wall mount bracket and hardware in the box.
Unpacking the Product
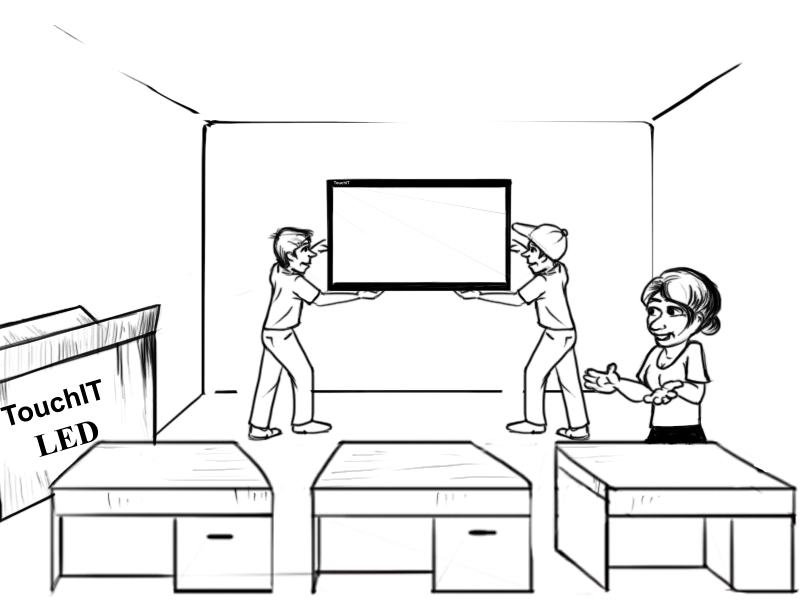
All TouchIT LEDs should be delivered palletized as that is how they leave our warehouse. When you first receive the box, make sure you remove any shrink wrap, then remove the white plastic lugs at the button of the carton. This will then enable you to remove the outer carton to reveal the LED sitting inside the base. Be careful to then remove the brown box with the wall mount in (it is heavier than you think) and then remove the accessories brown box and put that to one side. You will need the remote control, batteries and the WIFI dongle from inside that box later.
Next, you will need to remove the outer film on the LED to reveal the handles. You should then be able to lift the LED out of the foam corner pieces. It is always a good idea to leave the LED stood in the base and bottom foam corner pieces until you are ready to mount the unit.
What are the Mounting Options?
As we have explained, the Rapide LEDs come with their own wall mount and hardware. You may need additional hardware to fix the wall mount to the walls depending on what you client has in their school or office. I am sure at this point your client will have already chosen how they want to mount the Rapide LED, but as a company we offer the full BalanceBox range of products. These are height adjustable stands and rolling carts. If you need more information on these you can find it on their website here.
What are the Power Requirements?
The Power Requirements are pretty straight forward for the TouchIT Rapide LEDs. They just need a regular 110V (USA) outlet. Other than this, there are no special requirements for Power.
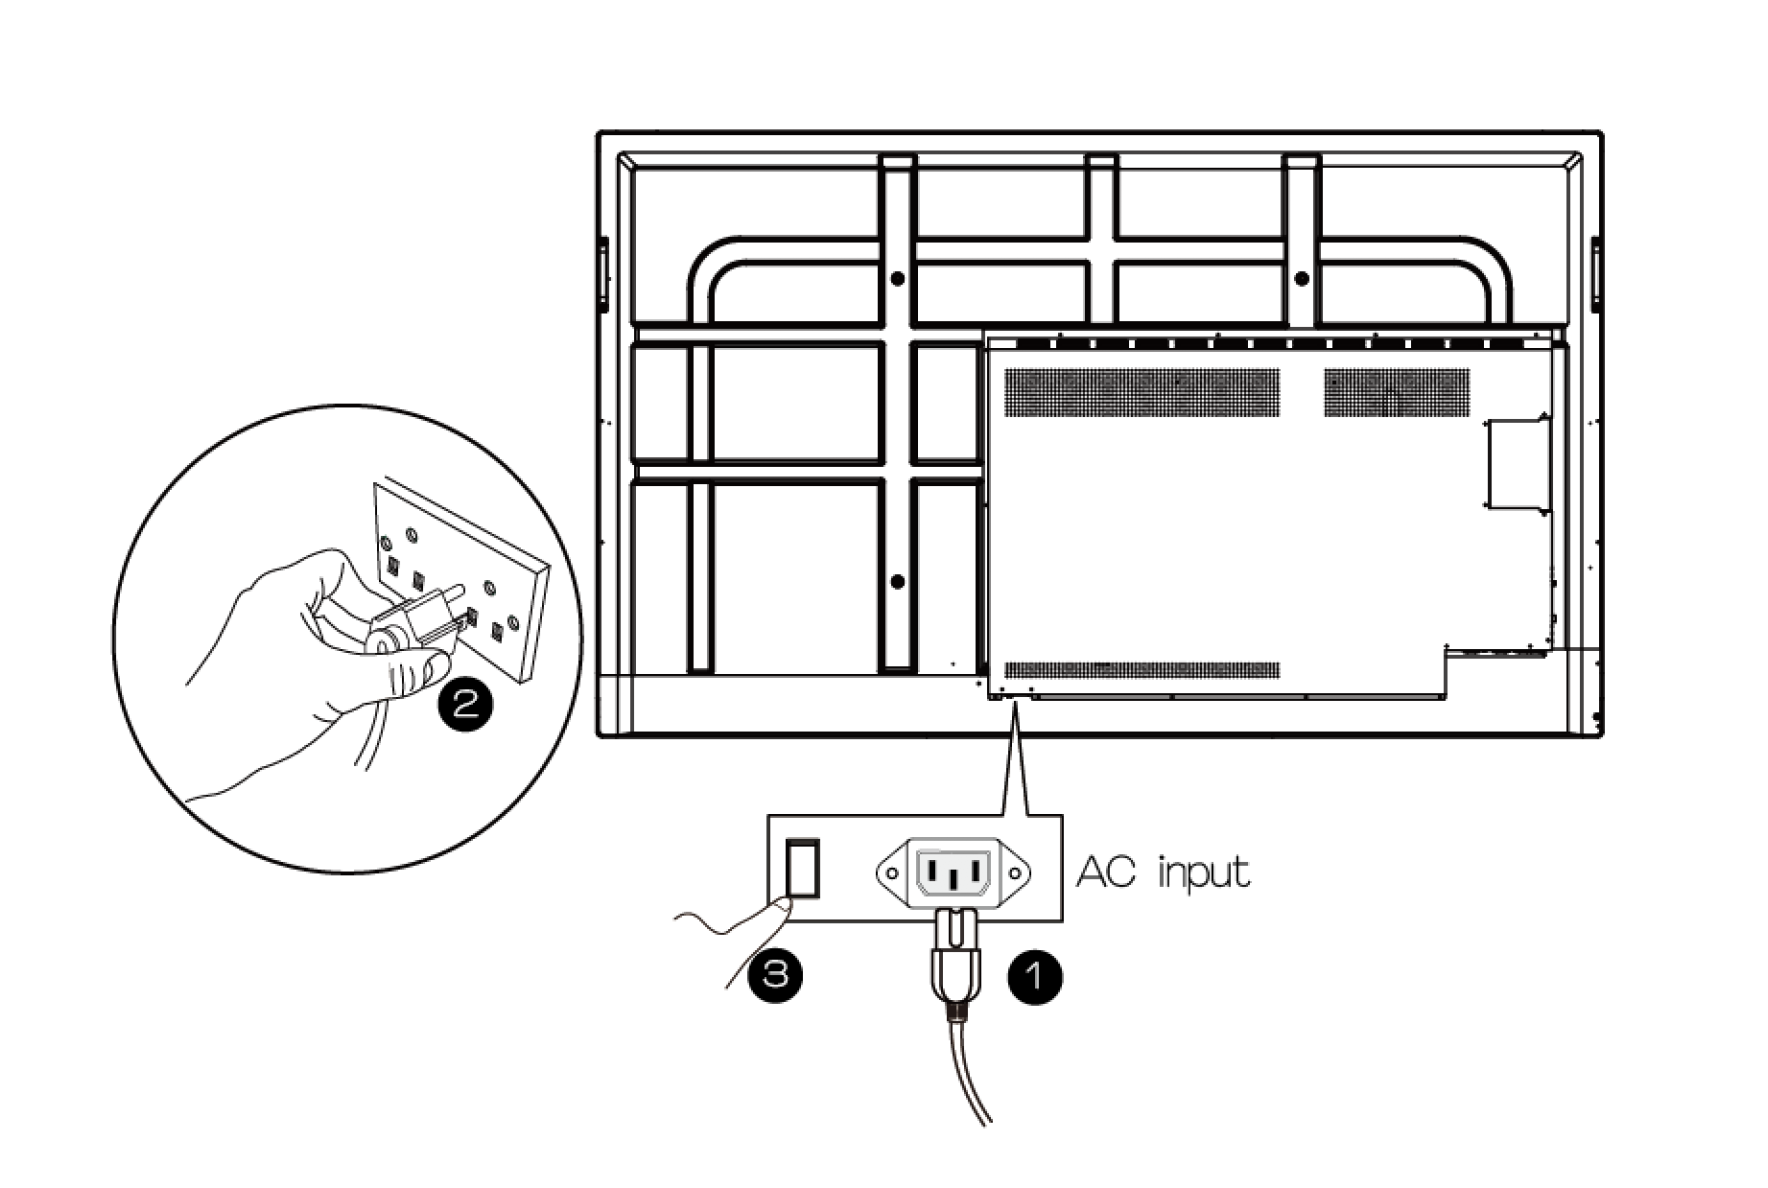
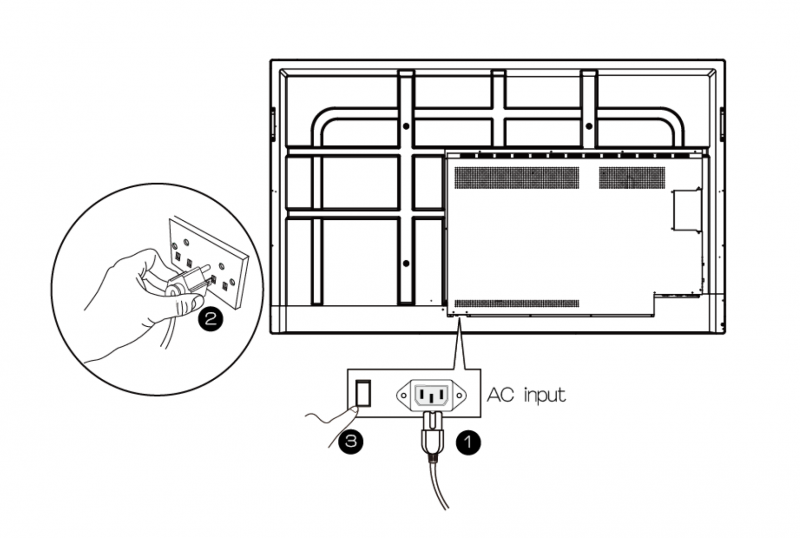
First, you need to connect one end of the supplied AC Power Cord to an Outlet, and the other end to the right hand side of the LED (as you look at it). Switch on the power at the AC socket, then switch on the rocker switch on the right hand side of the LED next to your AC cable
What are the Cabling Requirements?
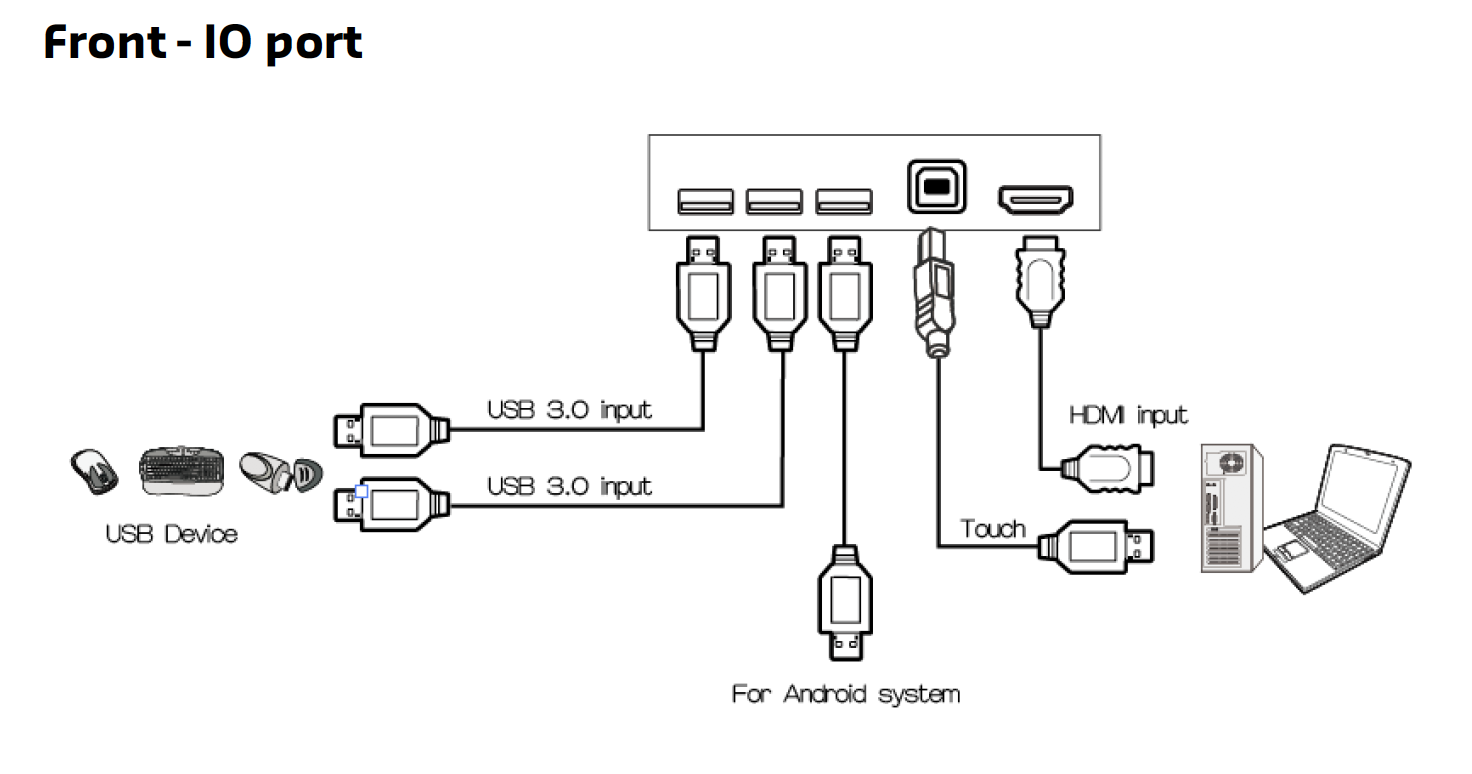
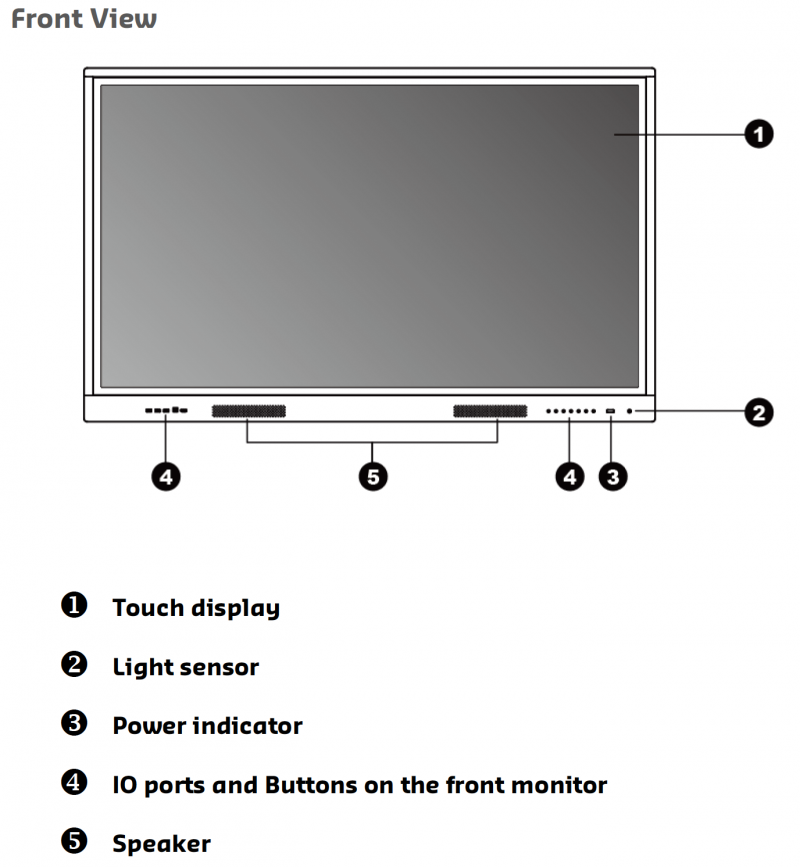
Outside of the power cord, there are no specific cables that are required for direct operation. The only additional cables (that are included in the accessories box) are a HDMI cable and a USB cord. These are so you can connect an external computer to the LED. The HDMI cable gives you the image and the sound and the USB cable gives you the touch. The inputs can be found on the rear and the front of the LED – we recommend the from inputs on the LED for convenience. Simple plug both these cables in (just one and it will not work, you need both) and then change the source on the LED (use the remote, front control buttons or the swipe menu) and you should see and be able to control your computer.
What are the Networking Requirements?
To get the most out of your TouchIT Rapide LED, we recommend that you do connect the unit to your network. This can either be wired (RJ45 Ethernet) or wireless WIFI (2.4ghz or 5ghz). In order to connect the unit to WIFI, you will need the wifi dongle that is in the package. You should then follow these instructions to turn on and connect to the wireless connection. If you are using a wired connection and DHCP, you can simply connect the cable and turn on the network connection in settings and the unit will connect.
Do I need to update the Firmware?
Technically, no, you don’t need to update the firmware. However, it is certainly good practise to do so. We are always improving the software on the unit and firmware is how we make these updates. Due to transit times from when the units leave the factory to our warehouse in the USA, and then onto the customer, the chances are that we have released a new firmware update with improvements. It is a quick process, less than 10 minutes and you will just need a USB key to do this. Instructions on how to update the firmware can be found here.
How do I connect to a Computer?
Simple, you need two cables. A USB Cable and a HDMI Cable.
 USB Cable For Touch
Plug one end of the USB (B type) cable to the TouchIT Rapide LED and the other end USB (A type) connector to your computer.
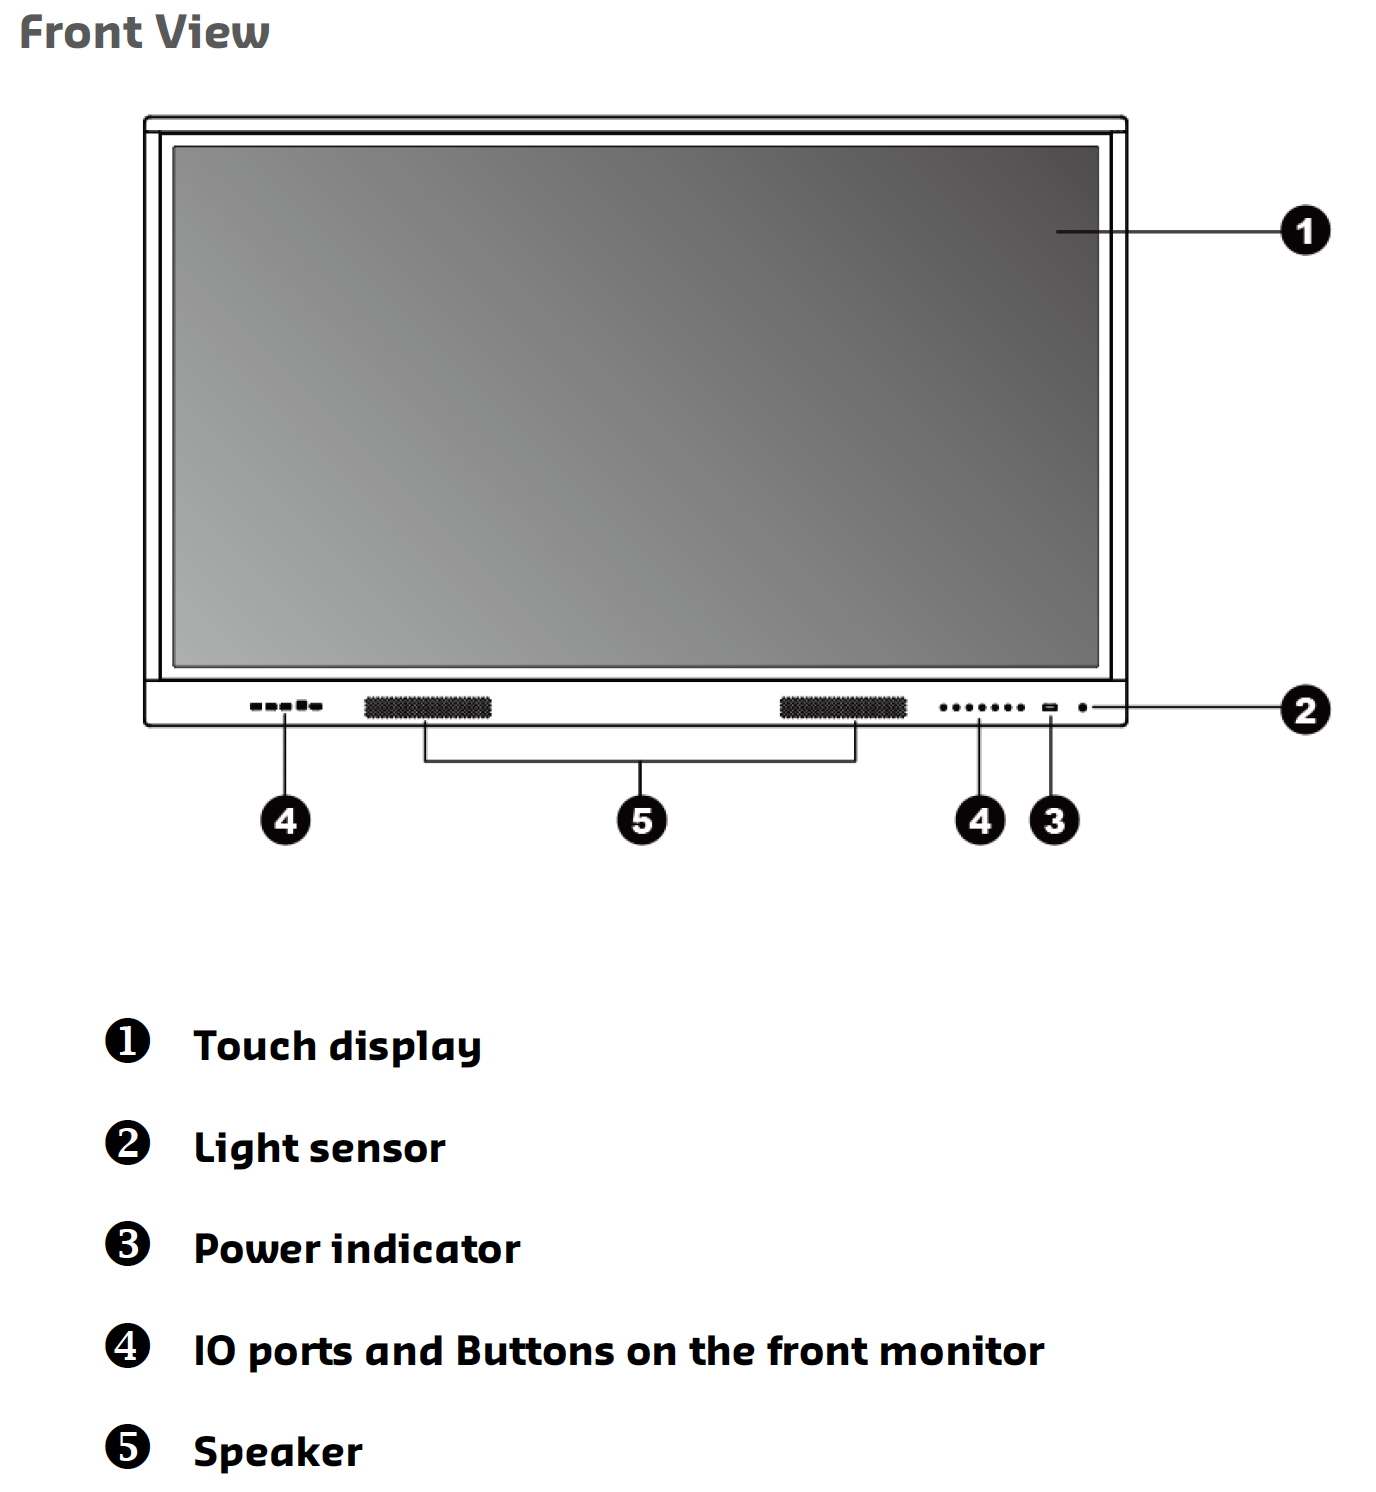
We suggest using the front USB For Touch port as your main connection. Please note, you cannot mix and match Front and Rear ports. EG Both your HDMI and USB have to come from either the rear of the unit or the front of the unit.
HDMI for Image and Sound
Plug one end of signal source connector of device ( PC, Laptop, IPC, or devices with HDMI), and the other end to signal source connector of the TouchIT Rapide LED.
How do I test all is working OK?
There are a few things that you can do to test that everything is ok and here is a quick list.
- Power On the unit, you should see the TouchIT Logo, then the main screen with 6 Apps and a black square signal preview
- Click on WhiteBoard App Icon
- Use your finger to draw all over the screen. If the “ink” is underneath your finger, you are all set
- Connecting a computer with USB and HDMI
- Change the source on the LED so you can see the screen of the computer
- Drag your finger around the screen to make sure the cursor moves around on the computer. If it does, you are all set.
Does the Customer Need to Register?
In order to Register your TouchIT Rapide and activate your warranty, you need to navigate to www.touchittechnologies.com/register
Here you will find an explainer video that walks you through the steps, but here is a outline. Underneath the video, if you scroll down you will see a registration form. Enter your name, School/Business, email and your serial number which you find on the left hand side of the LED as you look at it on the rear side of the frame.
If you are registering more than one LED, click the button to add additional serial numbers so you can receive the software and license keys all in one single email.
The benefits of registering are that we can update you on the latest software updates available for your model as well as send you links for training resources to help get your up and running with your new LED.
What Software do I need to Install?
You do not need to install any additional software – everything is installed for you. The customer will need to register for Contribute Cloud and the App Store.
What Accounts do I need to setup?
The first thing you need to do is navigate to Contribute Cloud in the Chrome Browser App from the home screen. Type in this URL – https://contribute.cloud
Click on Login / Register and then you are then presented with this screen.
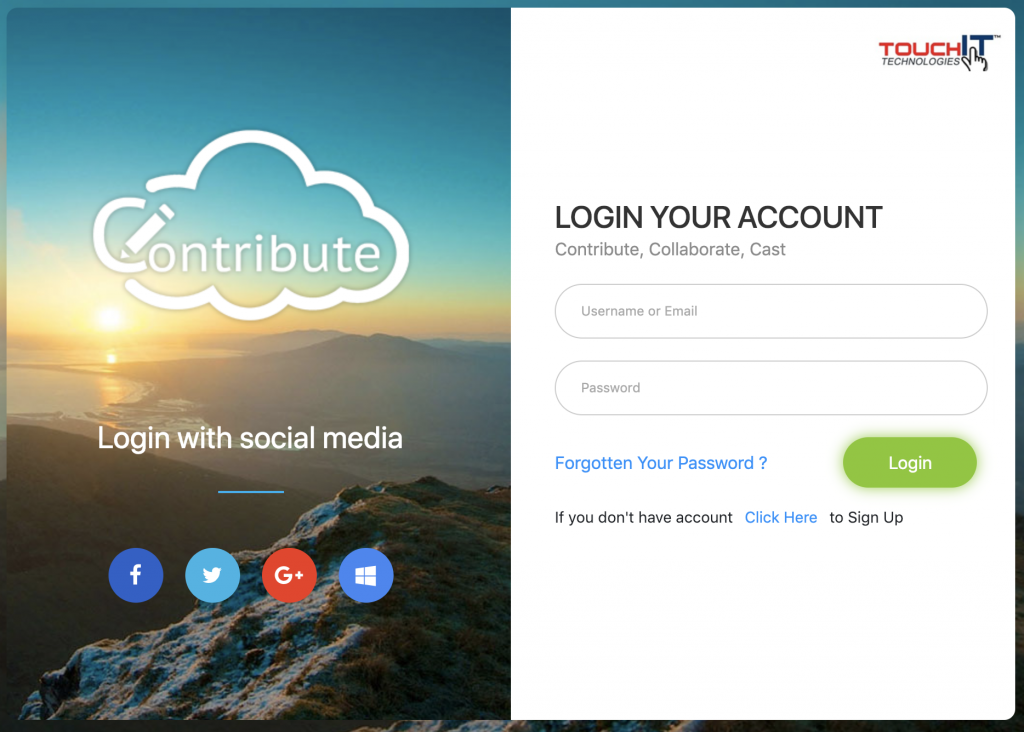
As you can see, you have the option to login with popular social profiles. If you are already logged into your profile on your computer, then creating an account is a one click process. If you are not, you will need to login as show below.
Please note, that if you are using your social profiles to log in, you may need to Authorize the App to have access. We only use your name, email and avatar – not your files or data.

If you don’t want to use your social profiles, or your establishment does not allow this, then you can create an account by choosing an email and password. Click on “Create Account”, fill in the form and click “Sign Up”
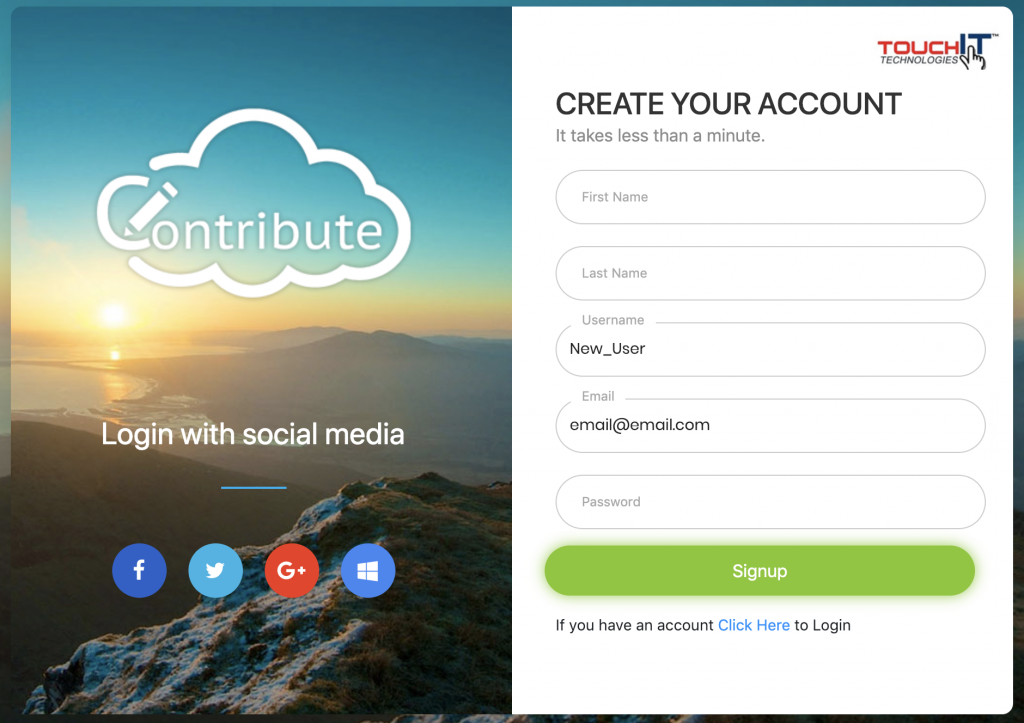
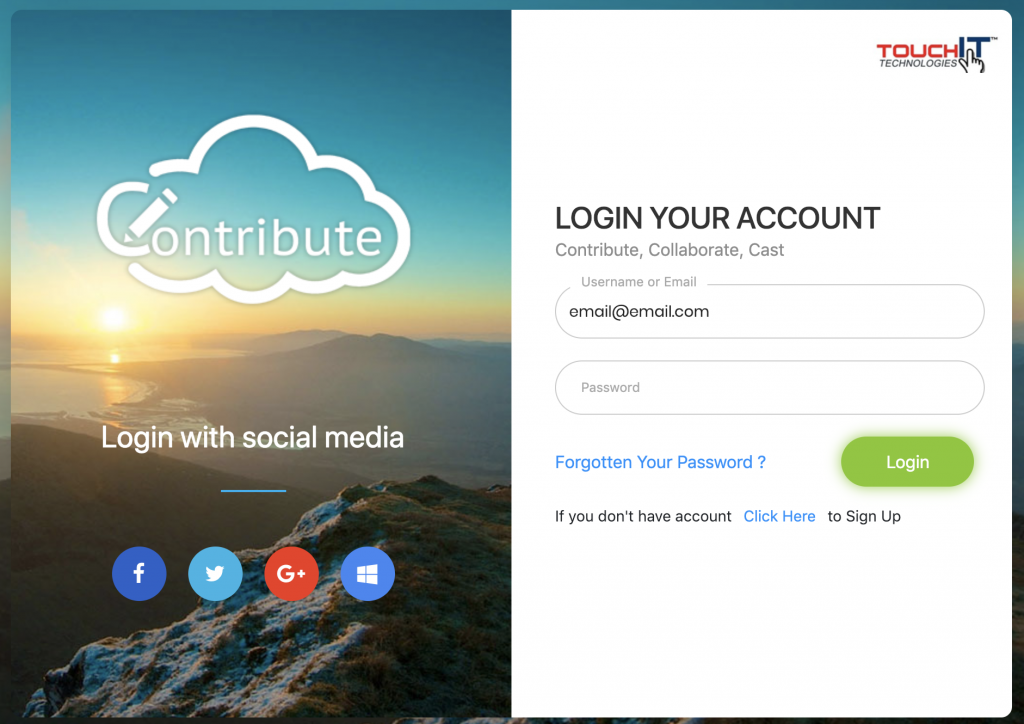
You will then need to login with the email address and password that you have chosen from the main home screen.
When you have signed in successfully, you will be presented with this screen which is your dashboard.
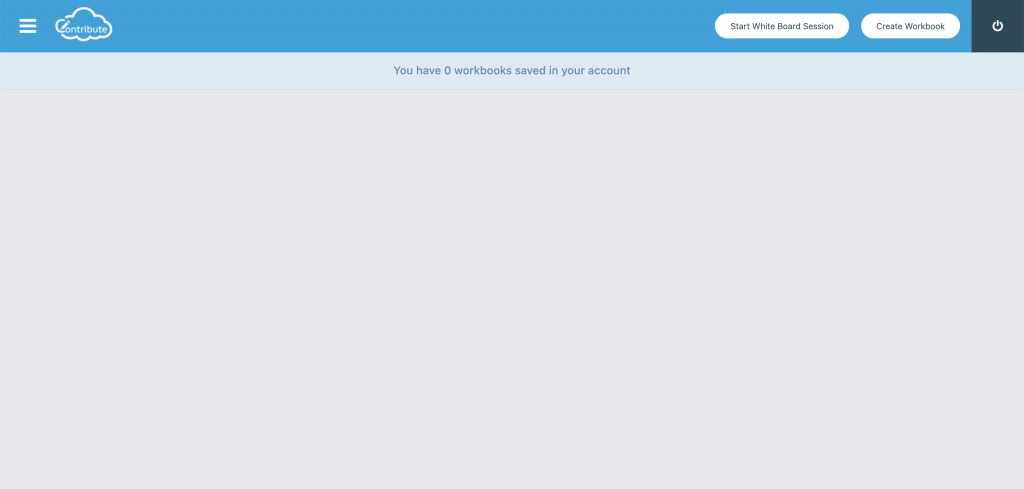
The first thing you are going to need to do is create a workbook by clicking on the “Create Workbook” button.
What about Wireless Casting etc, I’ve heard it can do that?
This is possible and all part of Contribute Cloud. We suggest you read this blog post – The Ultimate Guide to Casting in Contribute Cloud 2.0.
What about Bluetooth?
Yes, we do have bluetooth. It is part of the USB WIFI dongle you have connected to the LED.
Do you have Dimensional Drawings?
Sure do, here is a Spec Sheet with Dimensional Drawings

