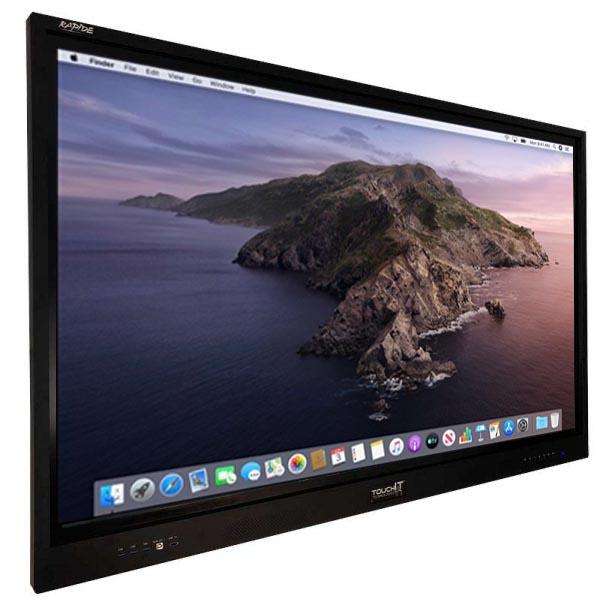
Mac and an Interactive Touchscreen surely the perfect combination? With the popularity of Apple products and indeed the Mac, we thought that we would write this article to help you get the most out of your Mac when using a large interactive touchscreen. Common place in many classrooms and boardrooms around the world, I do often wonder why Apple have not released that own touch screen yet? That said, because they are not into touchscreens, well, not with their Macs anyway, using your Mac can be a little difficult to setup. In this article, we aim to give you all the assistance you need to get the most out of your Mac and a touchscreen.
Background
As I have mentioned already, Apple doesn’t have its own touchscreen as they believe everything should be done with the Keyboard and Trackpad. That said, Mac is increasingly a popular choice for teachers in the classroom and executives in the boardroom. Native support for touchscreens and Mac has always been a challenge for 3rd party manufacturers like TouchIT Technologies, but for many years now, we have been able to support Mac out of the box without the need for drivers. This means that in most cases (all cases with our products) you should have touch screen support straight out of the box and just by connecting a couple of cables.
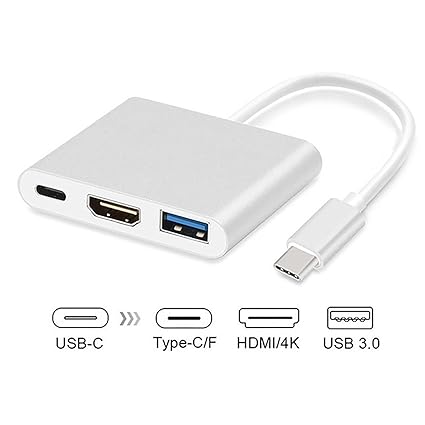
Usually, this will be a HDMI cable for Image and Sound and a USB Cable for touch. This will mean that you might need a USB C adaptor or a Displayport adaptor if your Mac is a little older; they look something like this.
You then need to connect your USB cable to the Interactive LED (make sure you are using an A to B cable) and also your HDMI cable. For the TouchIT Rapide LED, we suggest you connect to the font of the display for convenience.
What you will find is that most manufactures, including ourselves, offer a single point touch experience when using Mac on the Interactive LED. This is not down to us with hardware restrictions, but more so the support that Apple has for 3rd party hardware. For example, our TouchIT Rapide LED under Windows is able to support up to 40pt Multi-Touch. That said, you can still enjoy a great user experience with a Mac and this article will explain what you need to do to get the most out of it.
Display Settings
The lure of Macs originated from their power which was ideal for design. Unlike their PC counterpart, you do not find cheap graphics cards inside a Mac. What that generally means is that they are capable of outputting stunning 4K resolution. This is great if you are looking to watch a 4K film, or do some graphic editing on a 4K monitor, for a touch screen, it means things are going to be way too small!
Most modern interactive LEDs are more than capable of 4K resolution – the TouchIT Rapide certainly can do this. However, using 4K from a MAC on a touchscreen is not something that we recommend. It is just not useful. So, here is what we suggest that you do.
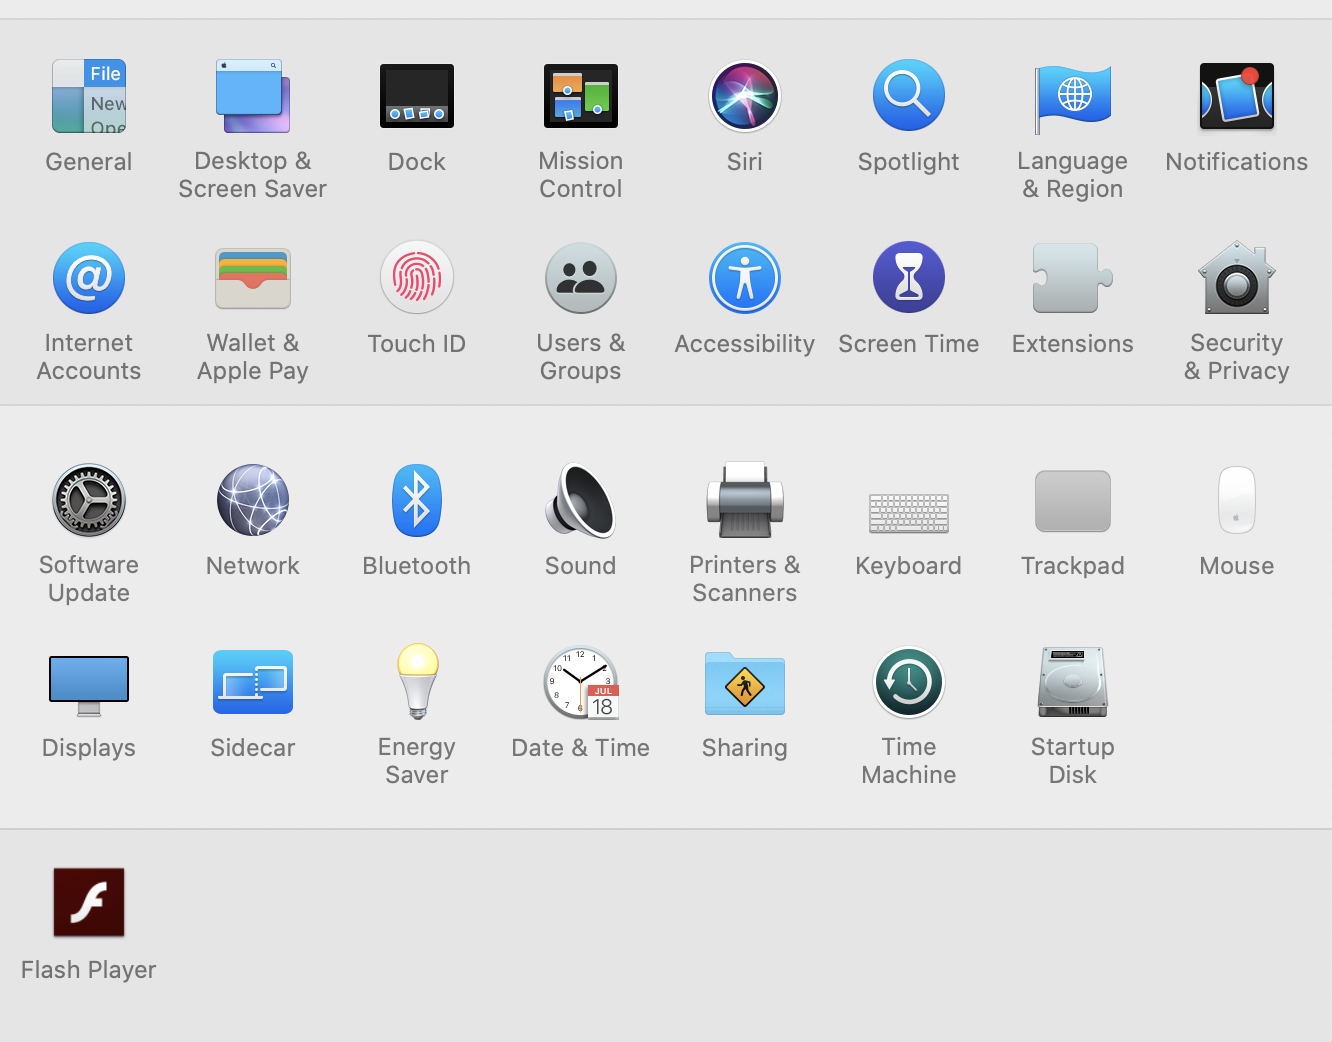
With your Mac connected to your touchscreen, head over to “Settings” in the Dock.
Then choose “Displays”
What I would then suggest is that your settings look something like the below. You should be scaling your image and use a HD, 1920 x 1080 display. This gives you a much better sized image on your Interactive LED that you can actually work with!
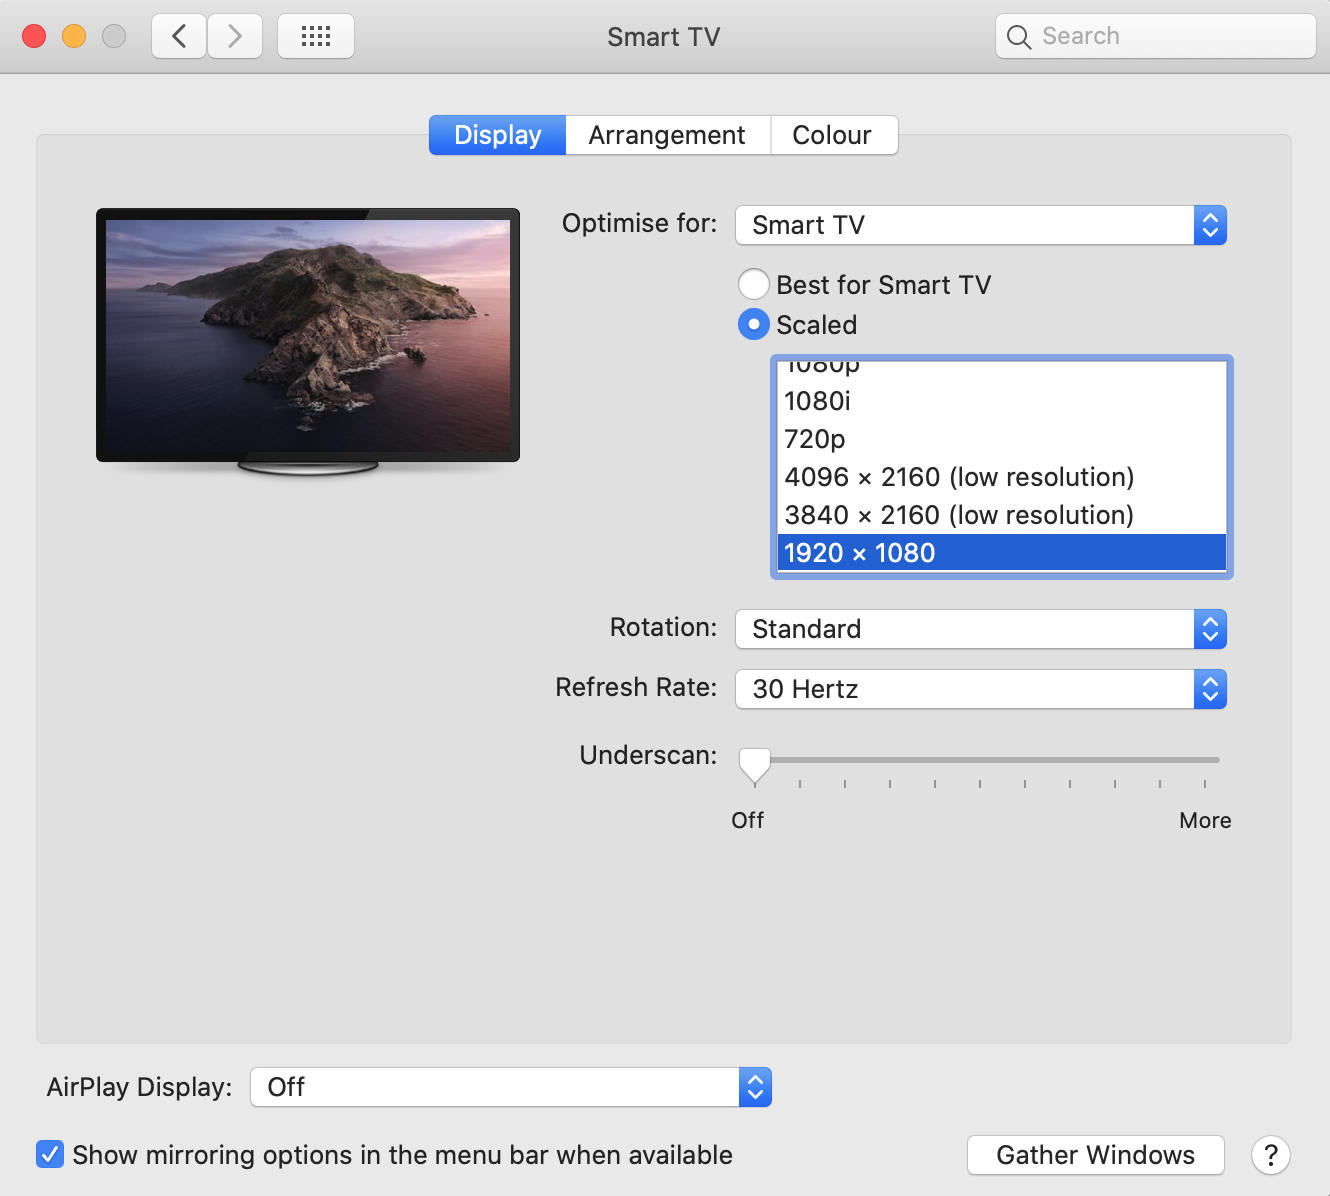
Once you have set this option once, when you next connect to the Interactive LED, your Mac will remember what you selected which makes life much easier each time you connect to your screen.
No Hover
With any touch input Interactive LED, you do not have a hover. There are some pen-based systems out there that can emulate the hover that you have when using a native mouse or trackpad, but with a touchscreen you do not have this option. This is important to remember as things like “tool tips” will be difficult to get to show on a touchscreen. This isn’t a barrier to use, more of “point to remember” when you are using you Mac with the interactive LED.
Browser Choice
Mac and Touchscreens
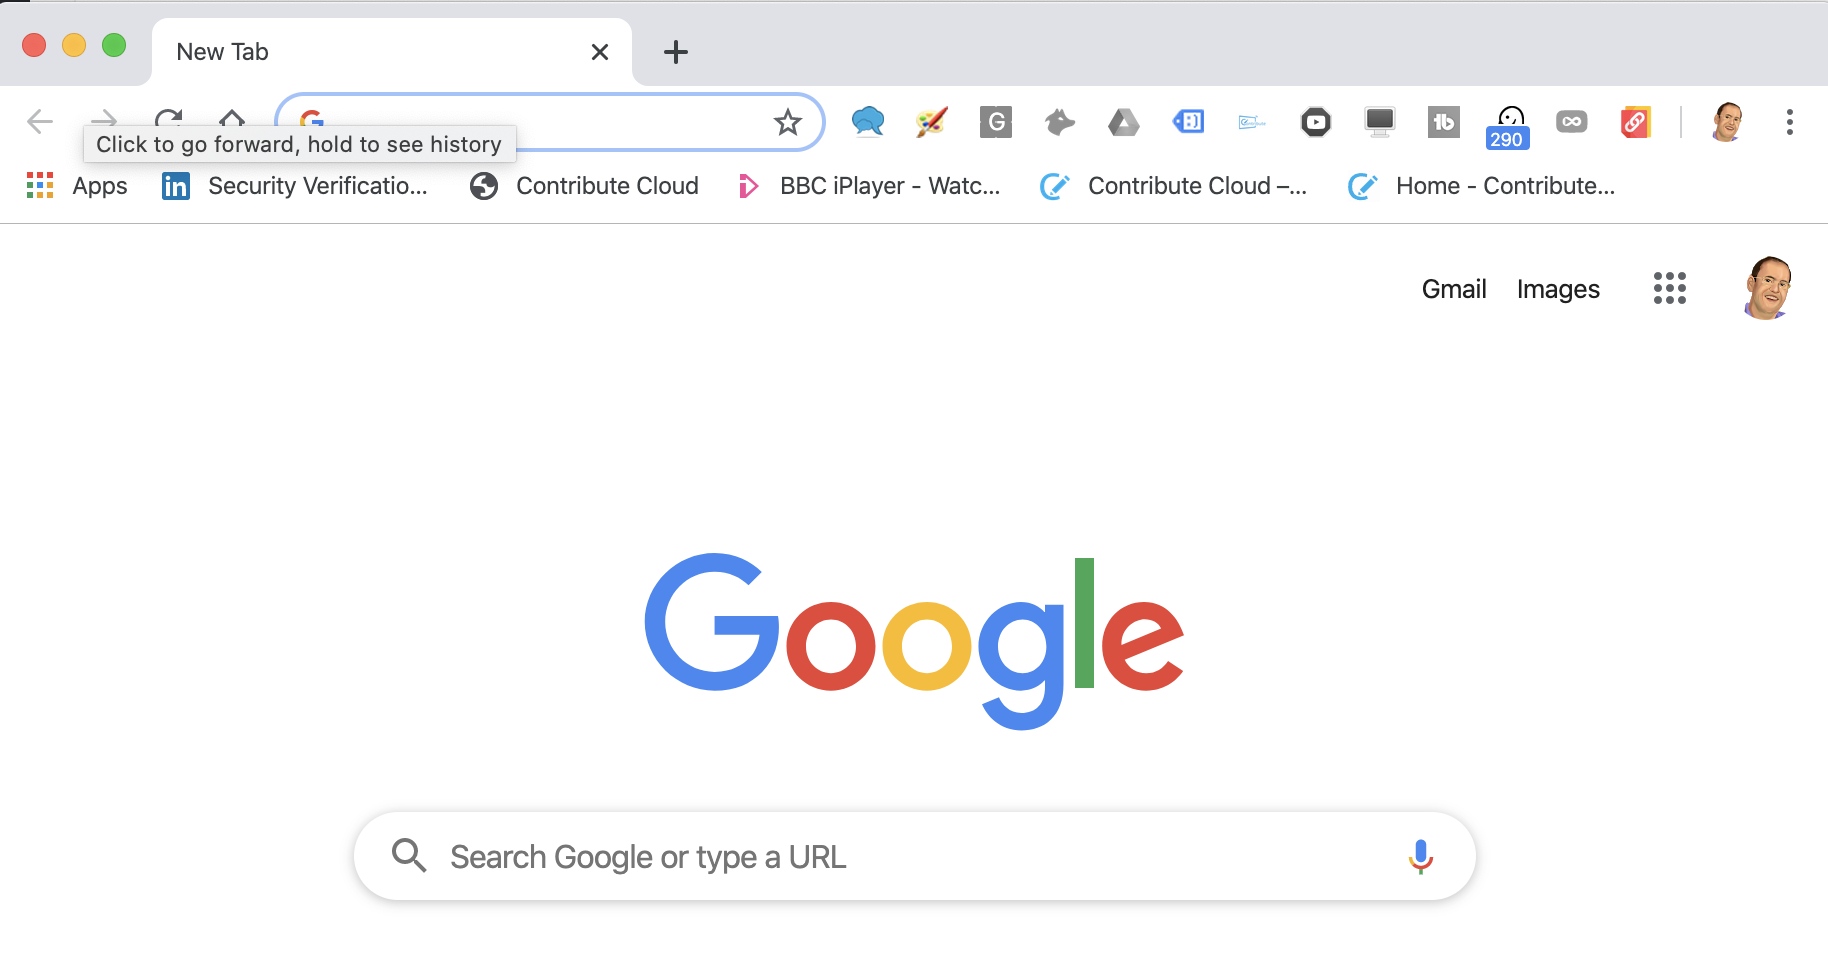
Choosing the right Browser to use with your Interactive LED and your Mac is also important. Despite being a huge Apple fan and a Mac user on a daily basis, when I am using my Interactive LED and my Mac I use the Chrome Browser. This is really because Apple is not 100% being touchscreens so they don’t make Safari as friendly for touch as Chrome is. Chrome also has specific settings for using the Browser with a touchscreen which is useful. Well worth a download if you are going to be using your Mac on a Touchscreen.
On Screen Keyboard
Unlike Microsoft Windows, Mac OS does not have a mode specifically designed for Tablets or Touch. Therefore, things like the On Screen Keyboard do not automatically pop up when you enter a form field or use an application that is expecting a text input. In OSX, you have to manually enable this. In order to make things easier for yourself, you are going to want to put a link or button on your main window toolbar at the top of your page. This is where the time and your battery status icon can be found. In order to do this, follow the instructions below.
First, from the dock, click on the settings icon.
Then, navigate over to the Keyboard Icon in the setting menu.

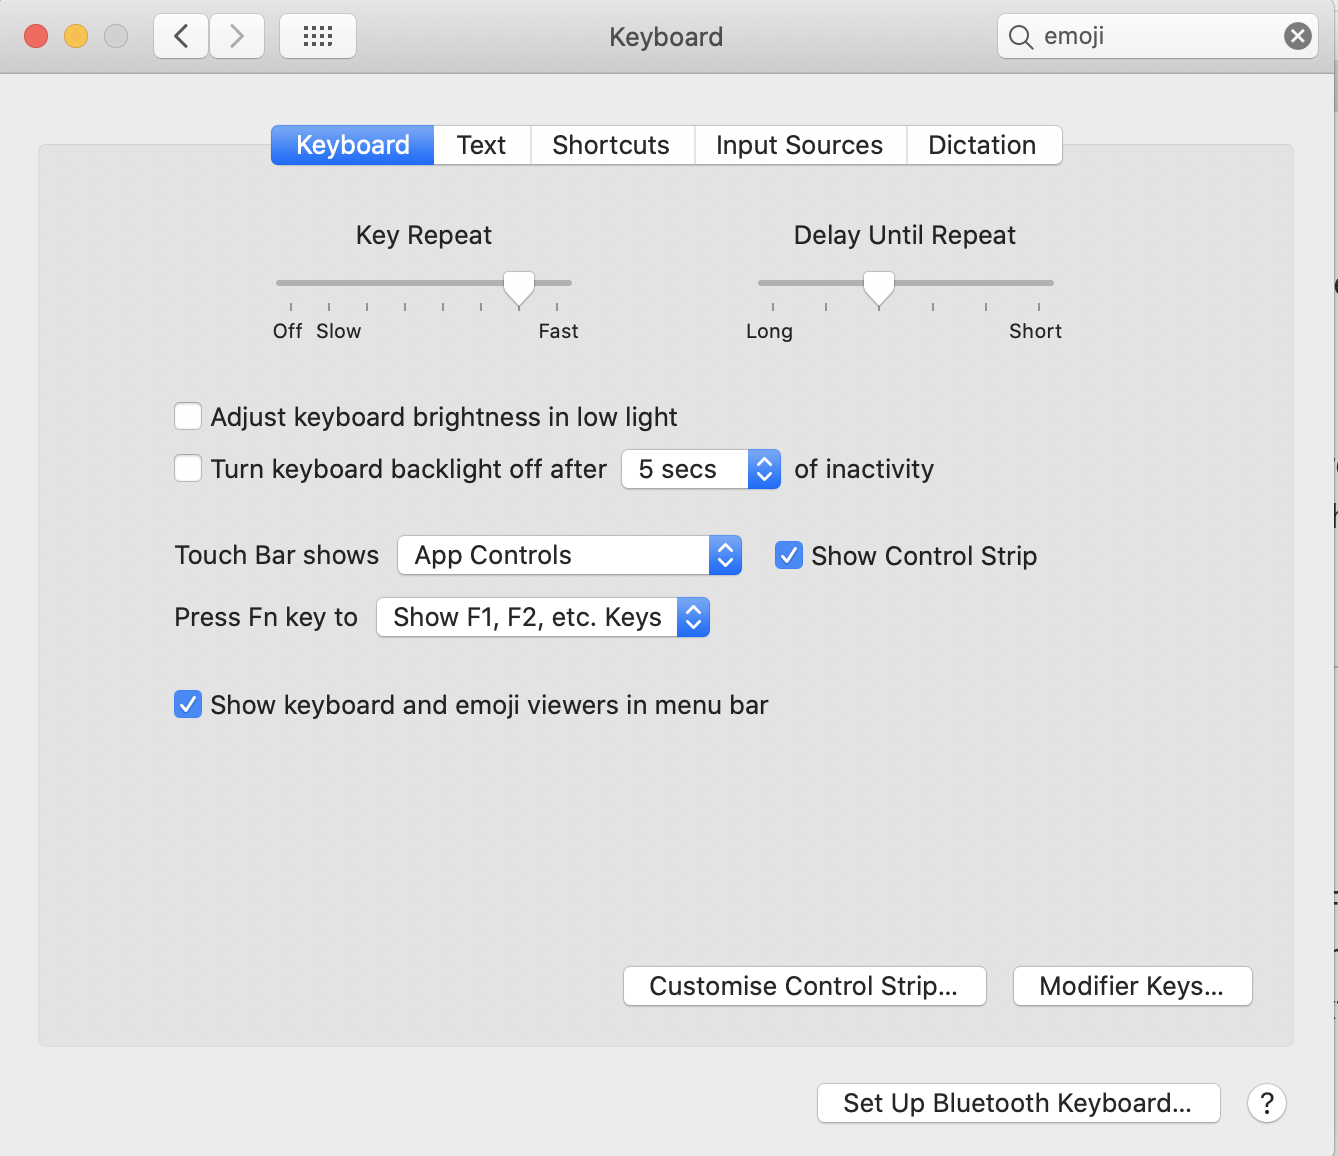
From this main window, you need to put a check in the box to “Show Keyboard and emoji viewer in menu bar”
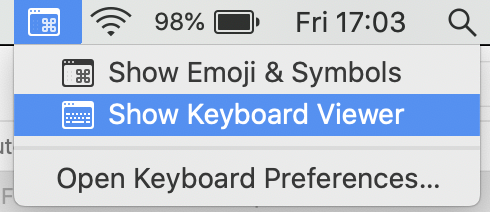
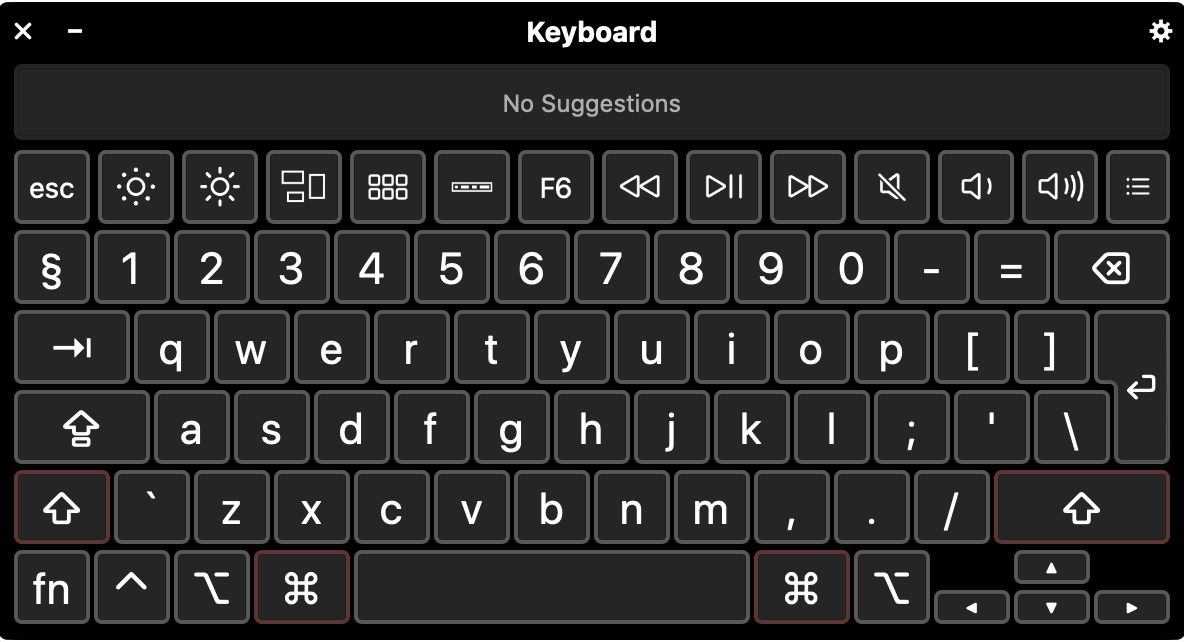
When you have done that, you will then have quick access to bringing up the keyboard. Click on the “Show Keyboard Viewer” and your on screen keyboard will now show. Remember, you need to click into a URL field or a text field before you can enter anything using the on screen keyboard. This will make life a lot easier using your Mac and the Interactive LED.
I hope you have found this article helpful.
Thanks for reading!
Beyond the Textbook: Interactive Flat Panels for Fun & Engaging Lessons (and Unexpected Benefits)
Remember the days of fighting to stay awake in class, desperately trying to absorb information from dusty textbooks and monotone lectures? Thankfully, those days are fading fast. Technology is revolutionizing classrooms, and one of the [...]
Captivate Your Classroom: 5 Interactive Flat Panel Activities They Won’t Forget (Even Math!)
Remember Mr. Wilson's droning lectures on the Pythagorean Theorem? Enough to lull even the most enthusiastic student to sleep. Thankfully, those days are over. Interactive flat panels (IFPs) are transforming classrooms, turning once-tedious subjects into [...]
Gamify Your Classroom! Using Interactive Flat Panels for Games & Quizzes (and Unlocking Hidden Benefits)
Remember the groans that echoed through the halls whenever pop quiz day arrived? Traditional quizzes can feel like a test of endurance, not knowledge. But what if learning could be fun, engaging, and even competitive? [...]
Lights, Camera, Action! Using Interactive Flat Panels for Student Presentations (and Reducing Presentation Anxiety)
Remember the clammy hands, racing heart, and mumbled words that plagued your first school presentation? Public speaking can be nerve-wracking, especially for young students. But what if there was a way to make presentations more [...]
Interactive Flat Panels vs. Projectors: A Head-to-Head for Educators (Beyond the Price Tag)
Remember the days of wrestling with projector cords, battling classroom lighting, and squinting at blurry images on the screen? Both projectors and interactive flat panels (IFPs) offer solutions for the modern classroom, but which one [...]
The Budget-Conscious Educator’s Guide to Interactive Flat Panels: Big Impact, Smaller Price Tag
Remember the frustration of staring at a dusty projector screen, yearning for a more engaging way to connect with your students? Interactive flat panels (IFPs) seem like a dream come true, but the price tag [...]

