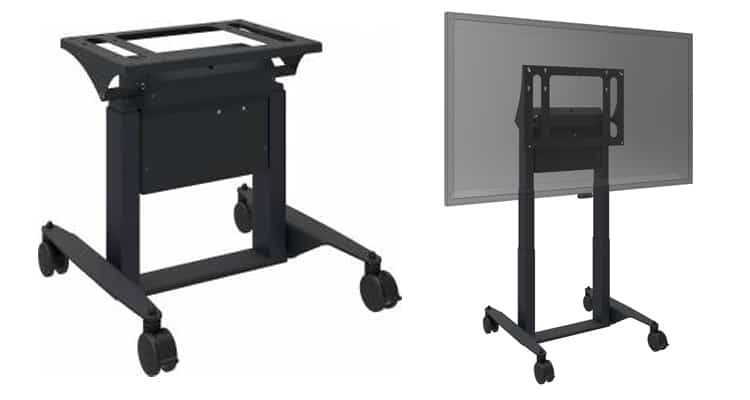
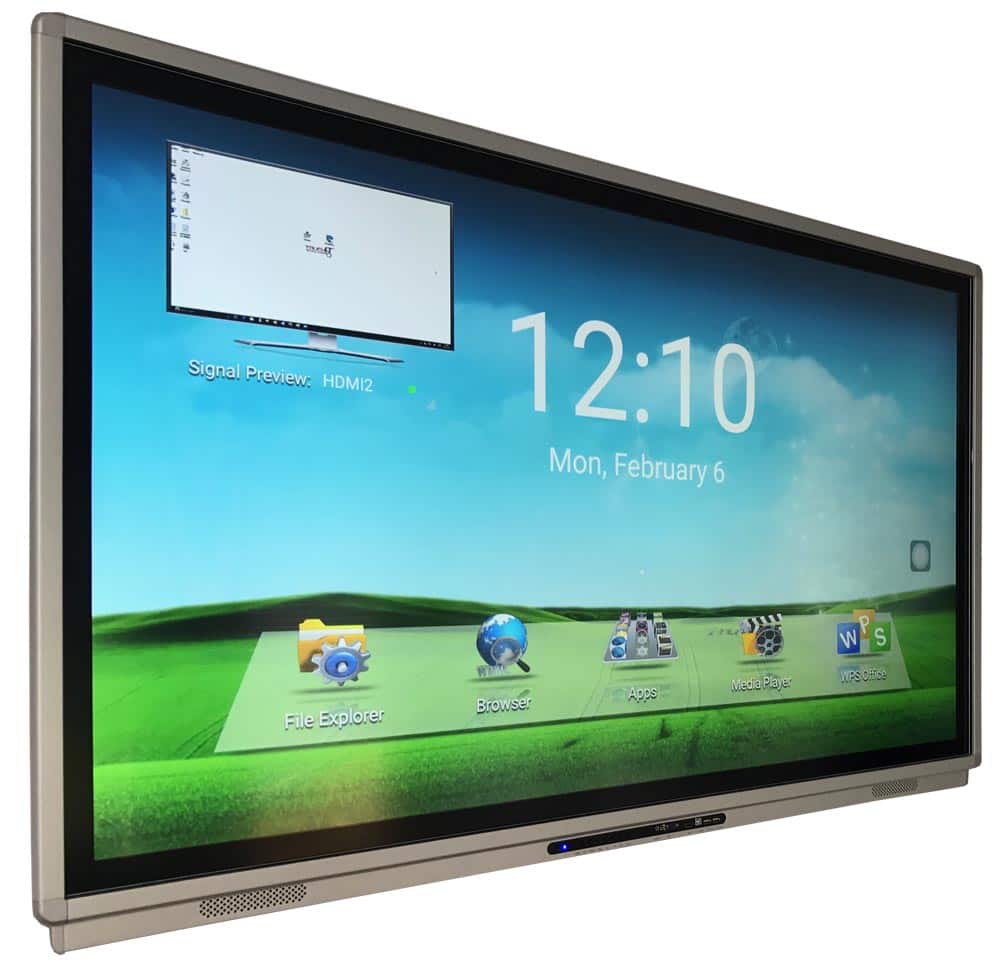
So you have decided that you are going to move forward with your interactive LED purchase – fantastic! Have you thought about how you plan to mount them?There are a number of ways in which you can mount your interactive LED and at TouchIT Technologies, we offer all of these options that we will discuss in this blog post.
Now, before you consider how you are going to mount your LED you need to have a think about where and on what. What exactly do I mean? Well, interactive LEDs are not like your average TV, they weigh a lot more because of the tempered glass that is on the front of them. That gives you a couple of potential obstacles. Firstly, is the wall that you plan to mount the LED on strong enough? Whilst it is possible to correctly mount an interactive LED on soft walls, it is highly recommended given the weight that the walls are reinforced. This will be an additional cost for you so something you should bear in mind when you are talking to your installer.
Secondly, at what height do you plan to mount your LED? Who is going to be using it? What is their average height? The main thing here is that your users can reach the top of the screen. You need to be able to reach the top so that you can close windows for example. Pretty straight forward right when you think about it.
So you have decided how high you plan to mount your screen and the wall is fit for purpose in terms of bearing the weight – now fixed or height adjustable?
Fixed
Fixed wall mounts are a cost effective option and usually something that your own custodians can mount themselves. This is a huge cost saving on an installation. Unlike interactive whiteboards where there was some skill required to align the projectors to the board, hanging an LED on a fixed mount is more of what we describe as a “hang and bang”
The main thing is that the wall mount you choose is rated for the weight of the LED not the size. What I mean by this is that a wall mount that says ‘suitable for a 65”’ probably means a TV that weighs 1/3 of the weight of your new interactive LED. Therefore, you need to be looking for a mount that can take the weight. To give you an idea, our WMK300 can take up to 300lbs!
Manual height adjustable
Height adjustable mounts are fantastic if you have the budget for them. You are looking at around 1200 USD for a basic manual height adjustable mount so quite a bit more than the 150 bucks for a fixed wall mount. It does however give you a greater level of flexibility in terms of your users.
We offer the BalanceBox range of manual adjustable mounts and they are really well made and our customers are so complimentary about them. You are able to raise and lower even the heaviest of screens with little to no effort at all thanks to the spring mechanism inside the mount.
Electric Height Adjustable
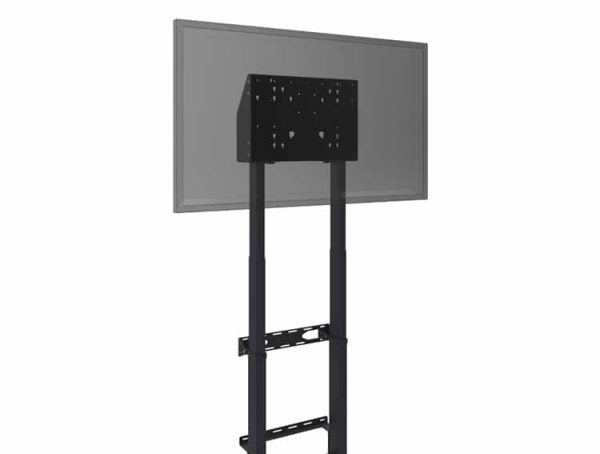
BalanceBox_Electric_Wall
Electric height adjustable mounts do exactly what the name suggests – they can raise and lower your screen at the touch of a button. Price wise, they are only (I know I say only) a couple of hundred bucks more than the manual equivalent. The other thing, certainly in terms of the BalanceBox range is that the manual BalanceBox requires quite a bit of setup and configuration to ‘balance’ your screen. The electric model is much easier.
Rolling / Mobile Cart
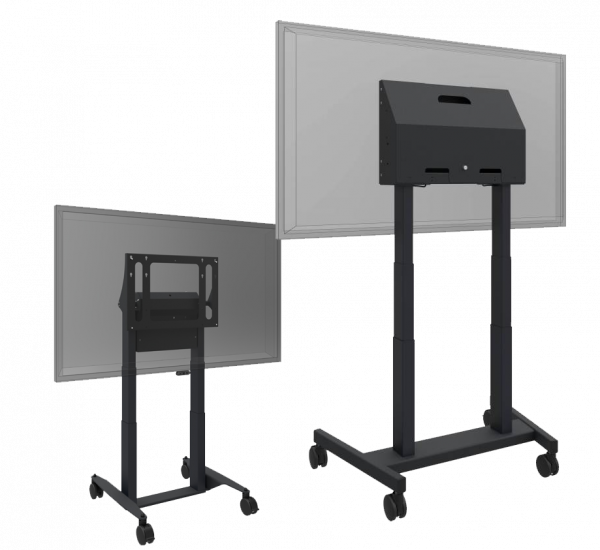
Having your LED on wheels so that it can be moved from room to room sounds like the perfect option for many. However, as you would expect, there are a few considerations for this too. Firstly, when you set the height of the product, make sure that you can actually get them through a doorway. Seems logical right, but you would not believe the amount of times I’ve seen units mounted too high to be wheeled through a doorway!
The second thing to consider is that even when placed on a cart on wheels, these interactive LEDs, regardless of size are still heavy pieces of kit. Moving them from room to room may seem appealing, but it is harder than you might think. They are big, bulky and heavy to move so in our experience, don’t tend to move that often once they have been placed in a room. Food for thought I am sure.
Fusion 2 – interactive Table
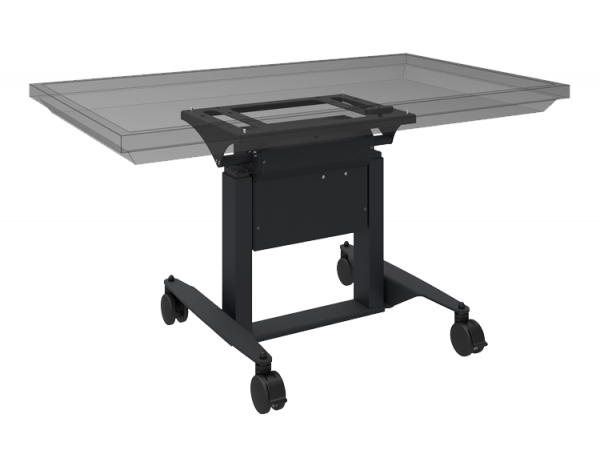
This is the Rolls Royce of interactive LED Stands. (I do love a good car analogy!) The TouchIT Fusion2 is able to raise and lower as well as tilt your LED Flat Panel electrically. What this means is that you have the best of three products – Interactive LED, Interactive Easel and Interactive Table all in one product.
Now all of our flat panel products are LED based this means they are suitable to be used flat like a table. Using the product flat as an interactive Table brings cluster group learning and group work to a whole new level.
If you need more information on any of the products we have discussed here in the blog post, get in touch.
Thanks for reading!
Using Microsoft Power BI 365 Dashboards with a Touchscreen
According to Microsoft, "Microsoft Power BI helps you stay up [...]
TouchIT Technologies Adds New Height Adjustable Wall Mounts and Mobile Stands to its Product Portfolio
11 July 2017 Birmingham, MI. TouchIT Technologies is pleased to [...]
Why you need a BalanceBox for Interactive Flat Panels?
So What is a BalanceBox? In short, the BalanceBox is [...]
TouchIT Technologies to Showcase the TouchIT Y Series at ISTE, San Antonio TX, USA
TouchIT Technologies to Showcase the TouchIT Y Series at ISTE, [...]
TouchIT Technologies’ Y Series is the Interactive Flat Panel of Choice in Corning Painted Post School District, NY
Birmingham, MI 22 May 2017. TouchIT Technologies is pleased to [...]
Help! I need to lock my new Y Series LED!
What do you do when someone comes into your classroom [...]

