Hello and welcome to this edition of #AskAndi
In today’s blog what we’re going to look at is how we’re going to create our first workbook in the Contribute Cloud Software.
When you first login, you taken to the Dashboard. To create a new workbook, in the top righthand corner of the screen, next to the “logout” button is a “Create New Workbook” button.
Click on the create a new workbook button.

You then need to give your workbook a name, choose a subject and enter a description.
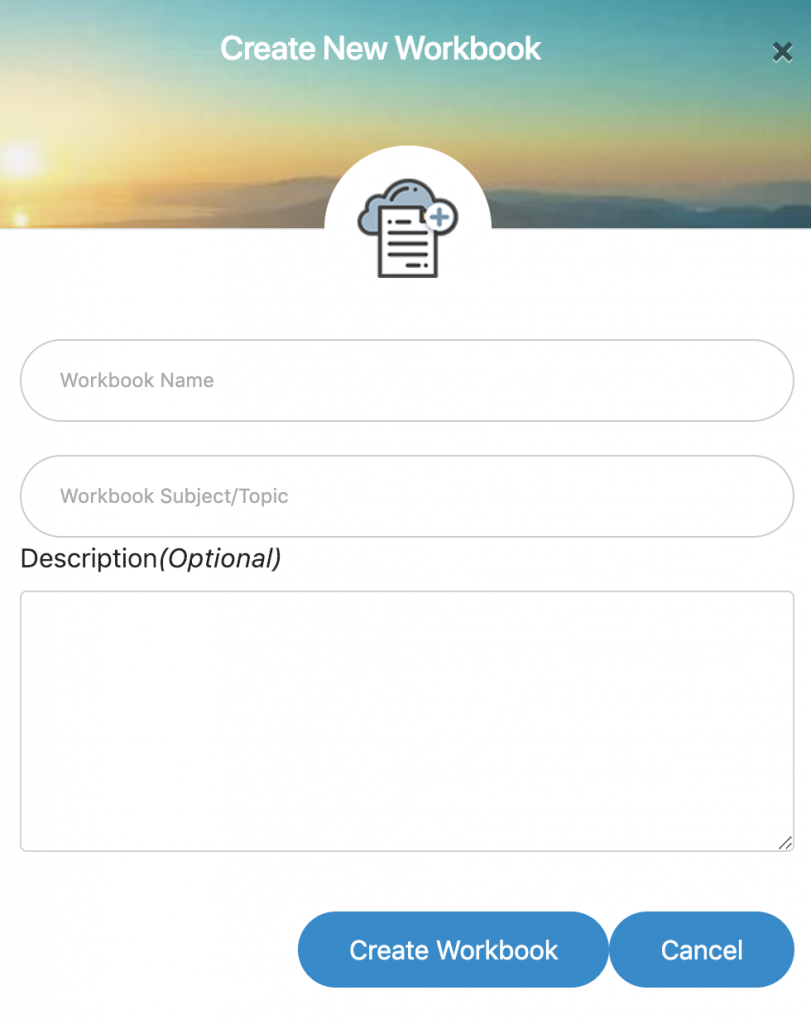
When you click “Create Workbook” you will be taken to the main workbook creation page. It is from this screen that you will add the content into your workbook to create slides.
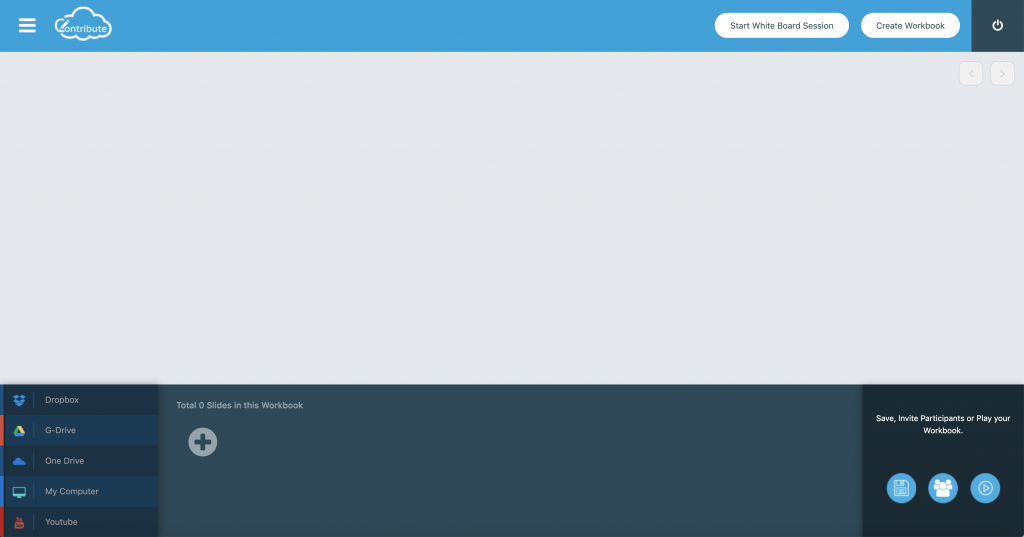
You will see on the left hand side of the page at the bottom of the screen, links to Cloud Storage Drives, Your Local Machine as well as YouTube. You don’t need to use all of them, just whichever one is your drive of choice. Click on the drive of Choice. In the example below we will use Dropbox. You will need to authorize Contribute Cloud to access your Drive, then you will see the list of files.
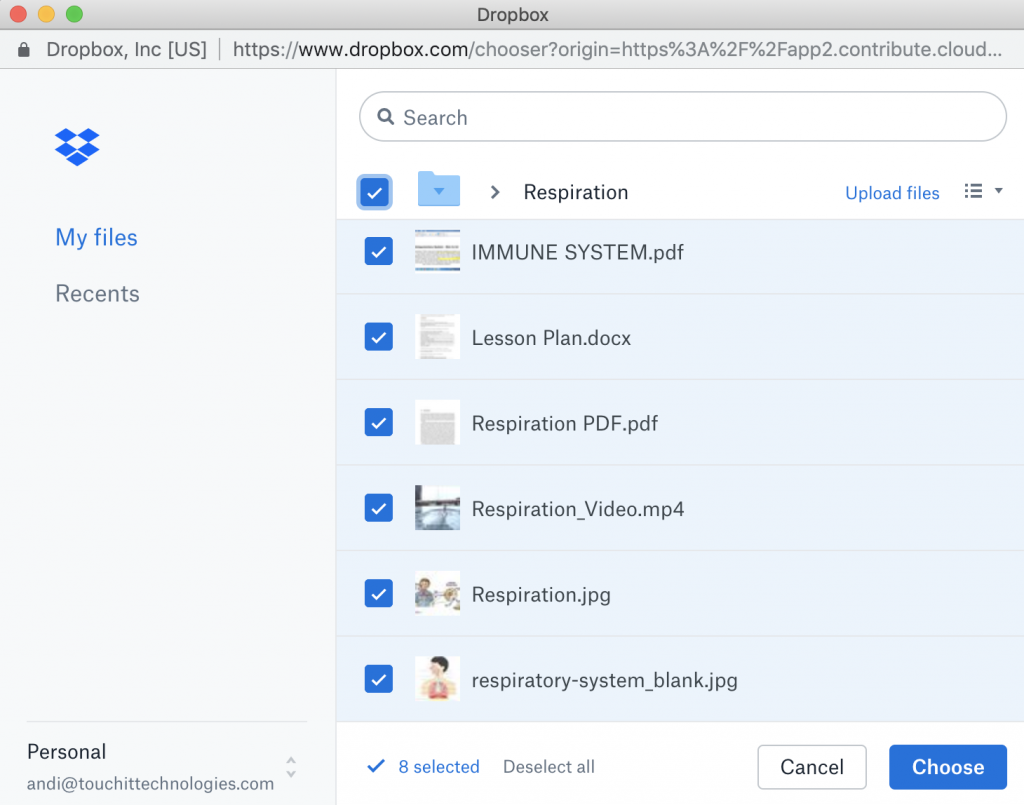
Select the files that you want to include in your workbook and press the “Choose” button when you are done. You will see that your files automatically populate into slides at the bottom of the screen.
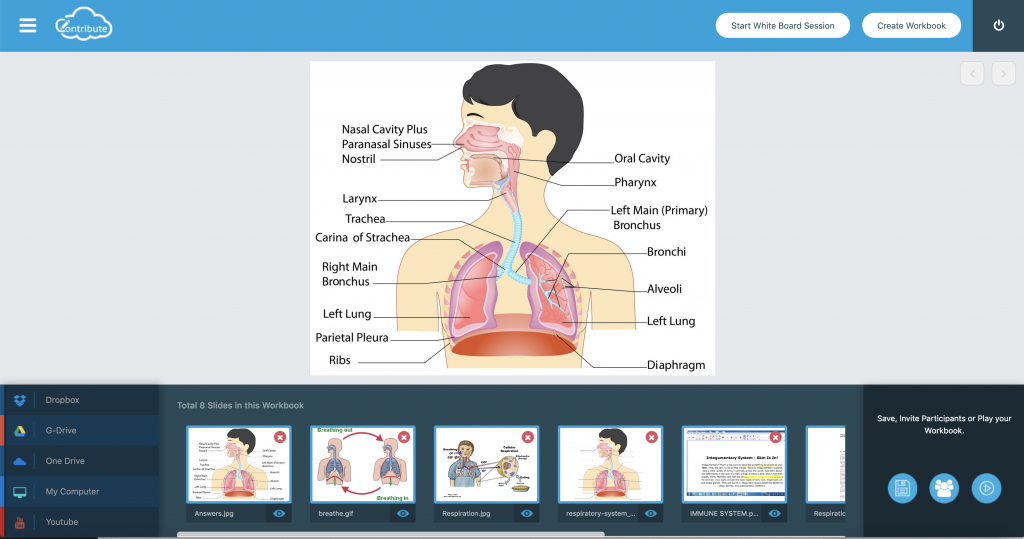
You can re-order the slides by simply dragging on them. Click on the slide and you will be shown a full screen preview of your slide in the editor.
To add a blank whiteboard page to your workbook, you click on the “+” icon.
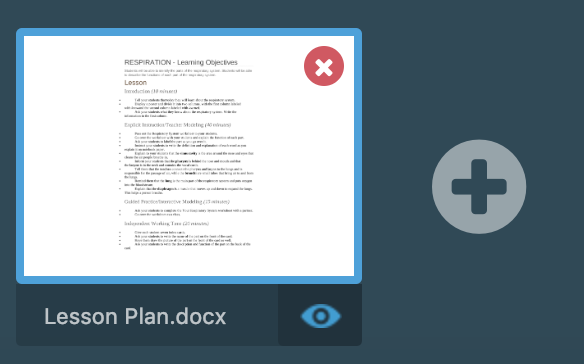
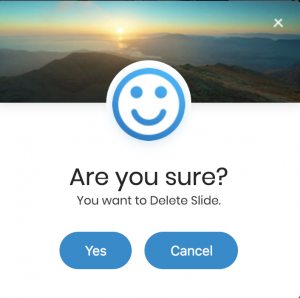
You can delete any slide by clicking on the “X” in the top right of the slide preview. There is a confirmation of the delete before the slide is removed.
When you have finished your workbook, click on the “save” icon in the bottom right of the screen to save your workbook to the Cloud.
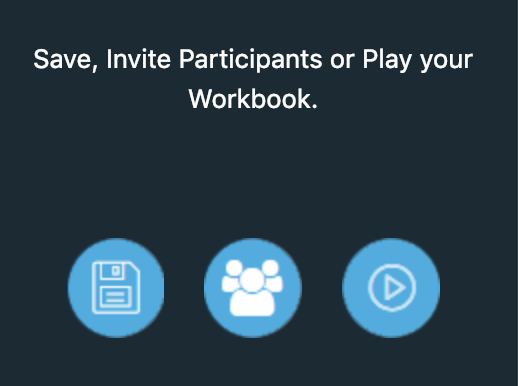
(Left to right, Save, Invite Participants, Play Workbook)
You are now ready to start your session. To do that, you can click on the play icon in the bottom right of the screen.
If you wish to send your participants an email invitation, click on the participant icon.
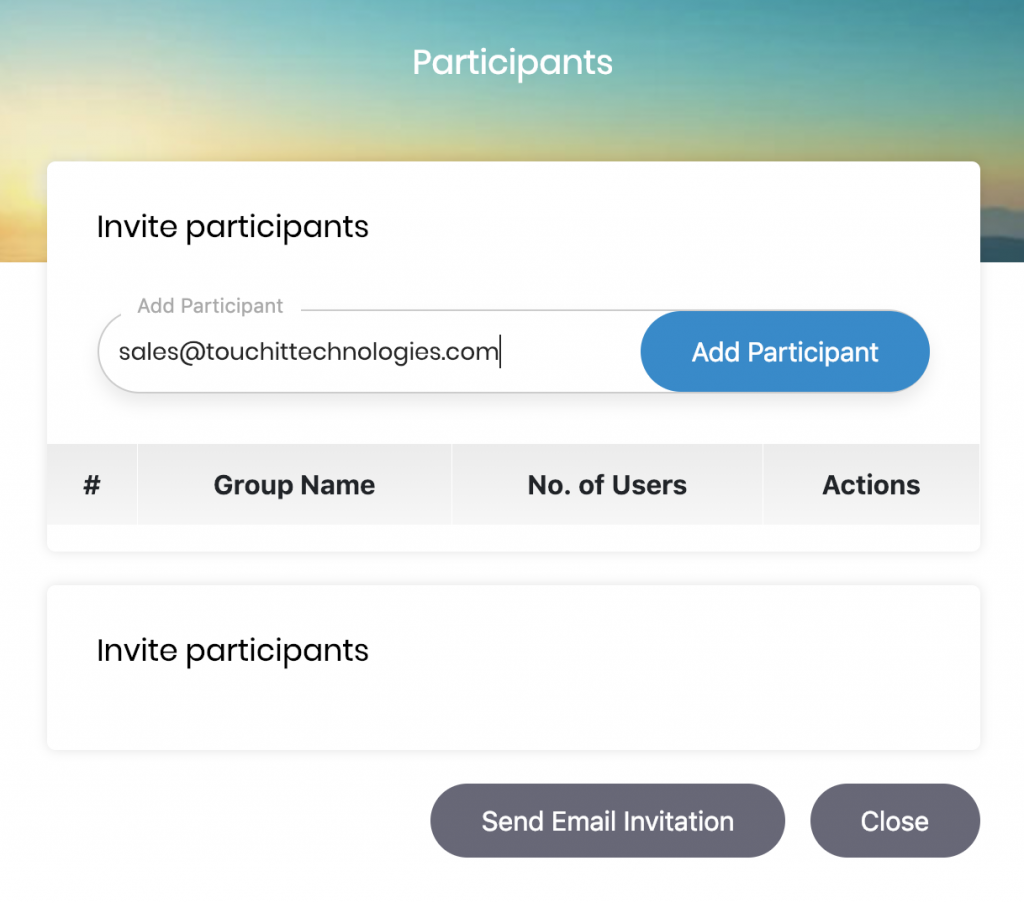
You can now select one of your pre-defined lists by clicking “Add” or you can enter a participant manually by typing their email address and clicking on the “Add Participant” button. When you are ready to send the invitation, click on the “Send Email Invitation” button.
If you’ve liked the video please do subscribe to our YouTube channel and you can also watch the next video in this series by clicking on the link below so thanks for reading.
About Contribute Cloud
License-free Cloud Collaboration Software for TouchIT LED users. Casting, Multi-Casting, Learning Gamification, Multi-Zone Gamification and Collaborative Gamification – all in one cloud-based piece of software.
Create, Deliver, Annotate & Cast
Contribute Cloud Software enables content delivery, collaboration, Casting and Multi-Casting all through a FREE cloud-based platform. Simply add your content, share it with your students or colleagues and they are able to collaborate with you – all through a browser. Import content from popular file formats and even other brands of interactive whiteboards and LEDs’ software.
Cast multiple student’s screens in real-time on the LED
Cast multiple screens at the same time onto the LED. This is a great feature to be able to compare what participants are doing on their devices at the same time, in real-time. You are not limited to just 4 screen on the LED, you can have as many as are in your session. Simply scroll up and down the Multi-Cast Window to see your different participants.
Multi-Zone Collaborative Gamification
40+ Learning Games built into the software.
Teachers now have the ability to split the screen into several parts and load educational games into the different sectors on the screen. Then, multiple students could come and use the games on screen at the same time. Hence the name multi-zone and the gamification part comes from making learning into a medium that students recognize – games! Add the students to a collaboration session and push the games out to their devices!
Free Trial
If you would like to trial the software, you can do so for free for 15 days at https://contribute.cloud
The Importance of the Correct Settings for Digital Signage
We’re all aware that behind every digital signage system there [...]
What are the Hardware Considerations for a Digital Signage Player?
Firstly, let’s define what a hardware player is. A hardware [...]
The importance of Crisis Management in Schools in 2018
This is one of those topics that we all wish [...]
7 Top Tips for Configuring your PC into a Digital Signage Player
Recycling the ten-year-old PC into your Digital Signage machine may [...]
What is a Good Digital Signage System for Schools in 2018?
Contribute Signage So what makes for good digital [...]
TouchIT Technologies Sponsors AVIXA/Infocomm LATAM Fiesta “Alegria” 2018
TouchIT Technologies was pleased to Sponsor the AVIXA/Infocomm LATAM Fiesta 2018 [...]

