So you have just taken delivery of your brand new TouchIT Interactive LED – firstly, excellent choice of hardware, well done! In this blog post, we’ll look at what the first 5 things you should be doing with your new interactive screen.
1. Connect to the Internet.
It may seem like something obvious, but you do need to connect your TouchIT LED to the Internet to get the best possible use out of it. All TouchIT LEDs are able to be connected Wirelessly or wired. Depending on what model you have, the process could be slightly different but if you are connecting to WIFI you will need to plug in the dongle that came in the brown accessories box and then turn on your WIFI in the settings. In the two videos below, we look at how to do this on the Y Series and also the TouchIT Rapide.
2. Register & Activate your Warranty
All TouchIT LEDs do come with a 3 year warranty – this is on site in the USA and Canada. To activate your warranty, you do need to register your product. To do this, you need the serial number which can be found on the side of your LED and you then need to head over to www.touchittechnologies.com/register
From this page, you can then enter your serial number and some of your details and you will receive in your inbox within 5 minutes (check your spam folder too) a registration email from us. This will also contain some links for the Tutorials and the Software like Contribute Cloud – well worth doing.
3. Download the App Store & Register
If you have a TouchIT Rapide LED then you are lucky as the LED comes pre-installed with the TouchIT App Store so you will just need to open the App and register. If you have a TouchIT Y Series LED (The silver one) then you will need to download the App Store first. On the LED, open the browser and head over to www.touchittechnologies.com/appstore – you can then click on the large blue icon and this will download the store. Once it is downloaded, then you can open it and register. This only takes a few minutes and you just need to set an email and choose a password. Once you have done this, you can then download Apps from the store onto your LED.
Take a look at the videos below that will show you how to do this.
4. Install Chrome Browser
Again, if you are on a TouchIT Rapide LED, you can skip this point as the LED comes with Chrome Pre-installed. On the TouchIT Y Series, it is highly recommended that you install the Chrome Browser from the TouchIT App Store. You will have already installed the App Store in the previous point, so now, if you navigate the the “Productivity” category in the store or if you search for “Chrome” you will find the App to download and install. This browser is just more functional that the one that comes pre-installed with the Y Series.
5. Create an Account on Contribute Cloud
Contribute Cloud is our annotation, presentation and lesson creation software that also allows you to collaborate with your colleagues or students. It has casting and learning gamification built in. What is more, it comes as standard unlimited with all TouchIT LEDs. The first thing that you need to do is head over to https://contribute.cloud and select the register option. If you are on the Rapide LED then you can do this directly on the LED from the Chrome browser on the home screen. If you are on the Y Series LED then we recommend that you use your computer that is connected to the LED to power Contribute Cloud. You get much better performance that way. Creating your account is quick and simple, either use one of your social logins, or an email address and password and you can start to use your software.
The first thing you need to do is navigate to Contribute Cloud – https://contribute.cloud
Click on Login / Register and then you are then presented with this screen.
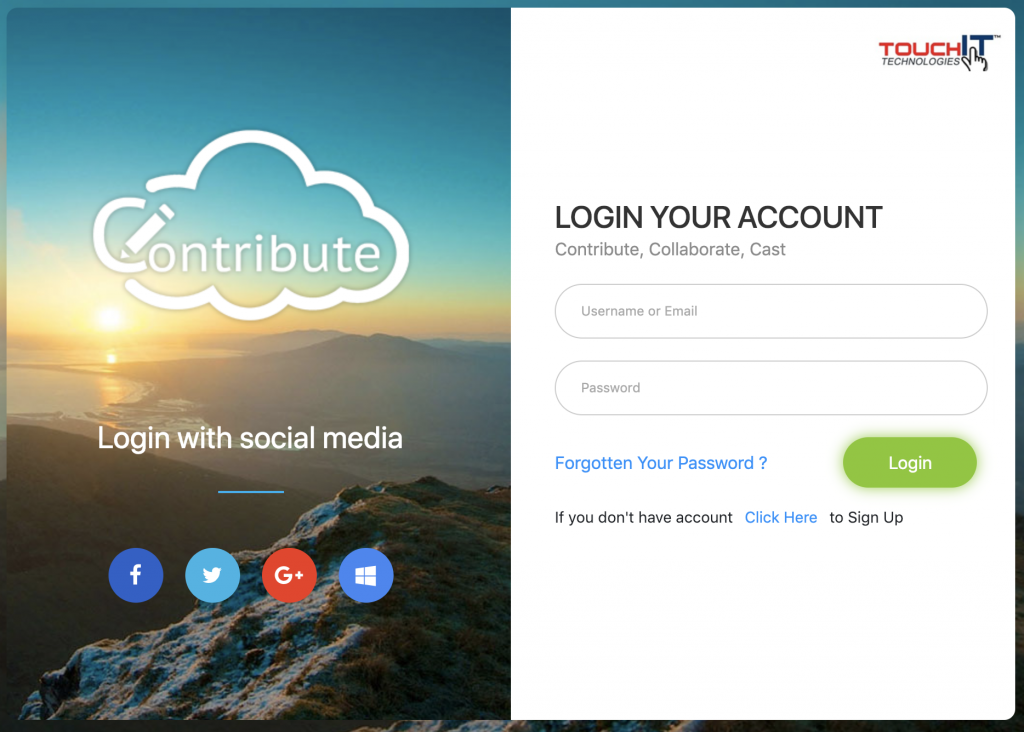
As you can see, you have the option to login with popular social profiles. If you are already logged into your profile on your computer, then creating an account is a one click process. If you are not, you will need to login as show below.
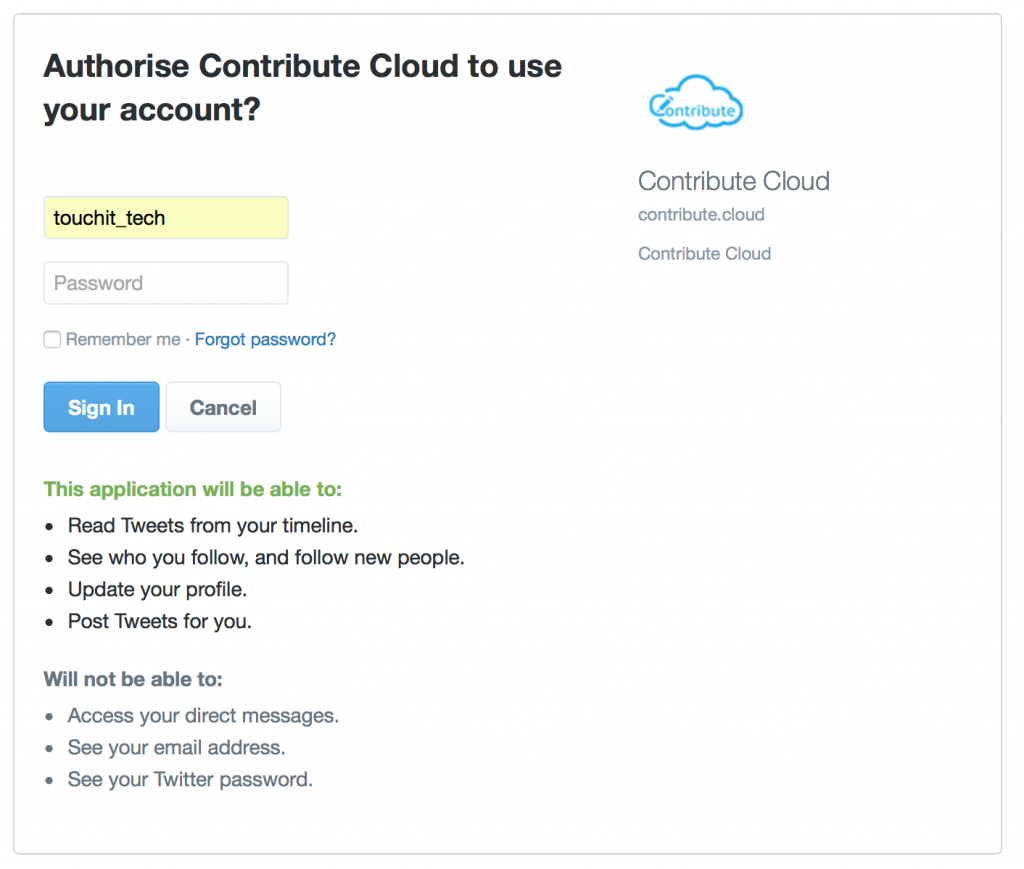
Please note, that if you are using your social profiles to log in, you may need to Authorize the App to have access. We only use your name, email and avatar – not your files or data.
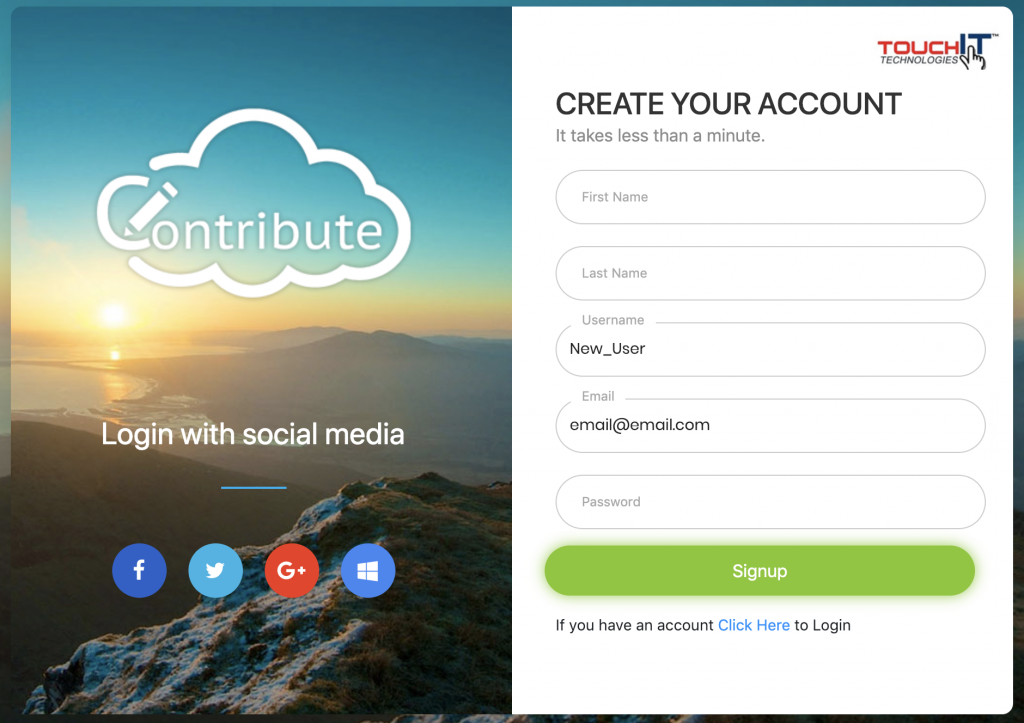
If you don’t want to use your social profiles, or your establishment does not allow this, then you can create an account by choosing an email and password. Click on “Create Account”, fill in the form and click “Sign Up”
You will then need to login with the email address and password that you have chosen from the main home screen.

When you have signed in successfully, you will be presented with this screen which is your dashboard.
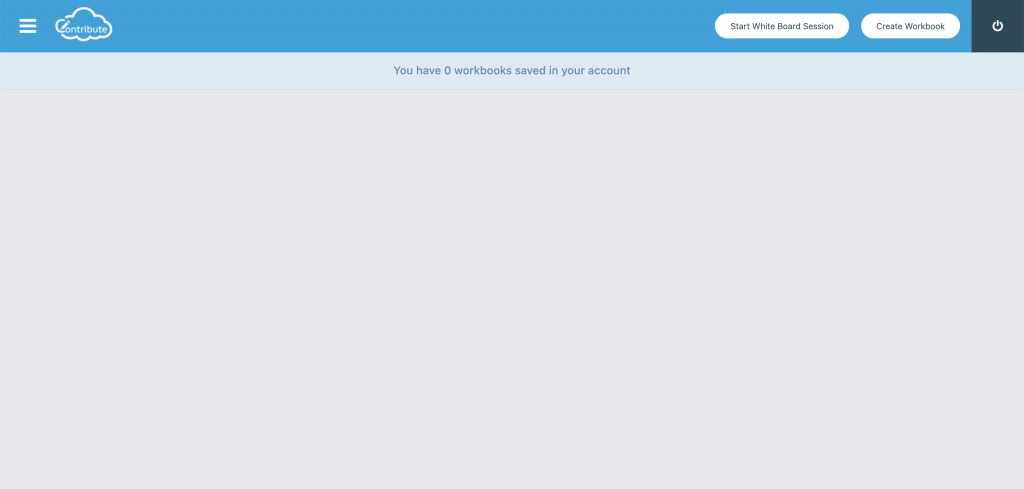
The first thing you are going to need to do is create a workbook by clicking on the “Create Workbook” button.
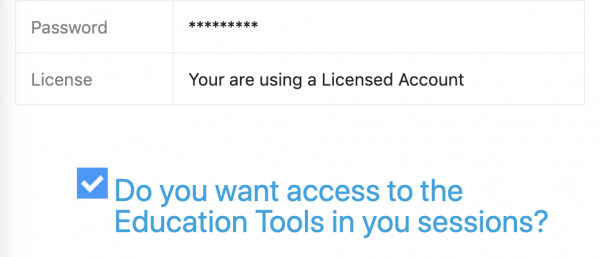
To make your account permanent and activate it, you are going to enter your serial number in your account profile. From the dashboard, click on your burger icon, then on your profile avatar – under license, enter your serial number. Once activated, it should look like the image below.