Hello and welcome to this week’s blog post. We thought that this week we would have a really good look at the Contribute Cloud software and create the ultimate guide. Please do follow along and we hope you enjoy it!
Creating your Account
Hello and welcome to this training session on Contribute Cloud. Our aim is to give you an overview of all the features of the software. You’ll then be able to decide which features suit the way that you teach or present, the resources you have and the type of lesson or activity you wish to deliver on the software.
So let’s get started and create your account.
The first thing you need to do is navigate to Contribute Cloud – https://contribute.cloud
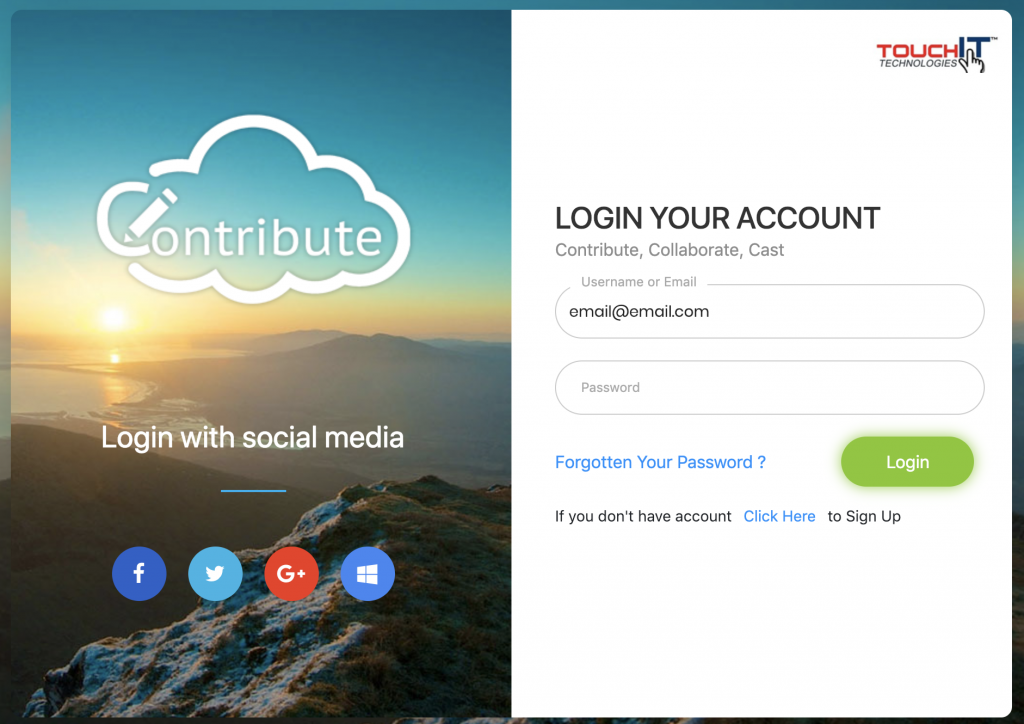
Click on Login / Register and then you are then presented with this screen.
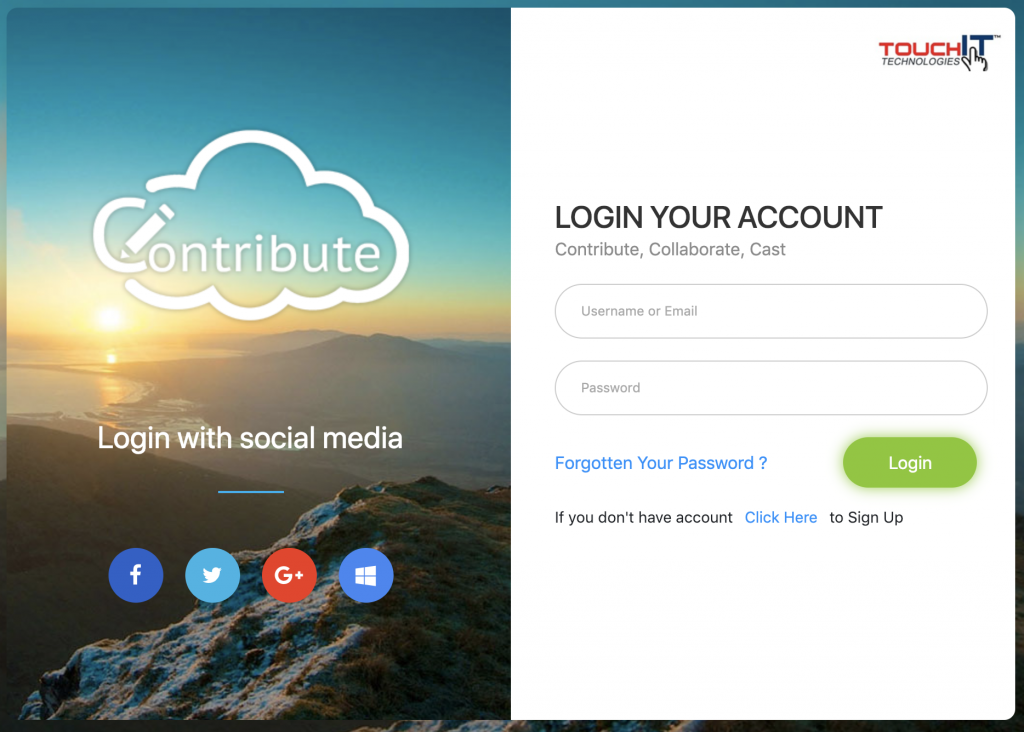
As you can see, you have the option to login with popular social profiles. If you are already logged into your profile on your computer, then creating an account is a one click process. If you are not, you will need to login as show below.
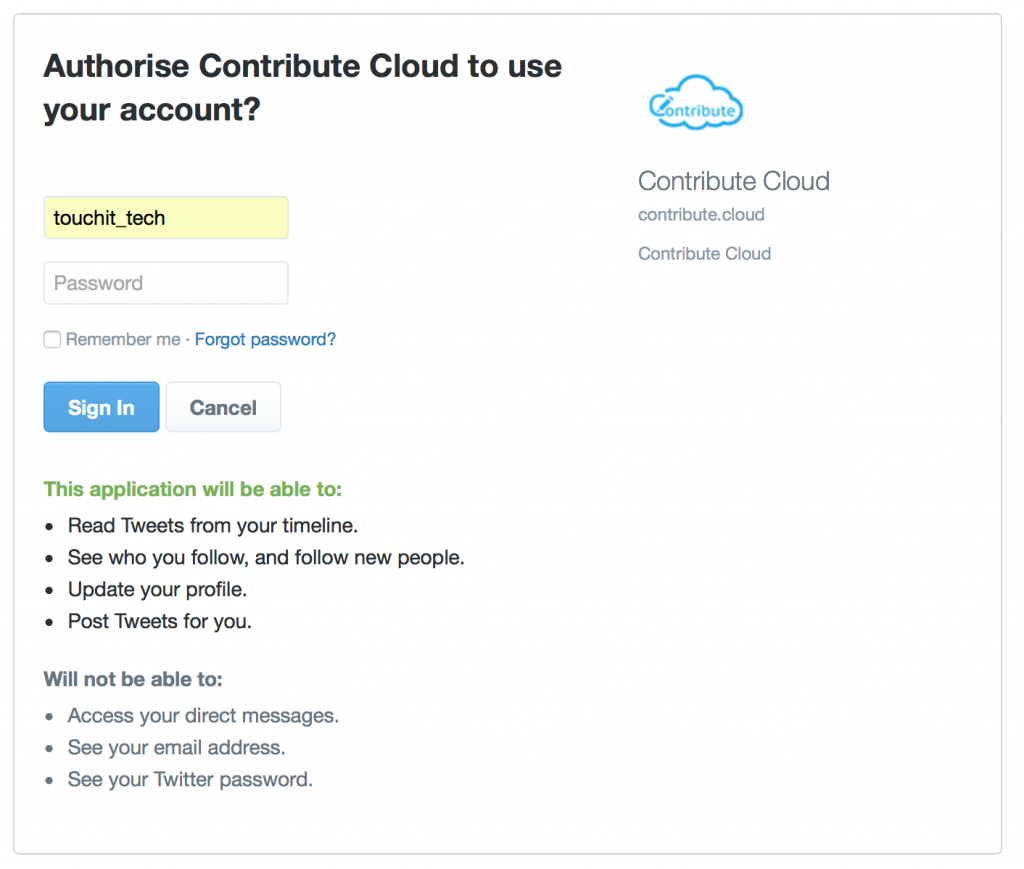
Please note, that if you are using your social profiles to log in, you may need to Authorize the App to have access. We only use your name, email and avatar – not your files or data.
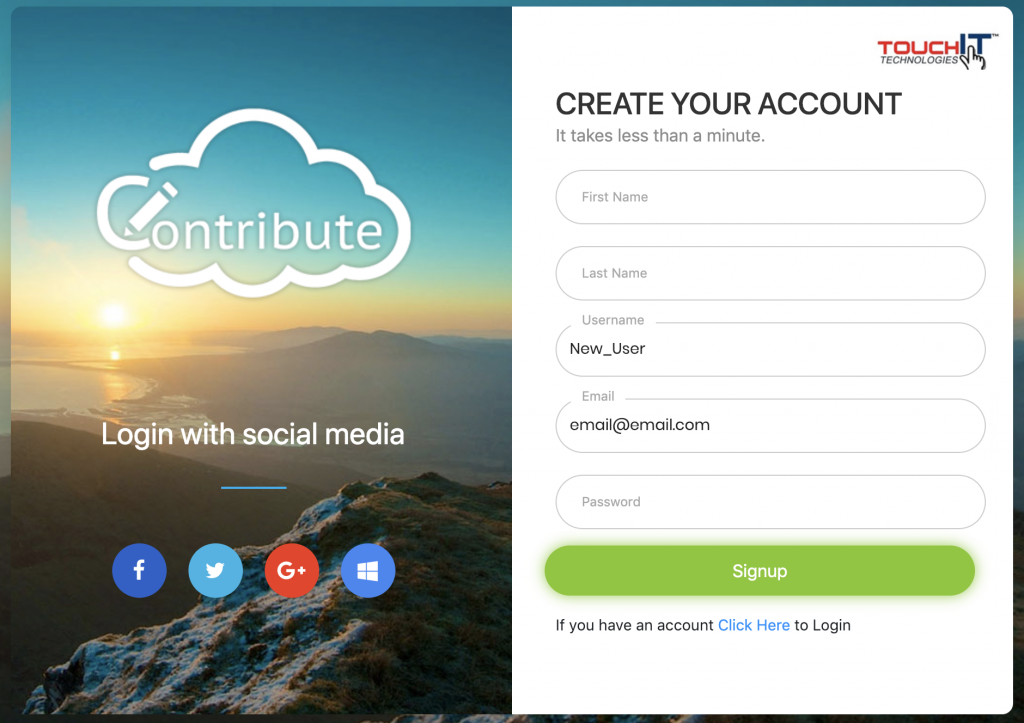
If you don’t want to use your social profiles, or your establishment does not allow this, then you can create an account by choosing an email and password. Click on “Create Account”, fill in the form and click “Sign Up”
You will then need to login with the email address and password that you have chosen from the main home screen.
When you have signed in successfully, you will be presented with this screen which is your dashboard.
What we are going to do now is activate your account. You do this by clicking on the message at the top of the screen. You are going to need your serial number which can be found on the side of your LED on a white sticker. There are two numbers, you are looking for the one that starts “letter” “letter” “number” “number” something like AU65or LG75 – it is the one in the smaller font. Enter that in the License key tab in your profile and click the button to activate your account.


Now, you are going to need to do is create a workbook by clicking on the “Create Workbook” button.
Creating your First Workbook
The whole idea of Contribute Cloud is that you can take your existing materials from multiple file type sources and bring them into one place. For example instead of having to have several applications open to show PowerPoint, Excel, Images, PDFs etc, you can show all of these in Contribute Cloud. What is more, by opening these same documents in the software, you can actually make them collaborative which we will look at later. For this lesson, you are going to need to download our set of files for the Respiration Lesson we are going to create.
Files can be downloaded here. https://www.dropbox.com/sh/ypo5a90dg878j9u/AABV4jf4JEh6igWE31n0jcsUa?dl=1
Please note, they are from Dropbox so your firewall needs to allow you access to Dropbox.
When you have downloaded them, there should be 7 files in your folder, this will normally be found in your downloads. It may look slightly different on a Windows Machine or a Chromebook as the images shown is from a MAC. (Also ignore the green tick, this is from Dropbox)

What we are going to do now is use these files which you can see are images, PDF, DOCX, and video to create a workbook.
When you first login, you taken to the Dashboard. To create a new workbook, in the top righthand corner of the screen, next to the “logout” button is a “Create New Workbook” button.
Click on the create a new workbook button.
You then need to give your workbook a name, choose a subject and enter a description.
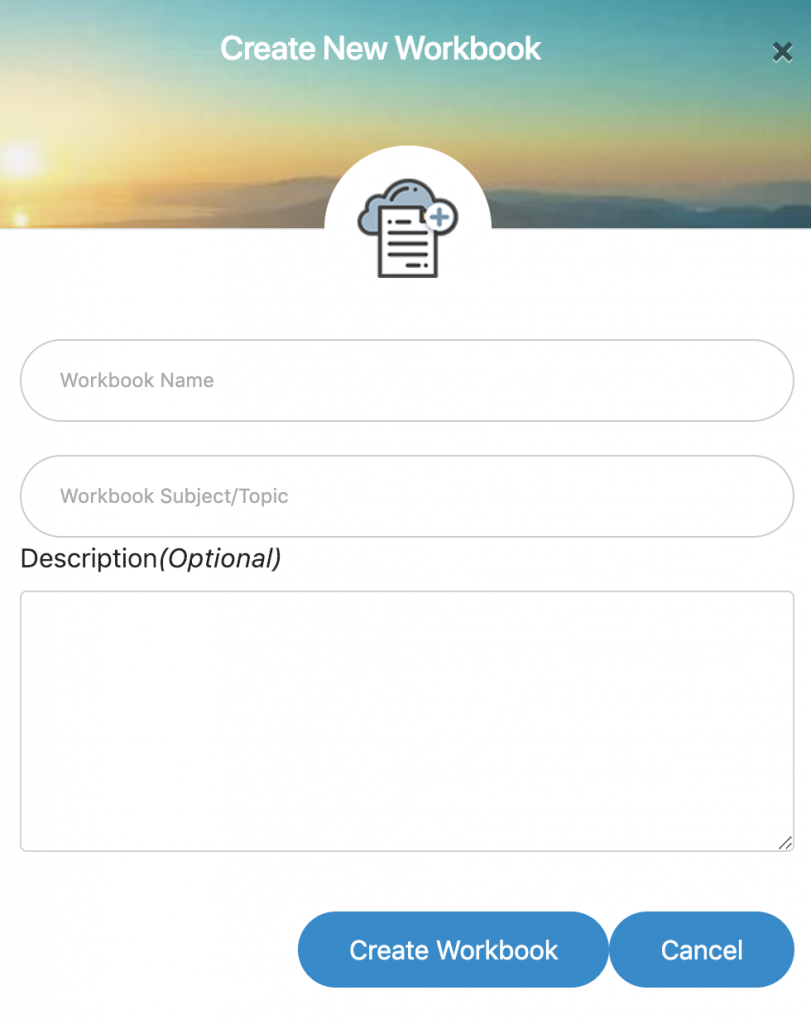
For this example, we are going to use “Respiration” and “Biology”
When you click “Create Workbook” you will be taken to the main workbook creation page. It is from this screen that you will add the content into your workbook to create slides.
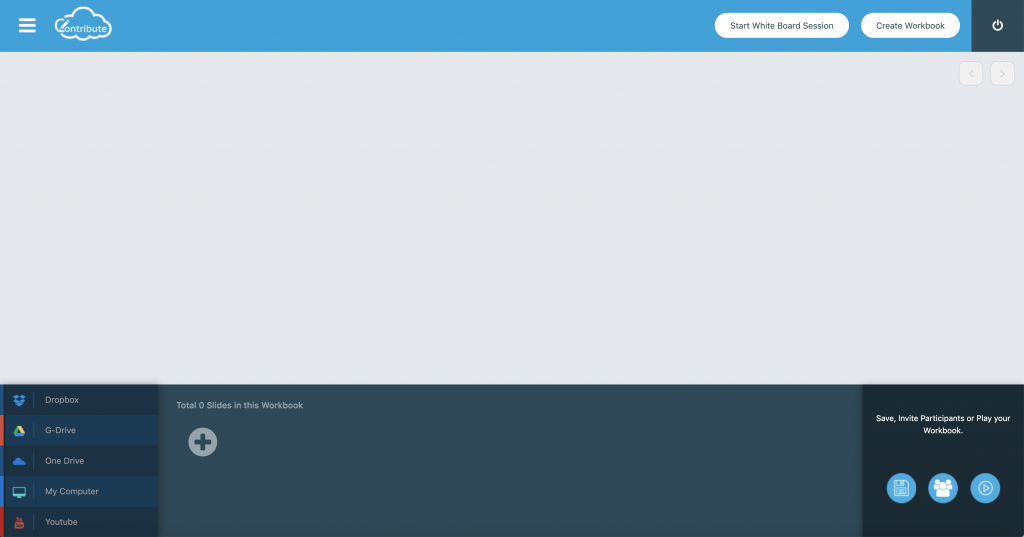
You will see on the left hand side of the page at the bottom of the screen, links to Cloud Storage Drives, Your Local Machine as well as YouTube. You don’t need to use all of them, just whichever one is your drive of choice. For this example, we are going to use “My Computer” – the principal is the same for all the other drives. Click on my computer and then navigate to the downloads folder where you have your 7 respiration lesson files. Select them all and then select choose. Again, your window might look slightly different if you are on a Windows machine or a Chromebook.
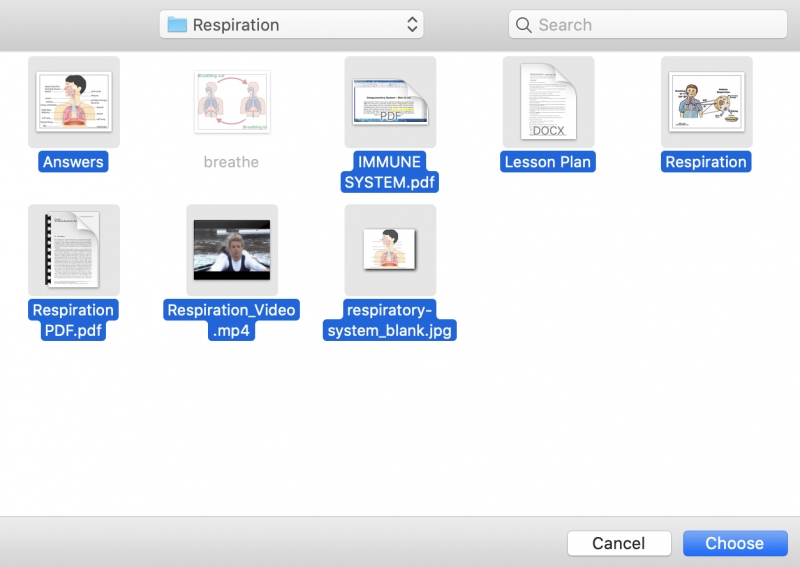
Once you have hit the Choose button, your files will be added to your Editor like the below.

If you click on any of the slides, you will then see them in the large preview window. Please note that document formats with more than one page do not generate previews until you click the save button.
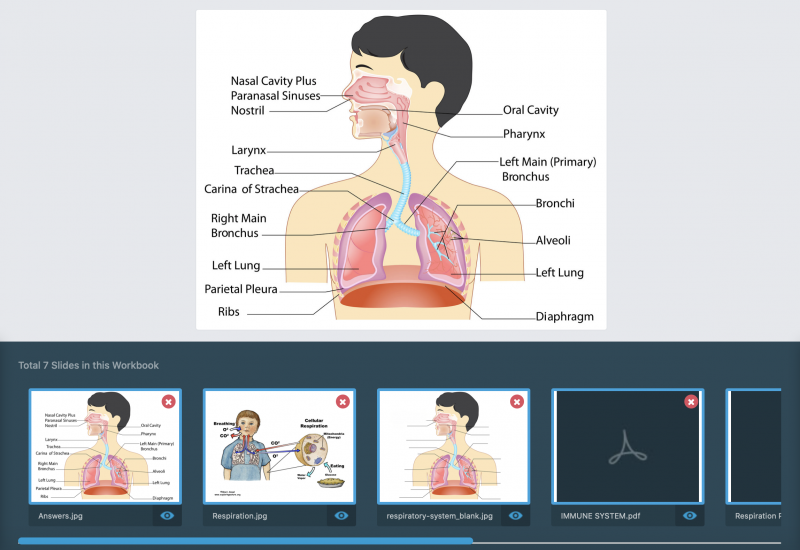
What we are going to do now is re-organise the slides into a better order by dragging them into the correct place. Let’s place the word document lesson plan as our first slide. When we have moved the slides into the order below, hit the save button and the previews will generate.
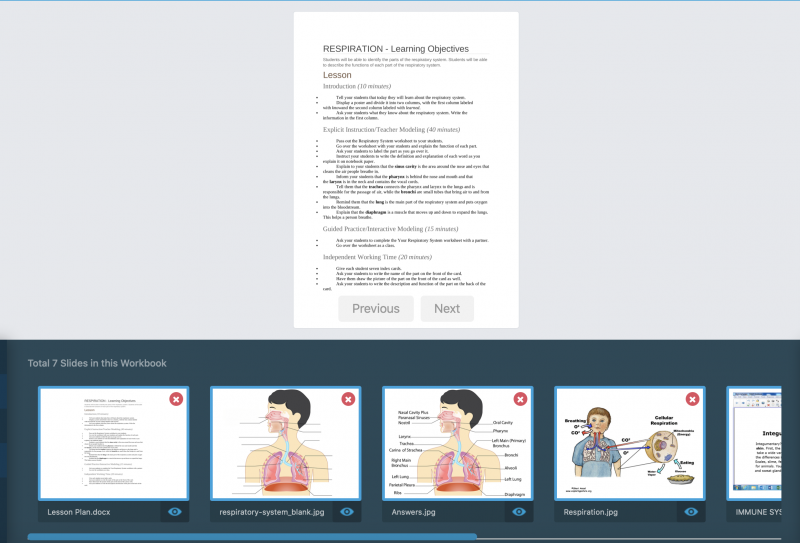
The Previous and Next buttons allow us to move through the multi-page document. If we click on any of the slide previews at the bottom we can see the slides in the large preview window.
We are now ready to send our lesson to the Playback Mode. To do this, click on the play icon at the bottom left of the screen.
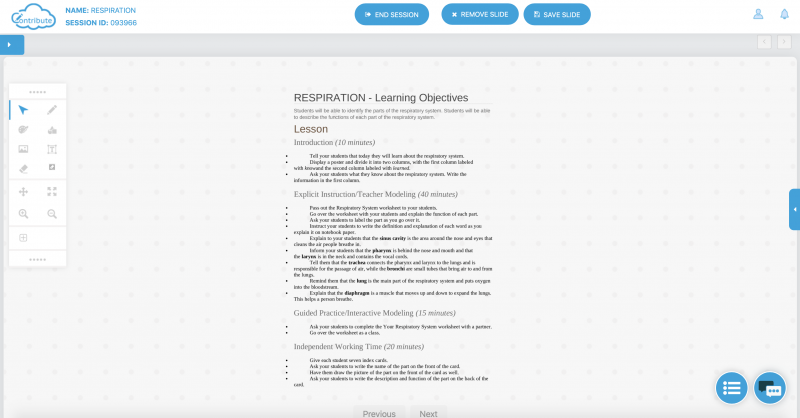
You will see the screen below – please note your session ID will be different because it is unique and it changes every time you start a session even if it is the same content or lesson.
Starting Your First Session
You saw in the previous lesson how to start a session from the editor. If you have logged out or are doing this at a later stage, you can start a session directly from your Dashboard. Simply click the large play icon on your Workbook to send the workbook into play mode.
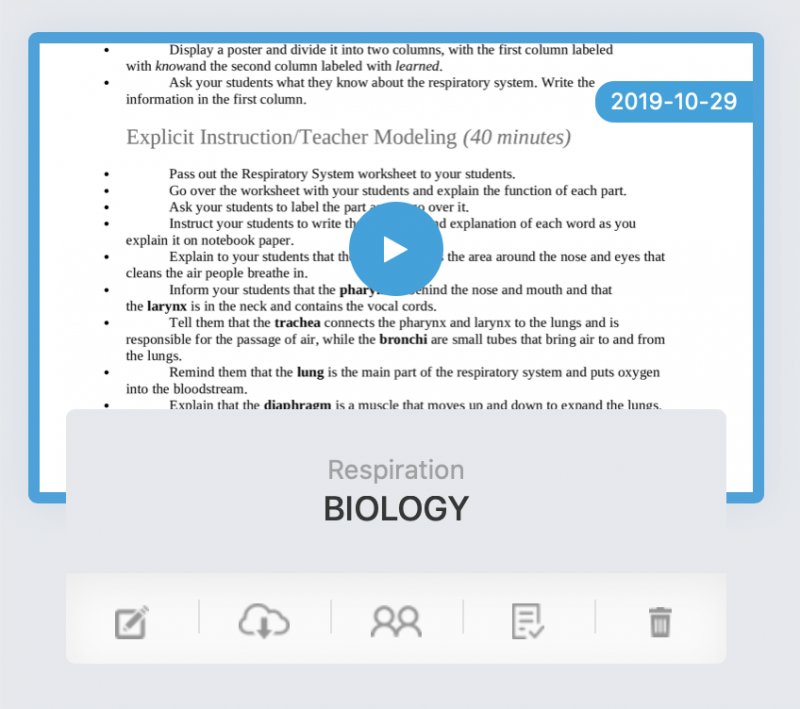
When our workbook opens, there will be a unique session ID, we’ll look at this in the next lesson. What we are going to look at now is some of the controls that you have when you are in playback mode.
The first thing to take a look at is the floating toolbar. This can be moved around by getting old of the “dots” at the top and the bottom and then dragging it around on the screen. Here are the functions of the toolbar.
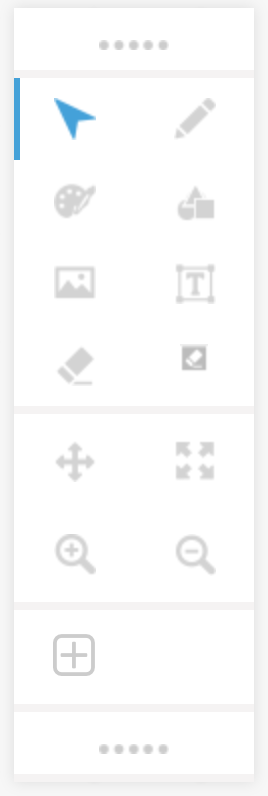
Row 1 Cursor | Pen
Row 2. Color Pallet | Shapes Tool
Row 3 (Image Upload & Live Search ) | Text Tool
Row 4 Pan | Full Screen
Row 5 Zoom In | Zoom Out
Row 6. Add Whiteboard Slide
What we are going to do now is move onto the next slide in our workbook. To do this, we need to use the forward arrow in the top left of the screen. Please note that the Previous and Next buttons are for moving through a multiple page document.
Your screen should now look like this.
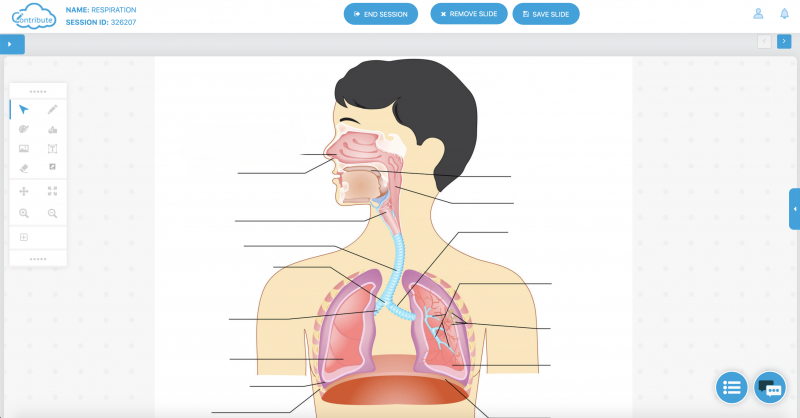
Using the floating toolbar tools, experiment by adding some shapes and text to the screen. Perhaps use the image search to look for “thumb” and add a picture by double clicking on it. See if you can make your canvas look like the one below. To change the color of an object, you need to select it first. To change the size of the text, select the text and then use the red dots to drag it and scale it. When you are finished, press the save button.
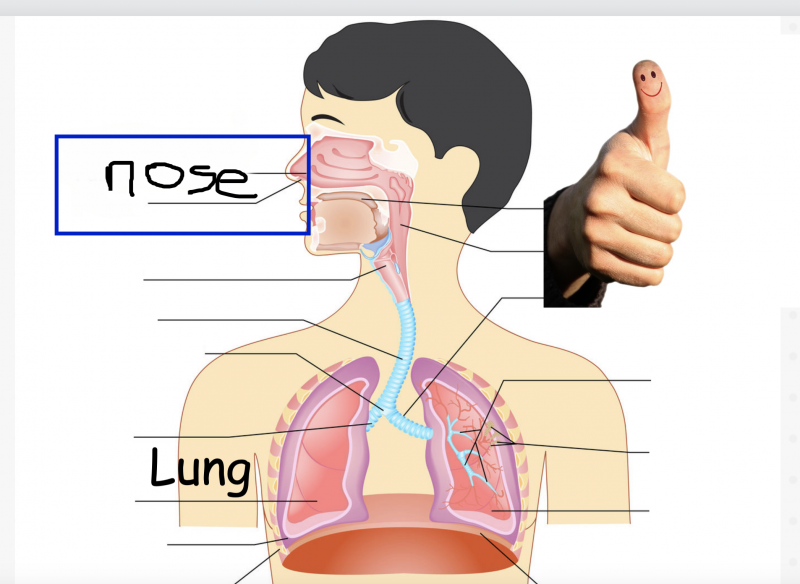
Make sure you confirm that you have saved your work.
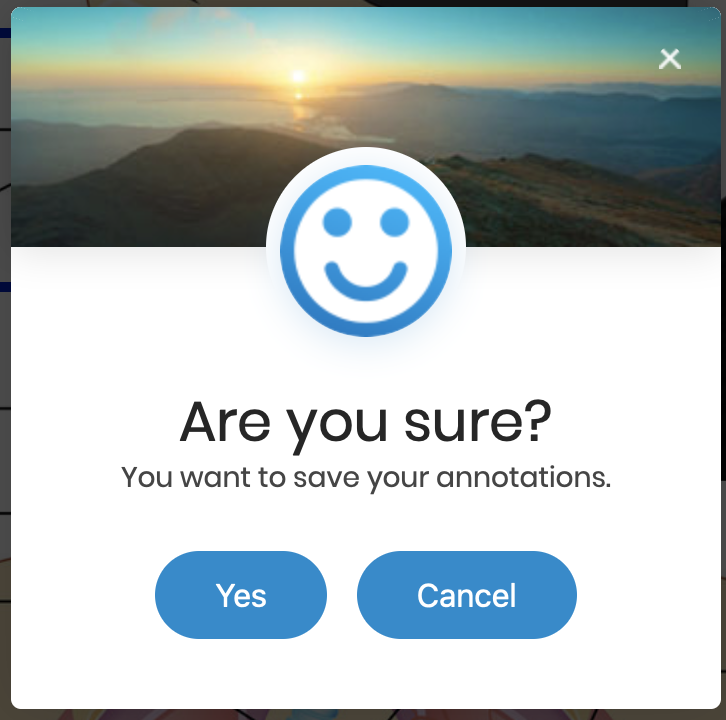
Experiment with the tools and see what you can do.
Next, let’s add a new blank page by clicking on the “+” button on the toolbar.
Confirm you want to save again then you will have a blank page. We are going to use this blank page to take a look at some of the education tools that are available by clicking on the blue button on the right of the screen – the tools will then show.

The tools are organized into subject specific categories so what you are now going to do is explore what is there. Check out each of the categories, see if you can find the calculator, or the protractor or even the multi touch piano. Tools can be moved around, resized and closed from the canvas. Experiment, and see what is there that can be used in one of your lessons. Leave the multi-zone gamification as we will look at this later in the training.
Joining a Session as a Student / Participant
Having somebody join your session is key in Contribute Cloud as that is what it is all about. For this lesson, it is much easier if you have a second computer or Chromebook. Your computer will be the “teacher” and the second computer will be the “student”. As Contribute Cloud is cloud-based and accessible through a browser, your students or participants don’t have to be on the same network as you, they just need a connection to the internet. What this means is that you can connect people remotely to your lesson. Students off sick, colleagues that work remotely and all this is done through the same piece of software.
The first thing that we are going to do if we have not done so already is start a session. We’ll use the content that we have created and saved in our Respiration session with the annotations we have already made too. Start your session. Then, you are going to click on the “Session ID” so that you can make it nice and large on the screen. This is useful in a class or a presentation. It should look like below, but again, a different number of course.
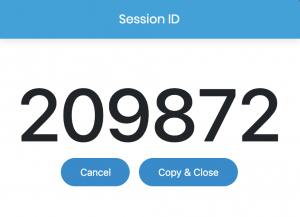
Now, on the second computer, you are going to open up a browser window (Chrome is our browser of choice) and head over to http://join.contribute.cloud
It is as this point that it is a good idea to bookmark the page (CRTL + D) or on a MAC, (CMD + D)
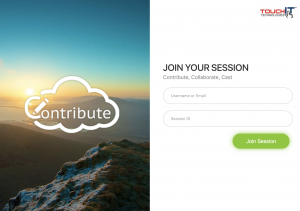
From here you can join your session/lecture. You need to enter the session ID that you will be able to see on the other computer, the one that is running the session.
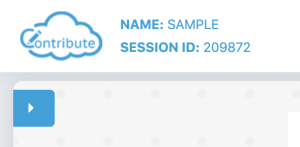
If the teacher/presenter click on it, they can make it large on the screen for the participants to read easily.

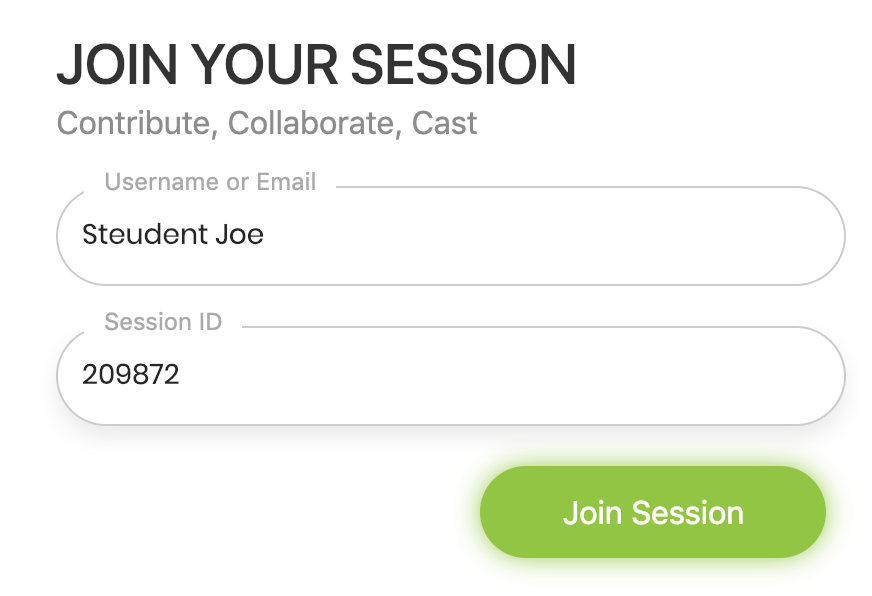
When you have entered your Name/Email and the session ID, click on “Join Session” to join the session.
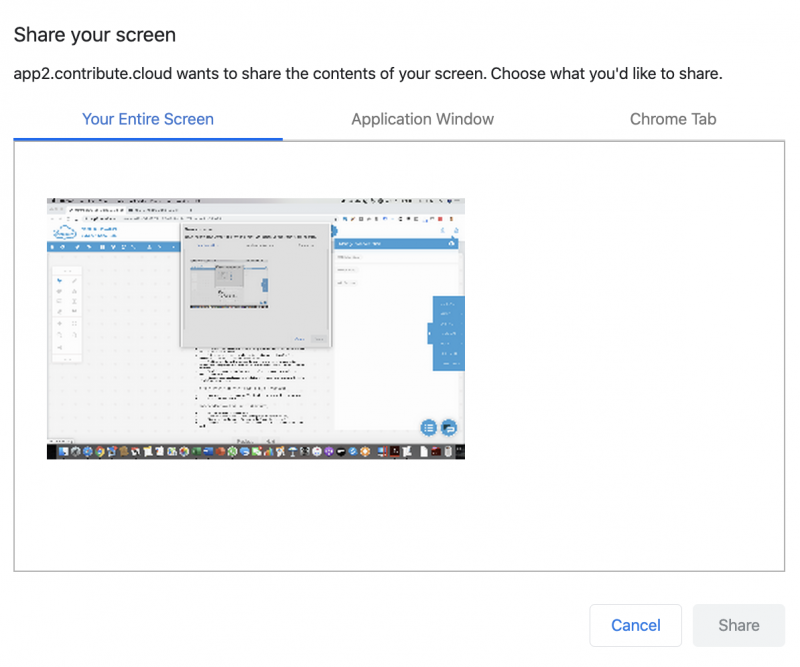
When your session begins, you should see the “Cast” window, click share to share your screen with the presenter.
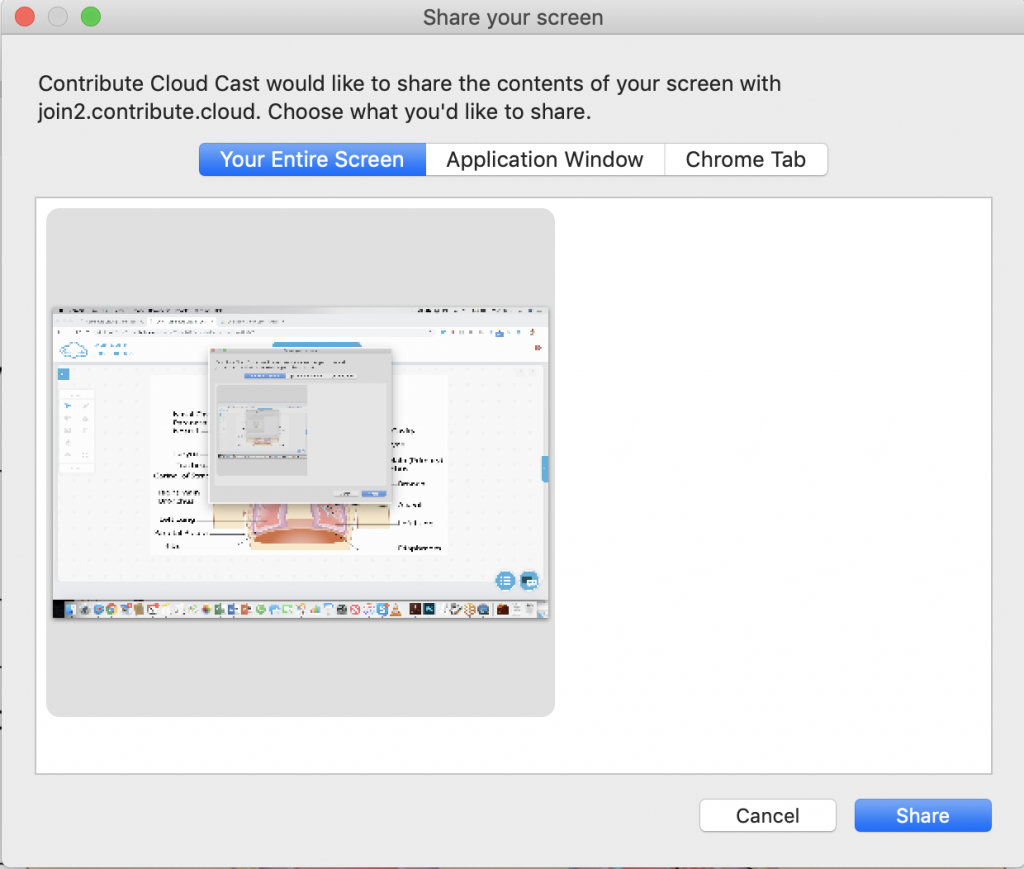
Select “Entire Screen” and click “Share” – you will now join the session.
You should see on both computers exactly the same thing. Now, what you are now going to do is experiment. If you make an annotation on the teacher computer or move to another slide, you should see the same thing happening on the student computer.
Please note, If you do not have the Cast Window showing, you either need to install the Contribute Cast Plugin for Chrome from the Chrome Store – or you need to check your Firewall Settings. Make sure that your browser is up to date as the modern versions of Chrome do not need anything installed to make the casting work.
Basic Collaboration
Collaboration is a key aspect of Contribute Cloud. What we are going to do is take the Respiration workbook that we have already created, start a session, join the session from a second computer and then we are going to put that second computer into collaboration mode. Firstly, you need to be in the same session as the teacher; presenter which means either joining by the email link you were sent, or by manually joining with the session ID via join.contribute.cloud.
As the teacher/presenter, you are able to grant collaboration access to any of the participants in your session. Simply, open the notification window and under the section where it lists who is in your session, put a check in the box next to the name of the person you wish to collaborate with.
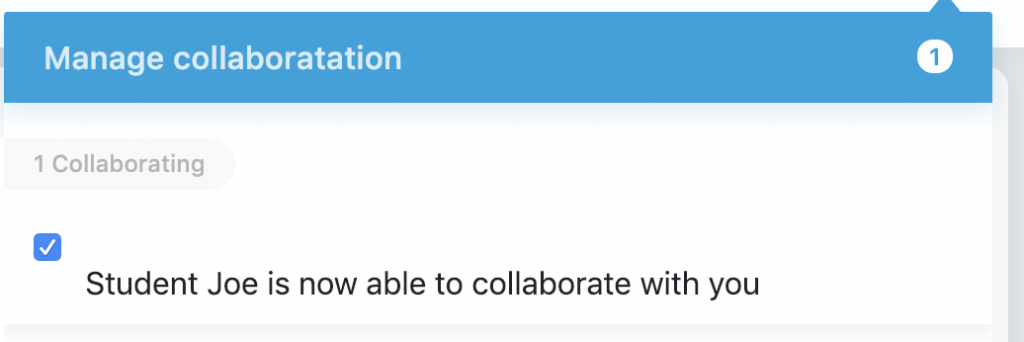
They are now able to use their tools from their device and what is drawn or written displays instantaneously on both screens.
Alternatively, the participant/student is able to request annotation access by clicking on the button that says “Request Annotation Access” at the top of the screen.

The teacher/presenter will then receive a notification message and they can then click on the check box to allow the collaboration.

In both cases, the teacher/presenter is able to stop the collaboration at any time by removing the check in the box box from next to the persons name.

What you are going to do now is put your student into collaboration mode. Then try using the drawing tools and shapes from the toolbars and you will see that it is now a two way process. Also, if the teacher opens up any of the education tools, they will show on the student screen. Experiment, see what you can do and are on the workbook.
Advanced Collaboration & Casting
We’ve taken a look at some of the basic features of Collaborating on a shared workspace, so let’s now look at some of the more advanced collaboration features of Contribute Cloud.
Self Paced & Teacher/Presenter Driven Activities
Contribute Cloud has the ability to offer the teacher the capabilities of delivering a self paced lesson to the students, as well as being able to sync them and also deliver a lecture that the students must work at the pace of the teacher.
Firstly, by default, the students are offered a self-paced option. If the teacher wishes to remove this option, they click on the “X” icon (2nd from right) from the slide in menu at the top left of the screen. This removes the forward, backwards, sync and save button from the student machines. To access this menu, you need to click on the blue tab at the top left of the screen underneath the session ID and Cloud Logo.
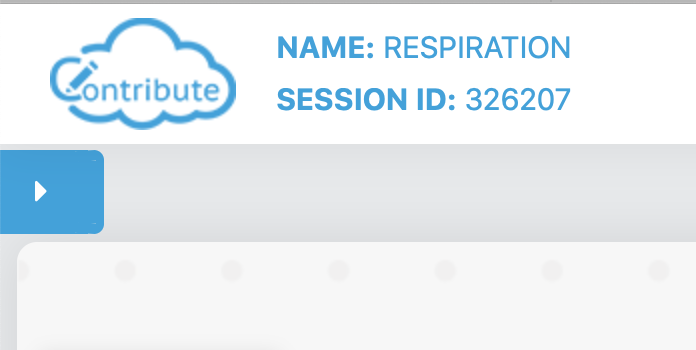
With your student connected on your second machine, experiment by clicking on the X and the ‘Tick” to see how the toolbars disappear on the student side.

To allow the students control again, press the “tick” icon.
The student controls which appear and disappear when this button is clicked are below

If a student navigates forwards or backwards, their sync button turns red so that they know they are not at the same place as the teacher. If they press this button, their screen is returned to the same place as the teacher. Give this a try and see how you can force the students to sync if they have moved forward in the workbook.

(3rd from right)
If the teacher wishes, they can override the students and force a sync by pressing the sync button at the bottom of the screen. Please note, this will not give the students any option to save their work and overrides whatever they have done.
Pause the Student Screen
We have incorporated the ability for a teacher to pause the screen of the students so that verbal explanations or instructions can be given to the students without the distraction of something showing on their device screen. In order for a teacher to pause the screen of the students, they need to click on the pause icon, which can be found in the top left slide in toolbar. (5th from left). Give it a go, see how the screen on the student displays the pause icon until you press it again.

When pressed, the students see the pause logo on their screen over the content until the teacher presses it again and it is removed. Once again, they can view the content.
Chat & File Transfer
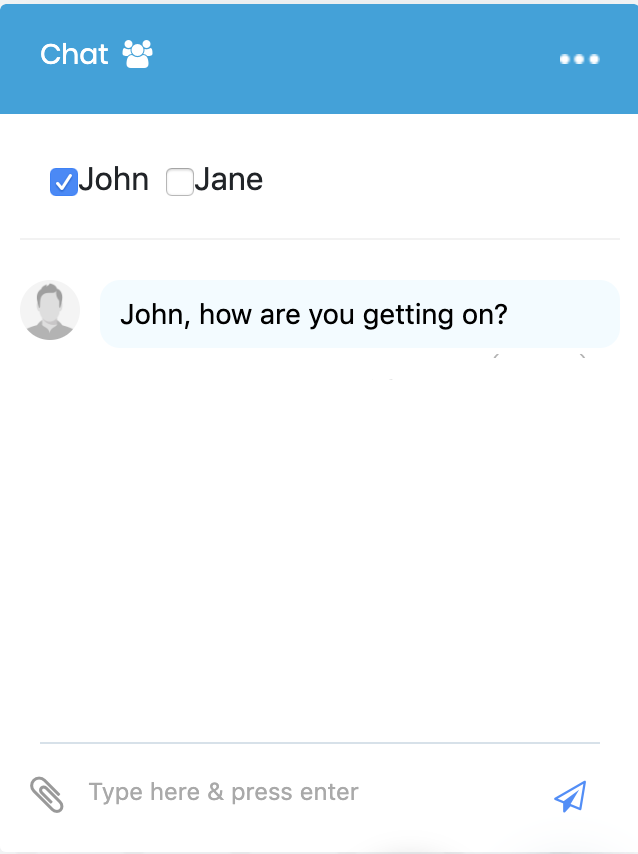
Contribute Cloud Chat is a simple an easy way to share information with all your students or participants in a session. Unlike other chat applications, this is a group chat where you can share live links with students. If you click a link, it will open in a new window. Perfect for sharing a URL or a Shared Google Doc. You are even able to send physical documents to all the participants using the Chat System.
To Access the chat window, click on the Chat Option at the bottom right of the page.
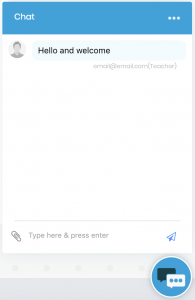
Students can respond directly from their own machines in the session.
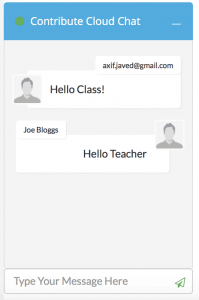
The whole group sees the chat transcript. Try it out, see how quick messages and files can be shared. If you have more than one machine, you can see how the selective chat works as explained below.
In order to send files, both the students and the host (teacher) are able to do this. Click on the Paperclip icon, select the files from your local machine and then press send. Your colleagues or participants can then download a copy by clicking on the link.
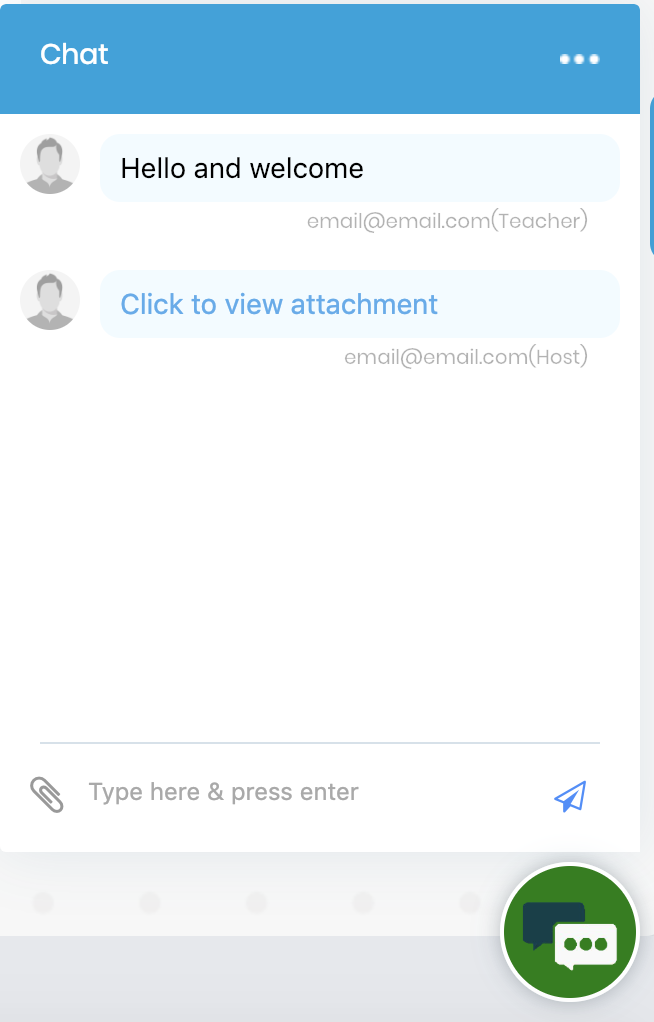
We are also able to use a more selective method of choosing which students we would like to send chat messages or files to. If you click on the people icon at the top of the page, you see a list of the students in the session. You can now select the names of the students to whom you would like to send a chat message, link or file. Only these people will receive it.
Casting & Multi-Casting
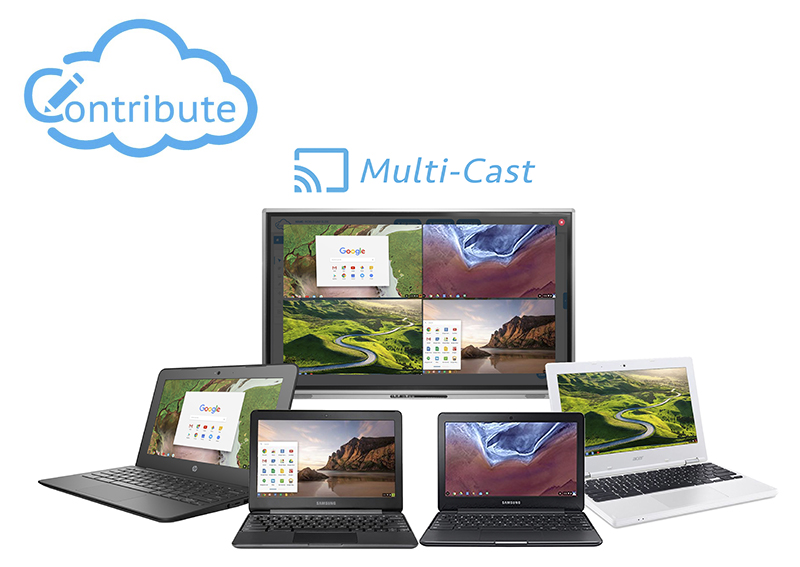
Contribute Cast allows teachers and presenters to control which student’s or participant’s screens can be “cast” up to the interactive LED. “Casting” is the ability to send the screen of a student or a participant to the LED without the need for wires. Traditionally, this is done with hardware like a ChromeCast Dongle from Google, but our system has been designed especially for groups of students or users so that a teacher or presenter can quickly and easily switch whose screen is casting.
In order for the Student’s to cast, they need to be using the Chrome (preferred) Browser or the Firfox Browser.
When a teacher or presenter logs into Contribute Cloud, They can access the Cast window from the notifications tab – this is opened by clicking the “Notifications” icon in the upper right of the screen.
When open, You will see all the students that are connected and able to cast in the session. Give it a go, if you are just using your 1 student machine, you will only see one screen preview below.
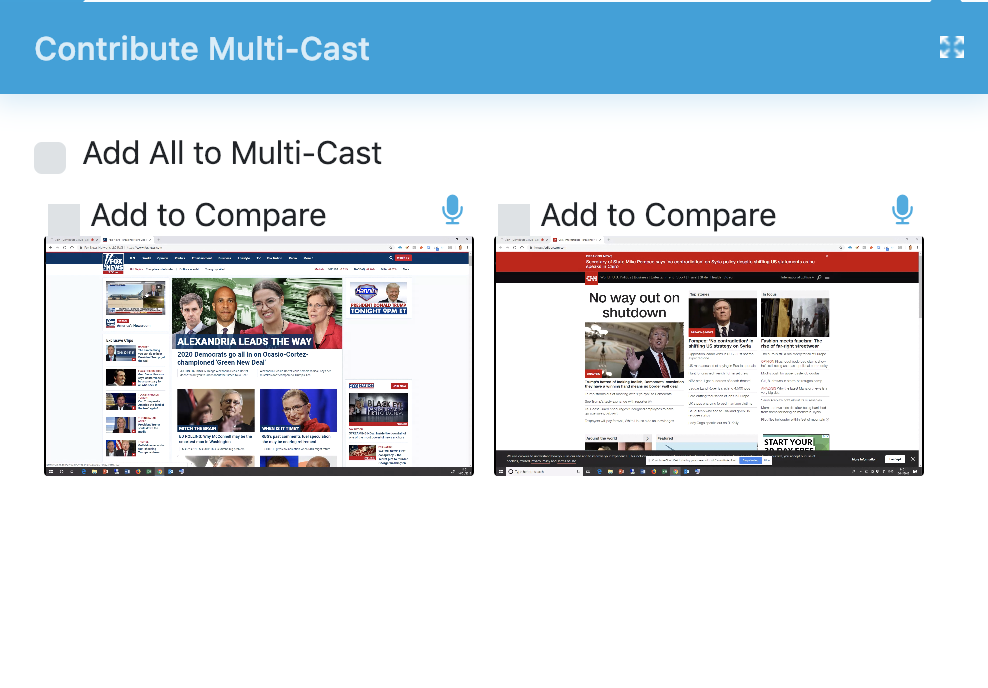
In order to have the students screen cast to the teacher machine (or LED), you simply have to double click on their screen preview. They will then be cast full screen on the LED.
To close the full screen view of the student’s screen, click in the bottom right hand corner, you are looking for the “square” icon in the centre.
Give this a try – experiment with switching between the student machine and your own machine. Getting comfortable with the tools is key to using them in a live class situation.
Gamification
How is Gamification included in Contribute Cloud Software?
Unlike some other vendors and developers in this space, the multi-touch, multi-zoned games are included as standard for all Contribute Cloud users. This is a free update (as are all updates) to the software and when you log into it now, you can see the games included. They are ordering into their subject specific sections and we have also included so additional games, just for fun!
Unique Approach to the User Interface
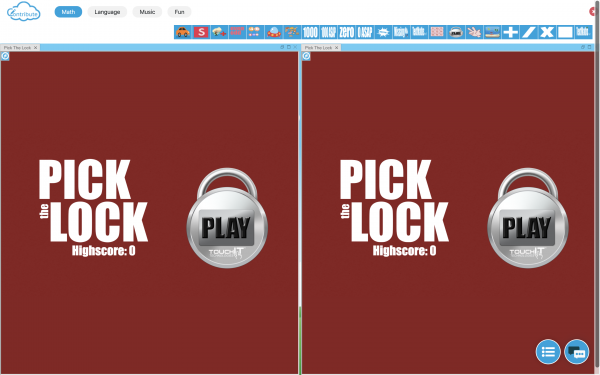
What is different about Contribute Cloud’s user interface, is not only is it multi-zoned, you are also able to rotate the games to be used on our Fusion 2 interactive table product. Furthermore, you are not confined to a quadrant on the screen you have total flexibility with the layout as you are able to drag and drop games into separate regions of the screen in a totally dynamic fasion.
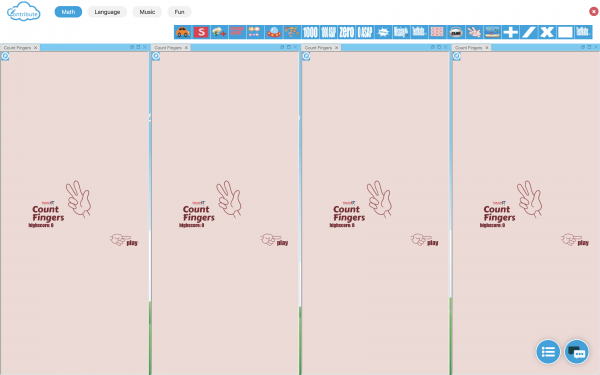
How does it work? What do I need to do?
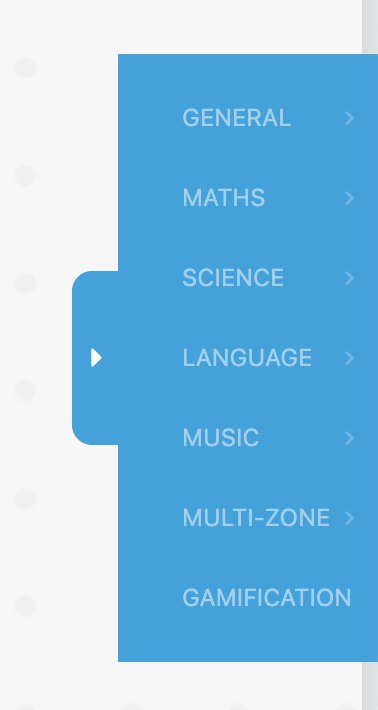
First, you need to select the “Multi-Zone Gamification” button from the Toolbar. This will open the brand new full screen multi-zone dynamic game canvas.
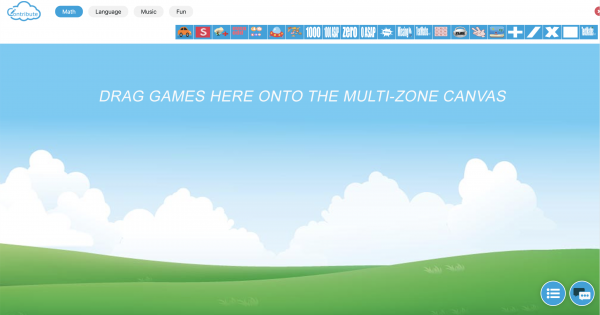
Now, from the categories on the top bar, you can drag a game into place. The first game you drop in will be in full screen. The next shows you the area that this can be dropped into and so on and so forth. The video below shows you what we mean. You can also rotate the games by clicking on the blue rotate icon if you are using them on our Fusion 2 Interactive Table.
A few Standout examples of the 40+ Integrated Learning Content – have a play!
The all-new multi-touch Piano is a fantastic tool for music lessons. Not only are you able to change the sound of the piano to one of 40 different models, but you are able able to record your master-pieces and download them to your computer when you are done – how cool is that?!
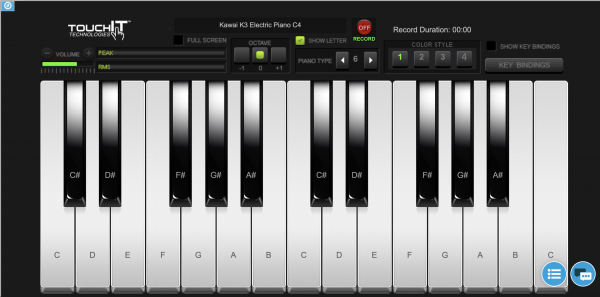
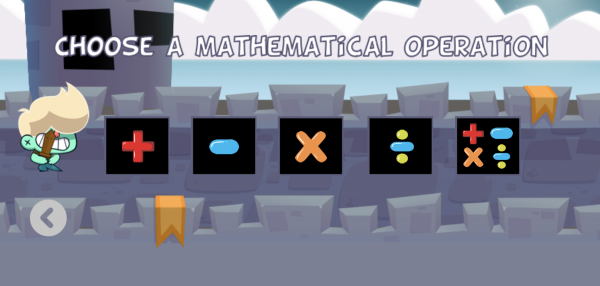
Maths Challenge helps improve your numeracy skills by offering quick fire questions where you must calculate the answer before the ghost attacks our hero. Answer the question correctly and our hero will fend off the ghost and move onto the next question. Gameification of math at its best.
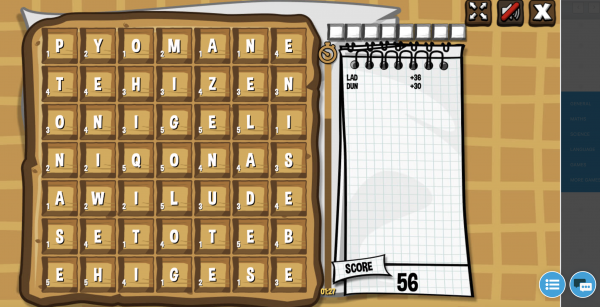
Gameification of Language. Make as many words as you can – this game really makes you think and improves your spelling. Why not challenge one of your peers to a “word off”
These are just 3 examples of the types of learning games we have integrated into Contribute Cloud. Have a good look around the software to see all of the new content that is available for you and see what can work for you and your activities.
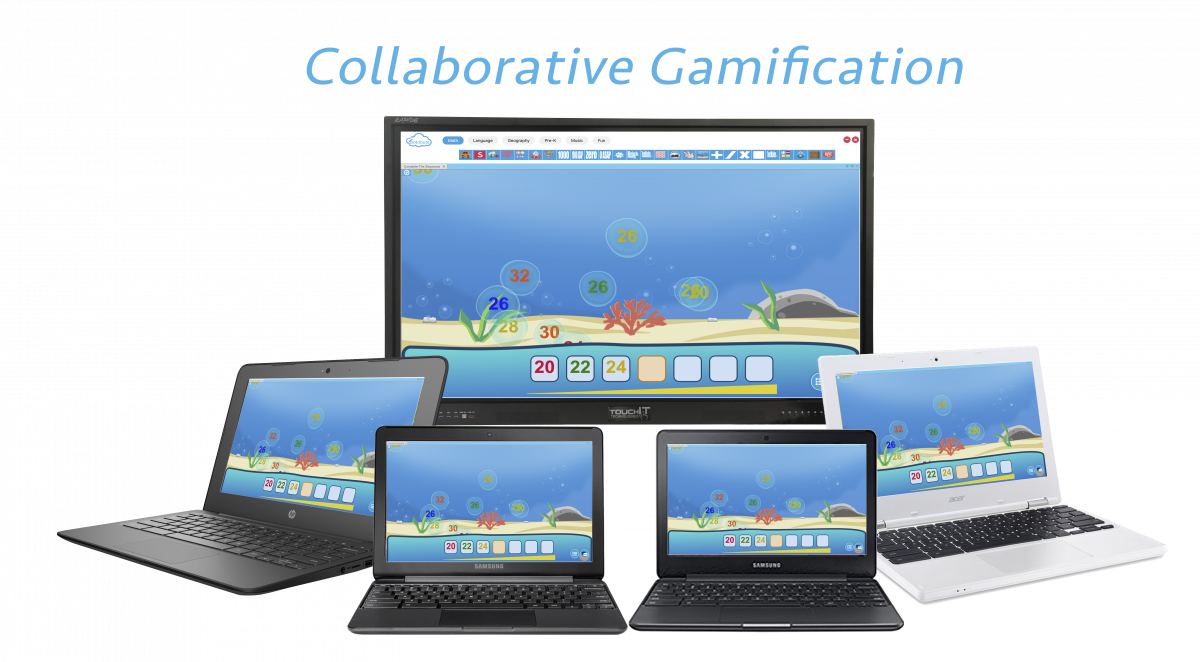
Collaborative Gamification allows a you to put a student or group of students into collaboration mode, and then push the learning games out to their devices, just like handing out a worksheet. Now, the teacher can choose which students are able to use the activities on their devices. They have total control as students are not able to access the games themselves, they must be enabled by the teacher.
Follow these steps on your Computer and your “Student Machine”
Step 1 – Teacher starts a Contribute Cloud session,
Step 2 – Students then join.
Step 3 – The teacher then puts a selection or all of the students into collaboration mode.
Step 4 – Next, the teacher opens up the multi-zone gamification from the tools on the right hand menu. When the teacher drops one or more than one game onto the canvas, it loads for the students too.
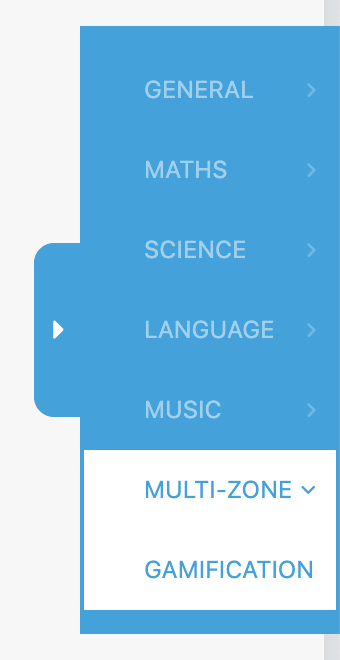
The students are able to independently work on the games and the teacher is able to monitor their progress using the Casting preview. To do this, they can minimise the Gaming Canvas and have access to the tools in the workbook underneath. They can also bring up the multi-cast preview feature to see exactly how they are getting on or select students to cast up to the LED to show their progress.
Advanced In Session Tools
Presenter Cast & Video
Presenter Cast & Video is the ability for the presenter or teacher to broadcast video and audio (one-way video conference) to the connected participants or students. Or, they are also able to cast their screens out from their own computer to the connected Students or participants. The reason that you would want to do this is firstly taking video, would enable distance learning or remote presentations. Secondly, by being able to cast their screen they can show a 3rd party application or webpage by leaving Contribute Cloud and the participants or students would be able to see it.
To start this, the presenter or teacher needs to turn on their video feed by clicking on the phone icon.

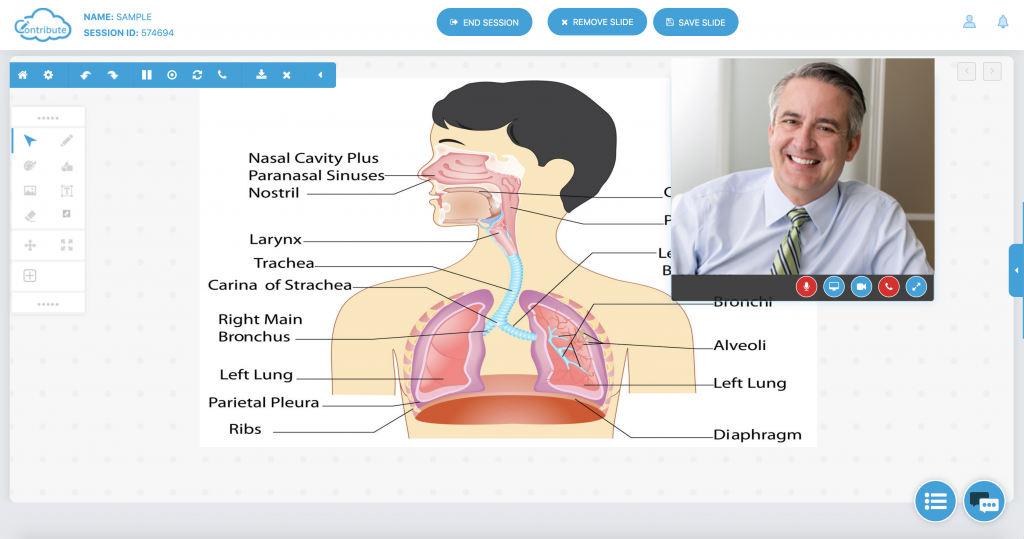
Then, they need to unmute their microphone as by default it is muted. (if it is red, it is muted) At any time, you can turn the video off by clicking on the video tab. If it is blue, it is enabled, red, disabled.

{Left to right – enable/.disable MIC | Show Screen | Show Video | End Call | Resize Window}
To switch to displaying the presenter/teacher’s screen, click on the screen icon. (second from left) You can then choose which screen to share. Your participants will now see the shared screen on their own devices.
Please note you cannot show video and screen sharing at the same time, it is either or scenario.
When you are finished, to “hang up” you click on the phone icon again.
Recording A Session
Teachers and presenters are now able to record their lessons to video. This will capture what is being shown on the screen so even if you leave your browser, you are able to record your screen. If you have a microphone connected, you can also record your voice. As soon as you click finish, the video is downloaded to you default download location in WEBM format. We chose this format as it is the smallest video size. You see an on screen notification when you are recording.
To start a recording, click on the record icon from the slide in menu at the top left of the screen. (6th from left)

You will need to click on OK to the screen sharing dialogue prompt that appears on the screen.
When you are recording, you will see this message at the bottom of the screen. Click “hide” to hide the message.

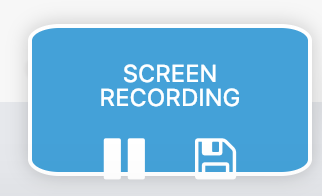
You can pause the recording by clicking on the Pause icon, and when you click save, it will be downloaded as a .WEBM video and saved in your default downloads directory.
Saving and Downloading Workbooks
During this training session, we’ve been doing some “in workbook” saving using the save button first in the editor, then in the session to save our annotation before we moved to a new slide. What we are now going to do is look at how we can download a copy of all our notes and annotations plus the slides onto our computer.
Downloading you completed workbook to PDF is quick and simple. Slide out the toolbar and then click on the Download icon
After a few seconds, a popup window will open allowing you to choose the name of your workbooks and then your workbook will download in its entirety to PDF on your local machine. Please note, that this file will be downloaded to your default downloads directory that your web browser uses.

Just a short one for this lesson, check it out and see how you get on.
Participant / Student Lists
By creating Participant Lists in Contribute Cloud, you are able to invite your participants to join the session with a single click of a button. Lists can be added manually and can also be imported from Google Classroom with a single click.
To create a Participant List, you need to click on the “burger Icon” in the top left of the screen. Then choose, participant lists.
From this screen you will see information about the amount and type of files that you have in your Contribute Cloud Account as well as being able to create a new list.
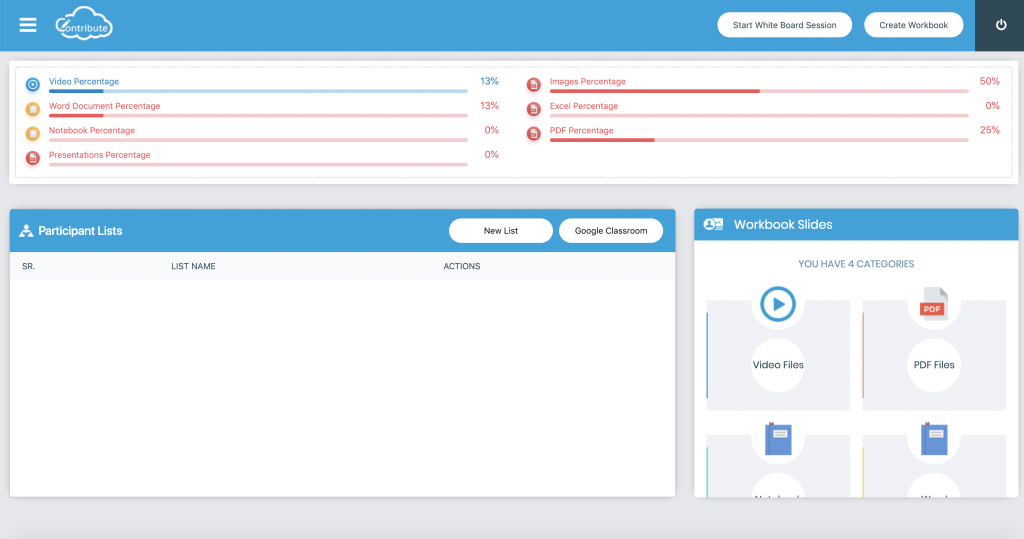
To create a new list, click on “New List”
You will then need to give your list a name and then click “Create New List”
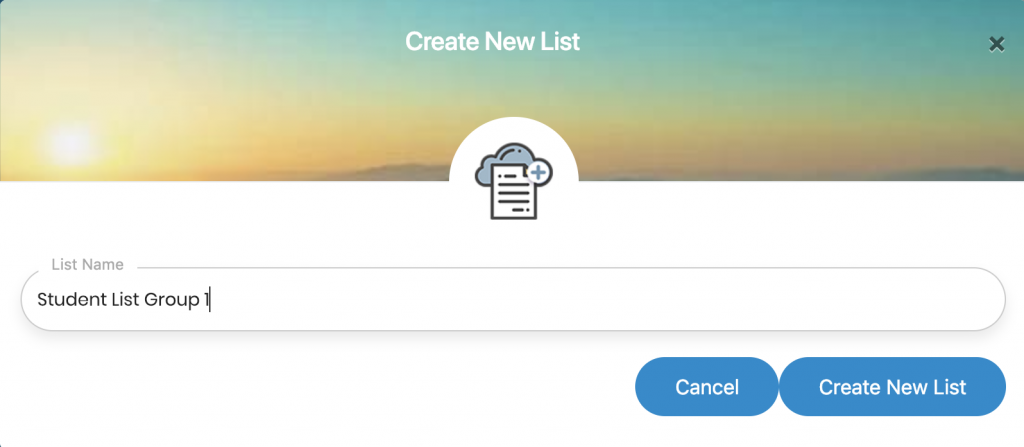
Your list will now display in the Participant Lists section. To add participants, click on the “Add / Edit / Manage Participants” button.
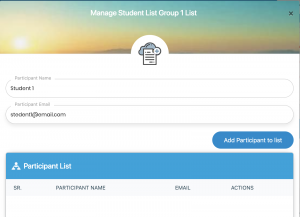
Here you can add your participants by entering a name and an email address.
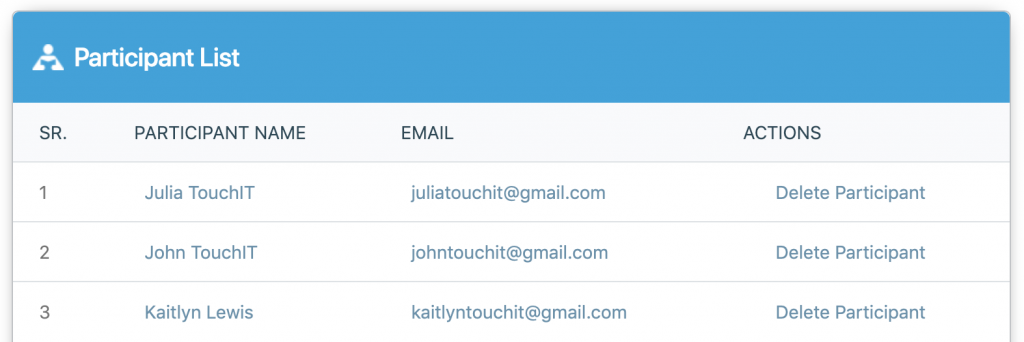
To delete a participant, click on the “Delete Participant” option.

You can also edit the name of the list by clicking on the “Edit List Name” option and you can delete the list by click on the “Delete” option. There is a confirmation window and this is a permanent delete, there is no undo.

If you are a Google Classroom user, you will already have created your class lists in your Google Classroom Account. We are able to import all your Google Classroom lists into Contribute Cloud with just one click.
Click on the Google Classroom button
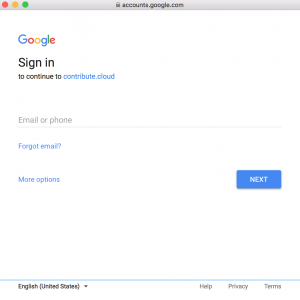
If you are not already logged into your Google Account, you need to sign in with the email and password that is associated with your Google Classroom Account.
Your class lists will all be imported into Contribute Cloud. In the example below, we only have one class (Maths Class) of three students setup in our Google Classroom account. If you have multiple classes and multiple student lists, they will all be imported.
Lists allow you to send email invitations to your students instead of them joining manually. Give it a try!

