Please read through the guide below before you attempt to update the firmware. You will loose all settings, files and Apps that you have installed on your LED when you update the firmware.
Firmware Reset Guide – TouchIT Rapide
Step 1 – Take a usb stick and empty it of its contents. Then, you need to format it to FAT32 format.
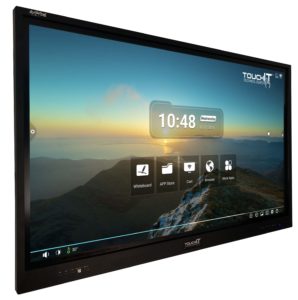
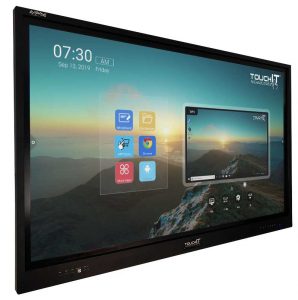
Step 2 – Select the Firmware which matches how your LED looks. You can only install the firmware that is designed for your model of screen.
Download the file by clicking on the LED that looks like your Rapide below and copy it onto your USB stick (ver 072021)
Step 3 – Place your USB Stick in the front USB inputs of the LED and if your unit has power, turn the power off at the rocker switch.
Step 4 – Turn the unit on via the rocker switch underneath the unit. You will see the power light indicates red on the front of the led.
Step 5 – Press and hold the power button on the front of the LED (first button on the left) you will see the TouchIT logo and then the Firmware loading page will show
**do not power off the unit**
Step 6 – Let the firmware download then update, your unit will then turn off. Once it turns off, remove the usb stick and press the on button
Your firmware has now updated.
What to do if you see a double split screen? (Not all LEDs need this step)
Don’t worry, this is just a configuration that needs to be changed in the installer menu. You need the remote control for this step.
Step 7 – press the input source and change to HDMI
Step 8 – on the remote control, press the menu button and select display mode.
Then you need to press the up arrow twice then the down arrow twice to enter the menu. (It may take a few goes as it is a tricky combination)
Once in this menu, scroll down to general options, then panel division and set it to two.
Step 9 – click exit then restart your led. You will now be all set.


