TouchIT Rapide Manual 2021
Basic Operation of the TouchIT Rapide
After you have connected your TouchIT Rapide to a Power Outlet, you are ready to turn it on. Once it is switched on and boots up (less than 30 seconds) you will be presented with the Home Screen.
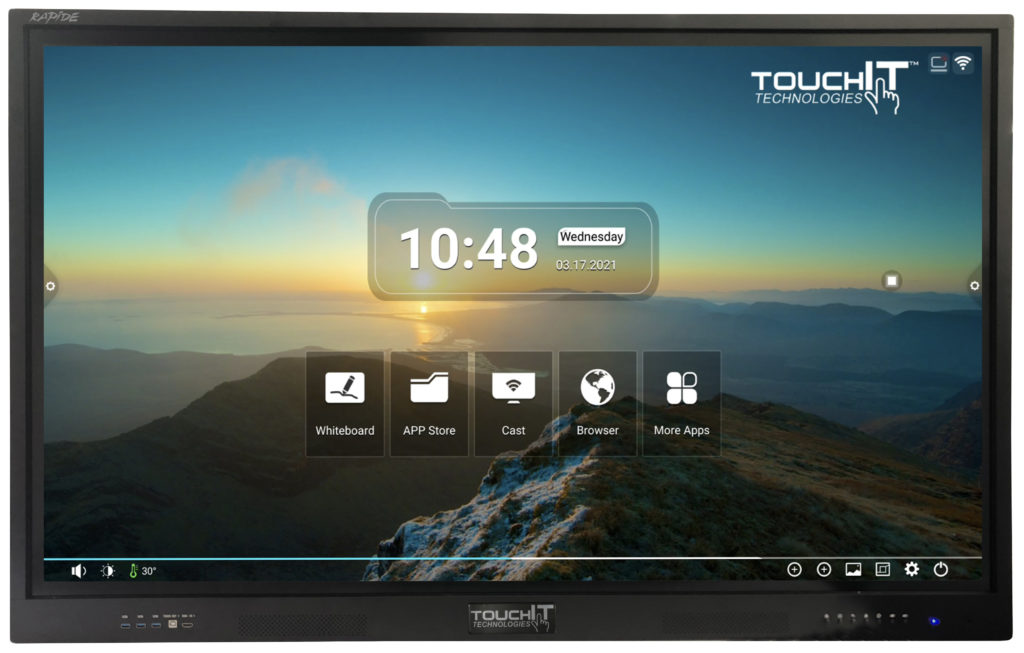
Under the clock, you have links to the 4 main apps as well as “More Apps” which takes you to a screen where you can access everything that is installed on your LED.
and the black square is your signal. preview. This is where you can view the screen of your connected computer.
Bottom Menu Options
From left to right, we have the Volume which can be adjusted up and down.
The Brightness of the screen which can be adjusted up and down.
We then have the temperature of the LED. This is nothing to be concerned with.
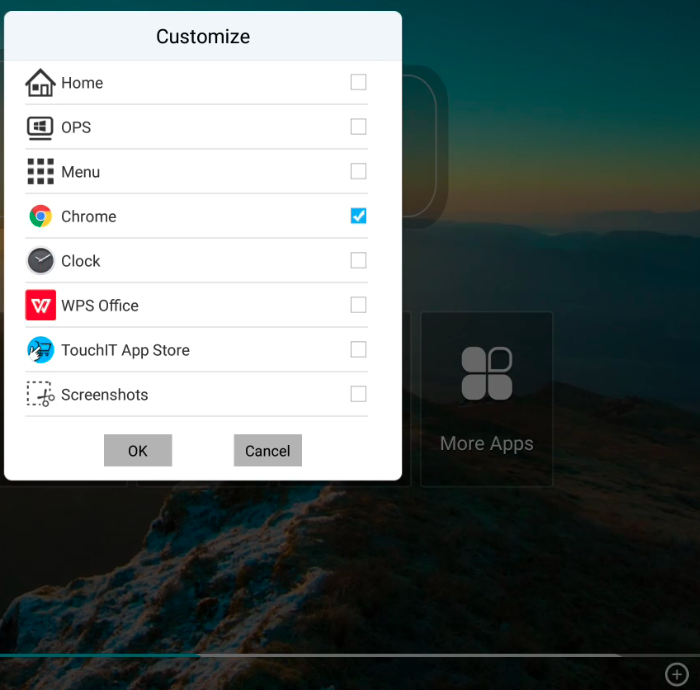
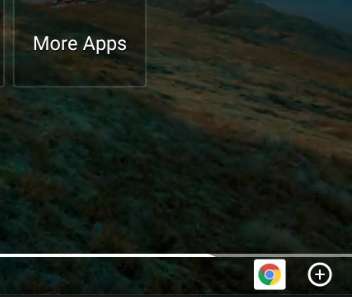
Next, we have two “+” Icons. This allows you to customize the home screen with two Apps of your choice. Click on one of the “+” icons and then select the App you wish to insert. For example, here with a check in the Chrome box, Chrome would appear in this position.
Next, we have the option to change the background of the screen. We suggest you leave the background as it.
The next Icon is your Signal Preview.
The signal preview allows you to display the computer you are connecting to the LED and switch between it and the onboard android by just tapping the screen. First, you need to choose the input that you are using by clicking on the down arrow and selecting the input as below. You should now see the image in the signal preview.
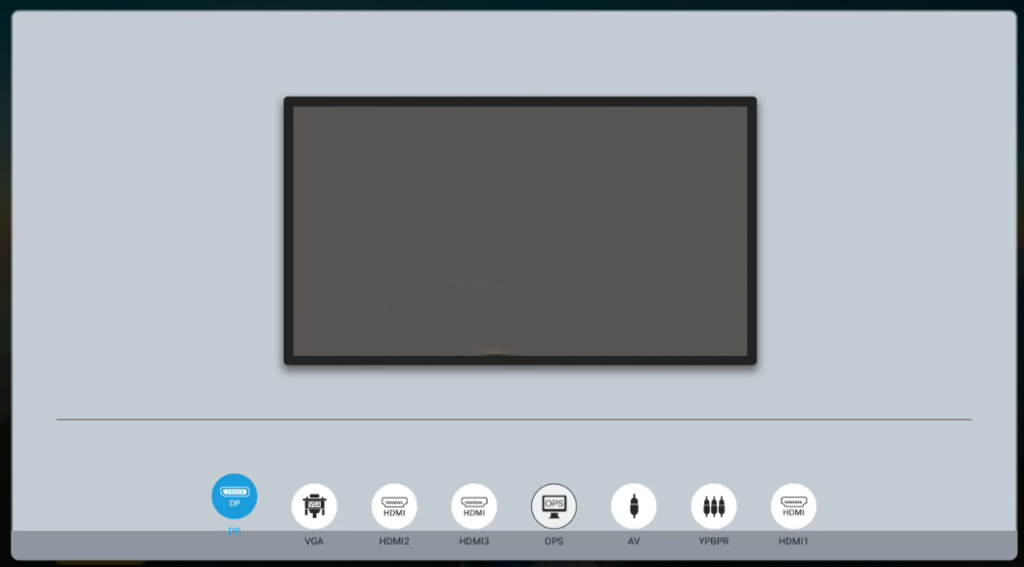
To switch to your computer, click the image. To switch back, swipe up and choose home from the Pop-up menu described below.
The Menus
There are a number of Menus available to you, so let’s take a look at each one.
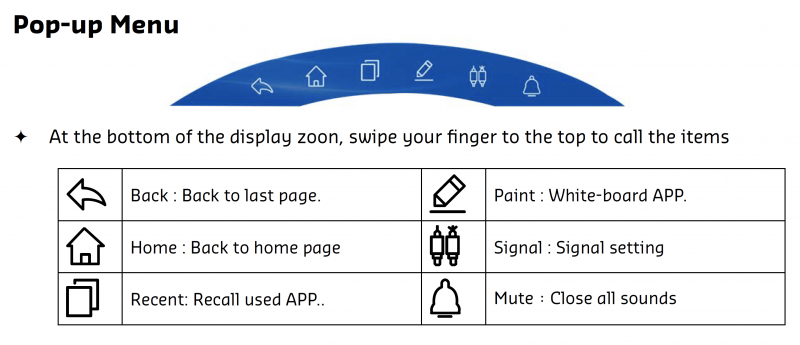
Side Menu
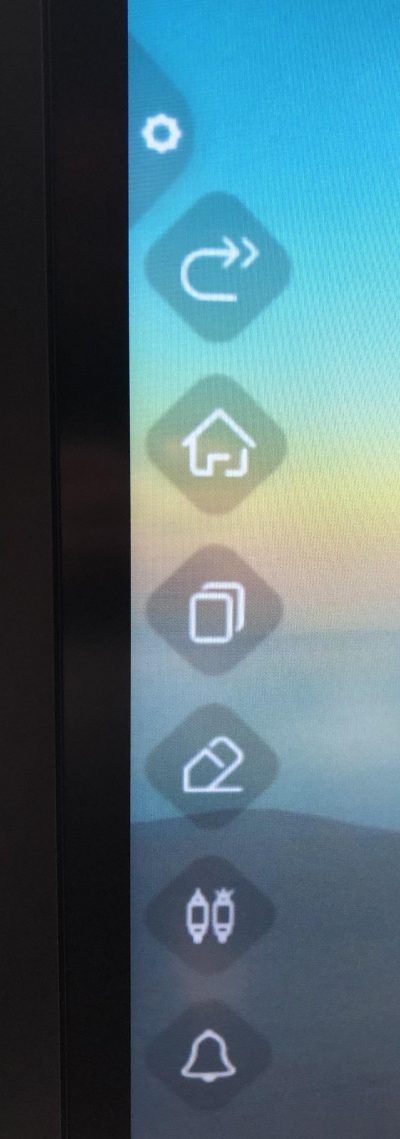
On each side of the LED, you will see a “gear” icon which is a short cut menu. This gives you access to the following options.
From top to bottom – Back, Home, View Apps, Drawing Tool, Source, Mute
Floating Menu
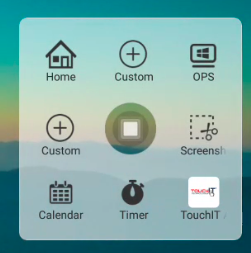
Clicking on the Floating Menu Icon (which can be dragged around the screen) enables you to add customized icon links to a quick launch menu.
Click on the “+” Icon and then you can choose an installed App to have a shortcut.
In this example, we have added TouchIT Air to the shortcut menu.
