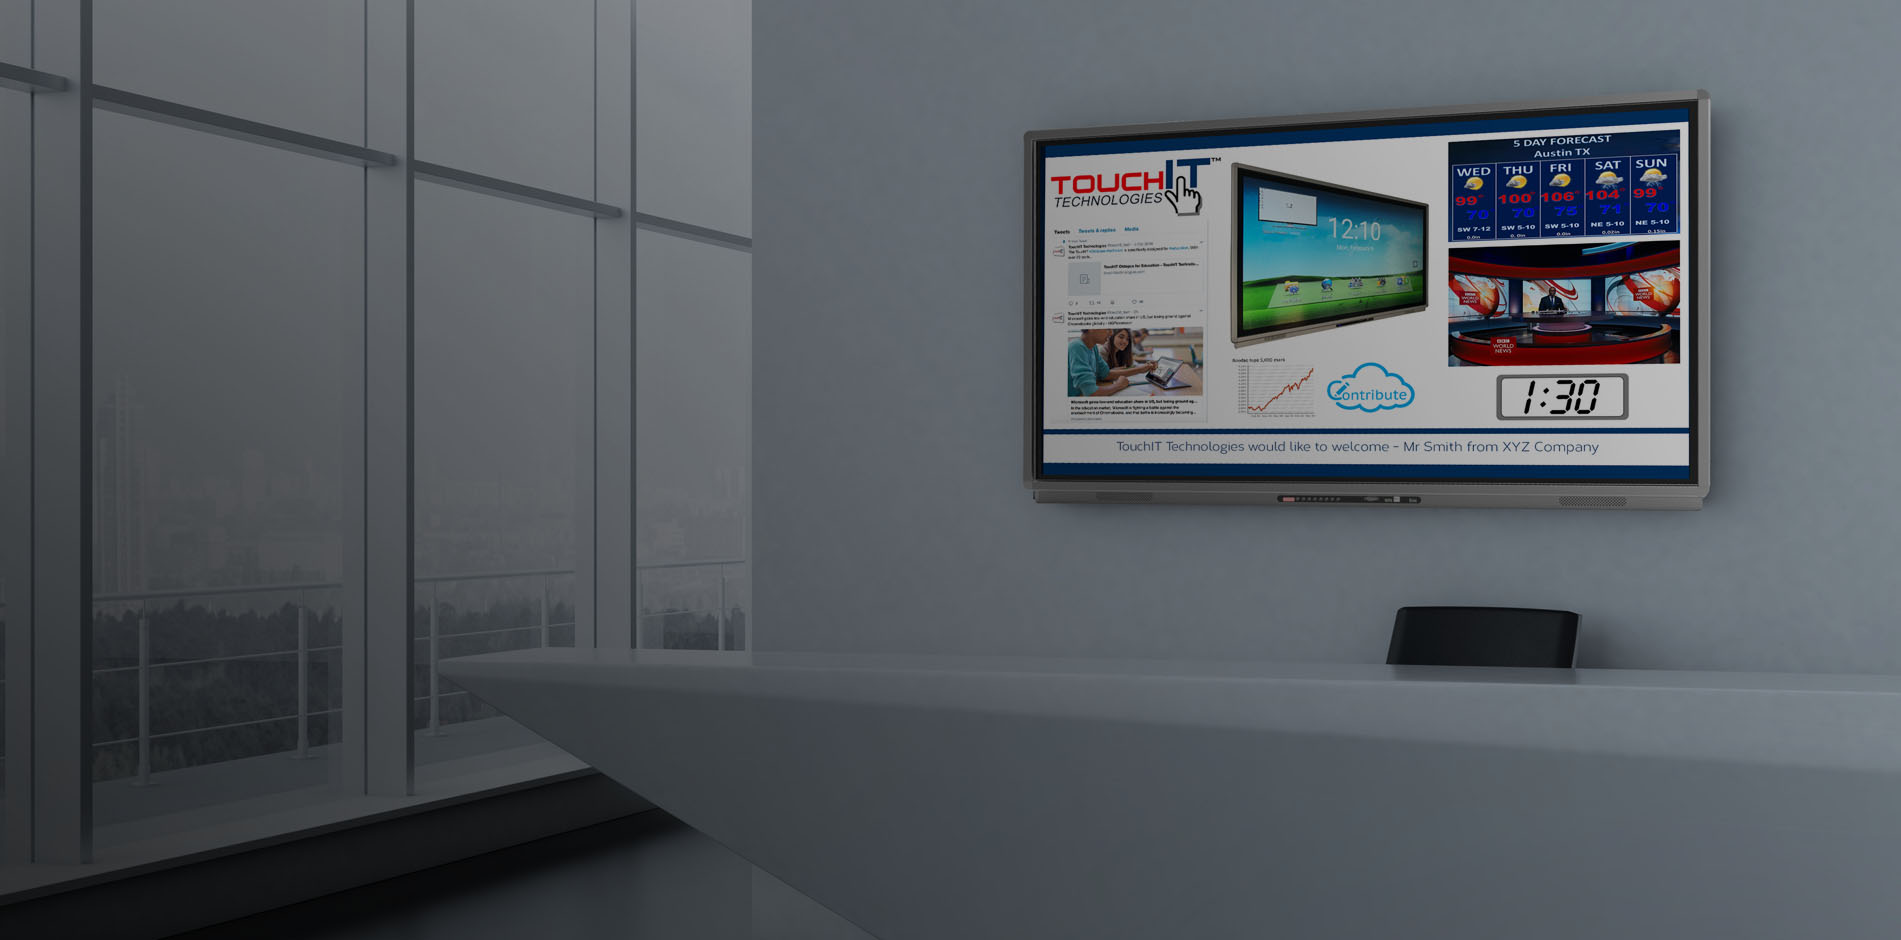
Hello and welcome to this blog post taken from an edition of #AskAndi. In today’s blog we’re going to look at how a hotel or a conference centre could actually use Contribute Signage outside their meeting rooms.
We’ll look at how we can create a default template that can be shown all the time rather like a screen saver and then we’ll look at how we can create event-based signage that can then be pushed out to the screens outside of the room.
Hardware Requirements
We’re going to assume here that you’re going to have screens outside your meeting rooms. They are either going to have onboard Android so they can make use of our playback app, or you’re going to connect them to a mini Windows PC that again runs the Contribute Signage playback App.
The screens that you will use for this application will depend on your setup. Something around 20” is ideal and if it runs on POE (power over Ethernet) then even better as you don’t have to run power to the screen itself. Screens are very much something that your AV Professional can advise you on.
Once you’ve got your screens in place, you’ll connect your screens to the online portal which I’ll show you below and we will create and publish our signage. So let’s jump in and take a look at how we’re going to create that digital signage on the online portal.
The Online Portal – Contribute Signage
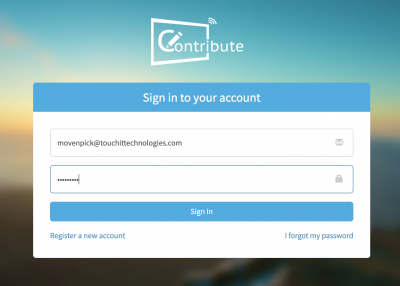
The first thing that we’re going to do is log in to Contribute Signage and we’ve already created an account so you can see I’ve set up a demo account here and I’m going to hit sign in.
When I’ve signed in it’s brought me to the home page and this is it’s completely empty we’ve got no layouts we have nothing. Inside here we’ve got all of these helpful little videos we’re not going to look at these but they are there to help guide you through the through the software so I’m going to create some new signage.
By using the helpful tutorials “Susie Signage” will help you through all aspects of he software. Think of her as your virtual signage assistant.
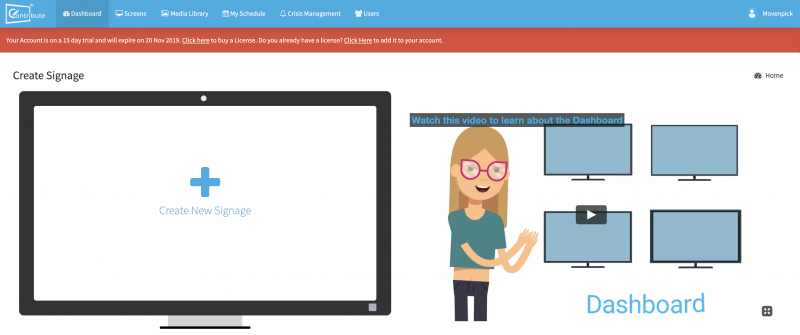
I’m going to click create new and we’re going to have this as hotel placeholder okay and we’re going to hit create signage so this is now going to create a blank template for me and again my tutorial videos pop up which I’m going to close out of the way.
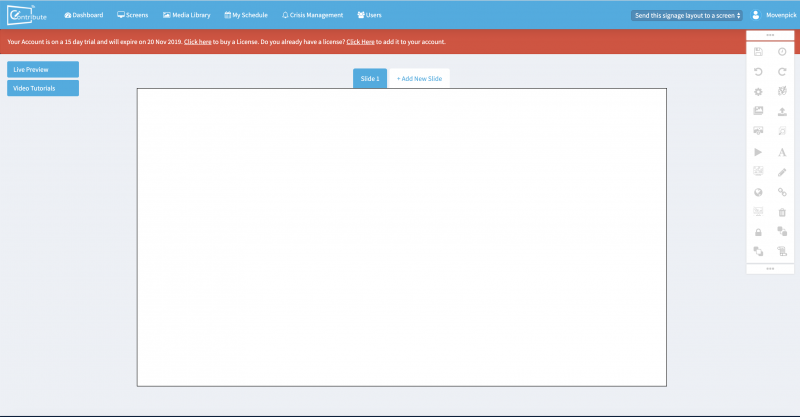
So this is my my signage layout and the first thing that I’m going to do is actually import some content into gallery. I’ve saved a couple of pictures to my computer. I’m just going to go into my image gallery and we need to upload so I’m going to click on upload and here inside my folder I have a few images. I’m just going to select all these images and I’m going to click open and they will then populate into my account.
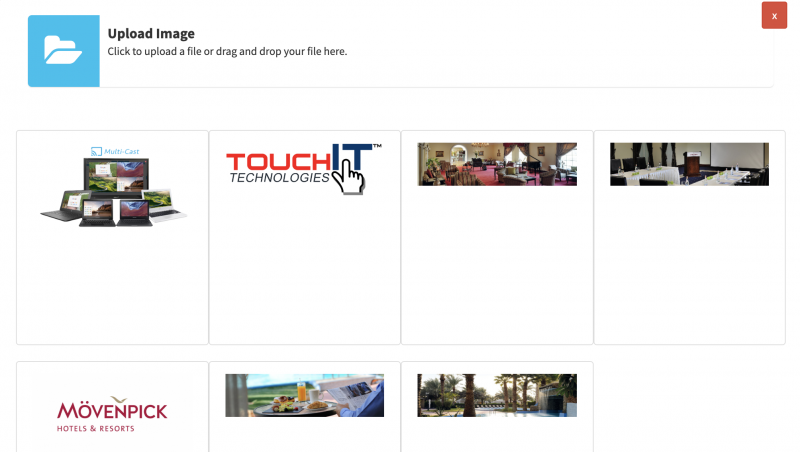
I’m now going to add the the logo so I just clicked on that logo and we’re going to stick this it’s at the top of the screen there look quite nice there we go and now I think we’ll add the other images as a image slider so if I come in and click on the right button here. There we go. We like the fade effect and we’ll have a three seconds delay between each slide. Now we’re going to add these large images that are inside my gallery.
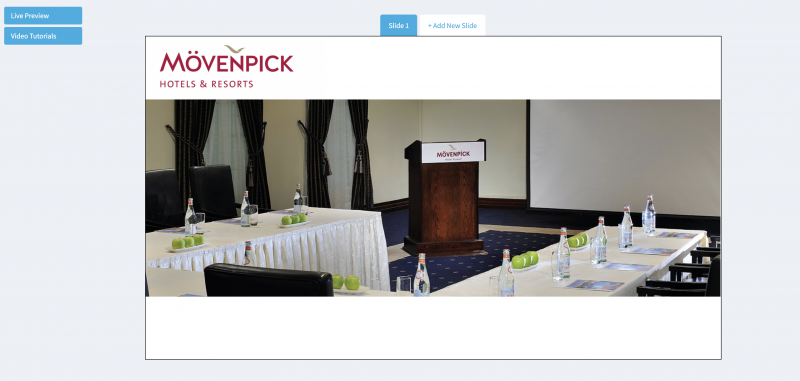
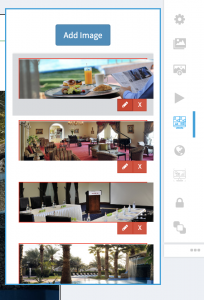
Once I’ve added these, I can then close the gallery. I can reorder the slides in my image slider and what I am going to do is choose a nice bold vivid image that is going to stand out in my slider. This is going to be the first image. If I wish I can alter the the order of the slides just by bragging them into position. Once I am happy with the slides, their transition, speed and of course the order, I’m going to click add slider. That then adds on to my desktop.
Once the slider has been added to the canvas, you can resize and reposition the slider to the exact position you are looking for. It is good practice to make sure that you hit save in your layout quite regularly. What you don’t want to do is loose the layout that you have spent time creating. Okay, so what I’m now going to do is I’m just going to hit save so we’ve now got a very basic placeholder design and it’s ready to go.
Once hitting save, I am now going to head over to the dashboard. We can see that our place holder design is is here in the dashboard waiting for us. What we’re going to do now is we’re going to create a quick layout for an event. We start by clicking on the large plus icon to create a new layout and we’ll just call this one event and we’re going to hit create.
So again our tutorials pop up As we enter into the editor but we are going to close these. What I’m going to do is just come into our gallery and we’re going to have our our logo added again to the canvas by clicking on it, again because it is a hotel. This time we’re going to add our guests which is going to be TouchIT Technologies so we’ll put this here.
We’re going to add another image from TouchIT there just to make them feel welcome. So we’ll put this in here and now we’re going to add some text. The text is going to give us the information that is needed for the event. So in his case, the time and how long it is going to run for. Nothing complicated here.
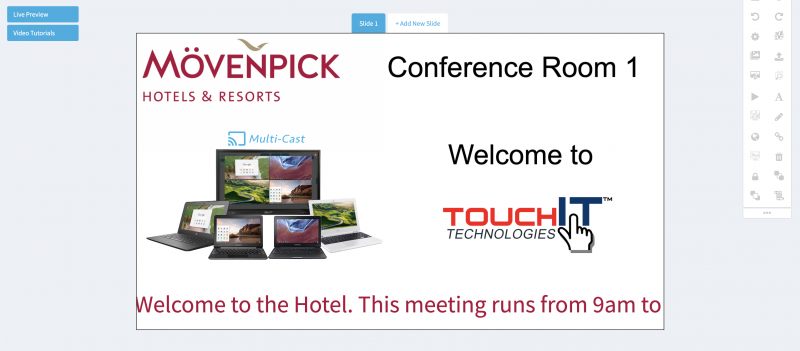
Let’s go ahead and add some text to the canvas. We can resize our our text too by clicking on the dots that appear around the text when you click on it with the cursor. What we’re going to do is place this text down at the bottom of the page. Now what we are going to do is actually add some scrolling text.
You will notice that the design for both of these layouts has been simple and has taken us less than 10 minutes to complete. This is the whole idea of Contribute Signage. It is quick, simple but packed full of features giving you the ability to create signage for any occasion.
Back to the scroller. We’re going to have it going from the right and we can alter the speed in a bit. We’re going to get the color and we’re going to match that to the logo using the eye dropper tool. What we’re going to do here is add a “welcome to“ message and we’re going to wrap the text. When we add the text scroller to the canvas it’s probably a little fast for for what we want so we’re going to go back into the settings and we’re going to change the speed to 10. We will then hit update.
Now it is time to make any last minute changes to the layout. If you would like to change something like the text color, select the text, then the colour palette.
We’re now ready to actually push both the designs out to a screen so we can see what the like. Before we do that we’re just going to hit save. we are assuming here hay you already have the playback app installed on your device and your device is connected to the internet. Please note, you much have internet connectivity to assign a layout to a playback device.
When you first open the playback app, you will see that there is space for you to enter a name. Best practice here is to give the screen the name of the location. Thesis because this is what you are going to see in he control panel. Once you have given the screen a name and a location, you then hit go. The app hen connects to the online control panel and you see a unique ID. This ID is needed to add the screen to the online panel.
The number of playback devices that you add depends on your your license of course so here we now have a conference room added because we entered the unique idea into the form.We can see that it’s not online there isn’t a layout assigned to it.
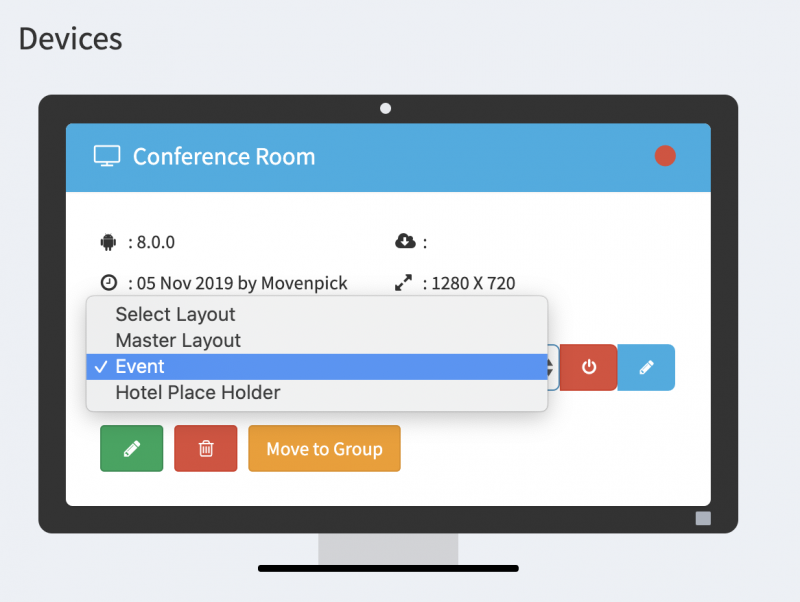
whatwe are now going to do is assign a layout to this playback device. To do this, I am going to use the drop down menu and I am going to select the layout that I would like to use. This will then load on the playback device. It takes a few seconds to download depending on what content you haves your design.
If I want to change the layout, from the screens section of the online portal, I simply seletc a different layout from the drop down options. I am able to have the same layouts playing on multiple screens by adding he screens into a group folder and then assigning a layout to the group.
One of the more advanced features of the software is the ability to schedule a layout to play at a certain time on a certain day. This means that in our example here I can set the exact time I need the layout to play from the control panel and I can then turn it back to the regular “screen saver” signage if I so wish.
Contribute signage gives me the flexibility to create almost any type of signage layout. In this example you have see how easy it can be to create meeting room signage with the software.
Contribute Signage is available for a 15 day free trial at www.contributesignage.com
Thanks for reading!

