Contribute App - User Guide & Video Tutorials

About

Welcome to the User Guide for the Contribute Android App.
Contribute App has been designed to be in our opinion, the simplest and easiest to use annotation app for an Interactive Flat Panel. The App can be installed onto the TouchIT Y Series, I Series or P Series Interactive Flat Panels (all sizes). The App is not designed to have all the “bells and whistles” you would see with some of the other software apps available, it is designed to be your “dry erase marker” or “piece of chalk”
Turn on the LED, open the App and make your notes – Simple!
Installation
The Contribute App is available from the TouchIT App Store. This is accessible from either the native App Store (www.touchittechnologies.com/appstore/) or through the web store at www.touchitappstore.com
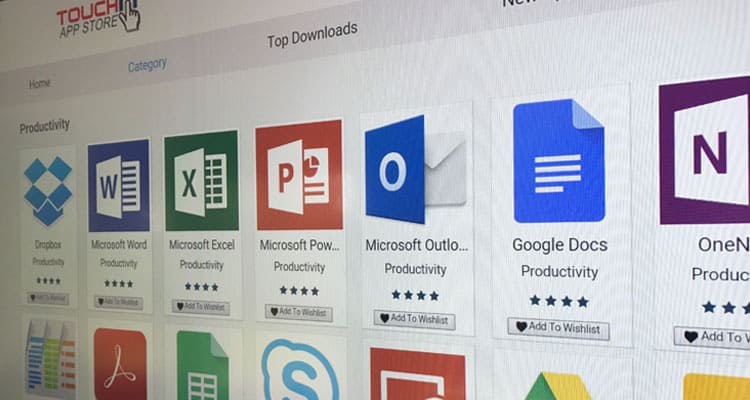
Having created yourself an account on the App Store by entering your name, email and school or business and choosing a password, Navigate to the “Contribute” Icon which you will find on the homepage
![]()
Choose the “Install” option. If you are downloading from the Web Store you will need to open the download once it has downloaded.
Install the App by clicking on install and then you will find the App Icon in your Apps on your Android Operating System. You can access this from the dock on your Home Screen.

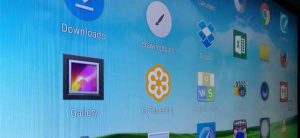
Click on the Contribute Icon to Open the App.
Creating New Document
When you open the Contribute App, you are faced with two options. “Create a New Workbook” (icon on the left) and “Open existing Workbook” (Icon on the right). We are going to create a new workbook and that is as simple as tapping on the left hand Icon to create a new workbook.

You will be presented with a blank workbook where you can create you own notes, annotation and content.
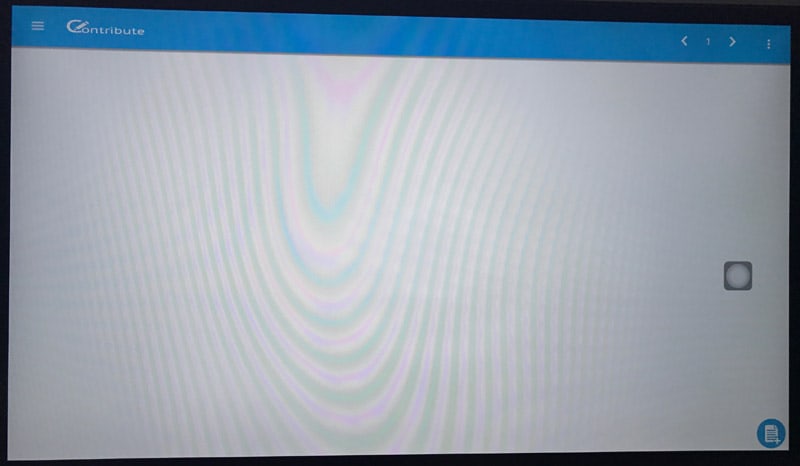
To access the toolbar, tap the “burger” icon which is found in the top left hand corner of the screen and the toolbar will open. We will look at this in more details in the next section.
Open Saved Workbook
To open a workbook that you have previously saved into the App click on the right hand “folder” Icon.
Open_Contribute_App
(Please note that when you click the save icon on the toolbar, your workbooks are saved into the App, not the Android operating system. If you are looking to move your notes or annotations onto a different computer or distribute then, you will want to use the “Export” option, we cover this later in the guide)
You will then be presented with all the saved workbooks that you have on your LED.
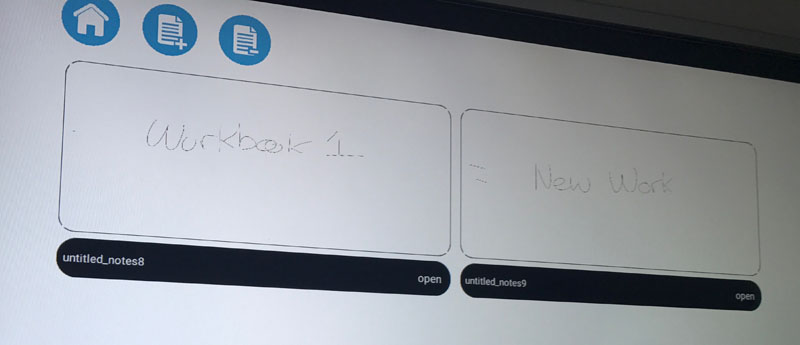
To open a workbook, select it by tapping on it (you will see a green icon to confirm that you have selected the workbook) and then you click on the “Open” option at the bottom of the box.
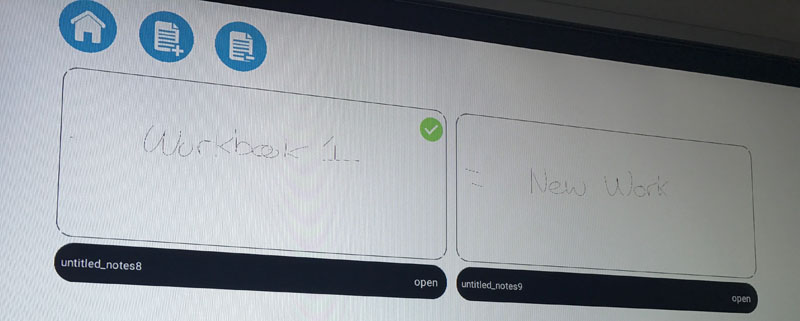
You will also see options at the top of the screen to delete the selected workbook, create a new workbook, or go back to the home screen.
The Toolbar
The toolbar is available on the left had side of the screen. To open the toolbar, either click on the “burger” icon in the top left of the screen, or swipe left to right as shown in the video below. To close the toolbar, tap the arrow or swipe right to left as demonstrated below.
Below shows an explanation of what each of the buttons on the toolbar is for. They should be self explanatory.
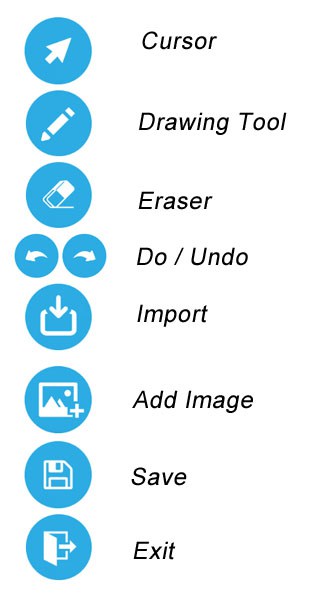
To use any of the tools, click in the required icon. You may then be presented with a secondary set of options at the bottom of the screen. For example, selecting the drawing tool gives you options for the pen, choosing shapes, text or changing the color. See next section for more details.
Annotating and Drawing
Annotation
To annotate on the screen, select the “Drawing Tool” from the Toolbar.

You will notice that some sub menu options appear at the bottom of the screen. Here you can change the thickness of the pen as well as changing the color of the annotations. The video below shows how to do this. Simply tap on the appropriate option on the screen to change the properties of the pen tool.
Shapes
Shapes work in almost the same way. Choose the “Drawing Tool” from the main toolbar and then in the sub menu at the bottom of the screen, click on the shapes Icon.

You then need to select your shape and then you can draw on the screen. All shapes and annotations are objects and can be moved around and resized by clicking on the cursor tool, then selecting the appropriate object to move and resize.
Using Text
Text Tool
To add text onto the screen, first select the “Drawing Tool” from the Toolbar.
Then, from the sub menu that appears at the bottom of the screen, select the text tool.

A Text input box will appear. When you click into the box to add text, the on screen keyboard will pop up. Enter your text into the box and when you are finished click done. Your text will be added to the upper left of the screen. To move your text, select the cursor icon, then select the hand tool at the bottom of the page. You will see your text now has options to resize, mirror and delete. You can also move the text around the screen.
In the center of the screen at on the top toolbar you will see some additional options. If you click on the first icon, you will be able to edit your text. Click on the second and you can change color and the third option allows you to change font.
The video below demonstrates how to add text into your workbook.
Adding Images
Adding Images to your Workbook
When you add images to your workbook, as they are objects you are able to move them around, rotate and resize them. The process is straight forward.
From the toolbar, select the “Add Image”.

Now you will need to navigate through the Android File System to where your images are stored. If you have plugged a USB Stick into the front of the LED, chose “USB” from the options on the left had side of the screen.
Once you have found your image simply select it and it will appear on your page.
To move or resize the image, you need to first choose the “Cursor” icon from the toolbar, and then choose the “Hand Icon” from the sub menu. (We have this option so you can set your image in place on the screen and also annotate it with the drawing tool)
Now your image is moveable and scaleable. Simply drag it to the desired position. You can resize by using the bottom left of the image, delete by tapping on the ‘x’ found in the top right and there is also a ‘Flip’ option found at the top left of the image. To set your image in place so you can annotate over it, click the hand once again, then choose the “Drawing Tool” from the main toolbar.
The Video below demonstrates how to add an image to your workbook, resize it and then annotate it.
Importing PDFs
Importing PDFs to your Workbook
When you add PDFs to your workbook, as they are objects you are able to move them around, rotate and resize them, but most importantly, annotate them. If your PDF has multiple pages, we are also able to cycle through the pages of the PDF directly in Contribute App.
From the toolbar, select the “Import” icon on the toolbar.

Now you will need to navigate through the Android File System to where your images are stored. If you have plugged a USB Stick into the front of the LED, chose “USB” from the options on the left had side of the screen.
Once you have found your PDF simply select it and it will appear on your page.
To move or resize the PDF, you need to first choose the “Cursor” icon from the toolbar, and then choose the “Hand Icon” from the sub menu. (We have this option so you can set your PDF in place on the screen and also annotate it with the drawing tool)
Now your PDF is moveable and scaleable. Simply drag it to the desired position. You can resize by using the bottom left of the PDF, delete by tapping on the ‘x’ found in the top right. To set your PDF in place so you can annotate over it, click the hand once again, then choose the “Drawing Tool” from the main toolbar.
To navigate through the pages in your PDF, you will see on the top tool bar a “< PDF >” navigation option. By clicking on the arrows you can change the pages of your imported PDF.
The Video below demonstrates how to add a PDF to your workbook, resize it, change the pages and then annotate it.
Saving your Workbook
Saving Your Workbook
To save your workbook inside the Contribute App, you simply have to click the “Save” icon on the toolbar.

When you do this, your workbook is saved to the Contribute App File System. It is not accessible by any other App when you save it in this way, it simply safeguards your information so you can open your saved workbooks at a later date. If you wish to be able to open your files in other applications or take them from your LED to another computer, you need to use the Export feature which we discuss later in this guide.
Page Navigation & Backgrounds
Page Navigation
You are able to save your annotations, images and PDFs onto different pages. By using the page navigation buttons found at the top of the screen, you can quickly and easily add a new page and navigate back to your previous screens. For your convenience, your pages are numbered. When you save your Workbook in the Contribute App, your pages are saved too. You export at a Page per PDF and if you choose the image option, you get a separate JPEG for example for each of the pages that you have created.
The video below shows you how to navigate through the pages in your workbook and how to create a new page
Background
Built into the Contribute App are a series of backgrounds that you may find useful for your workbook. A different background can be set for each page. To add a background, use the “Three Dots” icon in the top right of the screen, and choose the “Backgrounds” option.
Your background Options will appear. Tap on the desired background and it will be added to your workbook.
The video below shows you how you change the backgrounds on your Workbooks.
Exporting to PDF, PNG, JPG
Exporting to PDF, JPEG and PNG
Built into the App is the functionality to be able to export your Workbooks into PDF, JPEG and PNG formats. We have this feature so you are able to take your notes made in Contribute and copy them to other computers or distribute them to whomever needs them.
In order to export your Workbook, you must click on the “Three Dots” Icon found in the top right of the screen. Then Choose the “Export” option. You will now see a windows popup where you get to choose the format for your file export. Once chosen you will then need to select a destination folder by navigating through the Android file system and also choose a filename for your exported file.
If you have several pages in your Workbook inside of the App, this will translate into several pages inside a PDF document, or several individually saved image files of your slides if you select the image format.
Please note that once you have exported your Workbook, it becomes a flat file and you can no longer manipulate the exported files with the Contribute App. It is however possible to save your workbook inside the App as well as exporting it. In that way, you are able to make future changes by opening the Workbook inside of the App.
The video below shows how to export your Workbooks.
Shapes & Objects
Shapes and Objects
Everything that you do inside of the Contribute App is object-based. This means that when you draw a line, add an image, import a PDF or even draw a shape, all of these are objects. As objects, they can be moved around, edited, resized, rotated inside of your workbook. Even the text can be added, resized, changed and manipulated.
The short video below shows you just what we mean about your content inside of the App being object based.