
8.Lesson 8 - Advanced In Session Tools
Lesson 8 – Advanced In Session Tools
Presenter Cast & Video
Presenter Cast & Video is the ability for the presenter or teacher to broadcast video and audio (one-way video conference) to the connected participants or students. Or, they are also able to cast their screens out from their own computer to the connected Students or participants. The reason that you would want to do this is firstly taking video, would enable distance learning or remote presentations. Secondly, by being able to cast their screen they can show a 3rd party application or webpage by leaving Contribute Cloud and the participants or students would be able to see it.
To start this, the presenter or teacher needs to turn on their video feed by clicking on the phone icon.


Then, they need to unmute their microphone as by default it is muted. (if it is red, it is muted) At any time, you can turn the video off by clicking on the video tab. If it is blue, it is enabled, red, disabled.

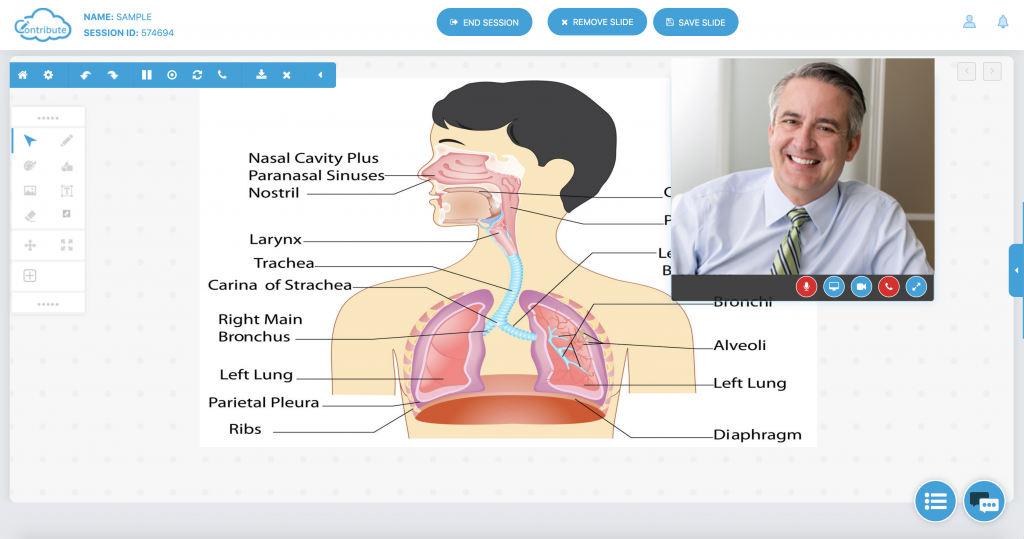
{Left to right – enable/.disable MIC | Show Screen | Show Video | End Call | Resize Window}
To switch to displaying the presenter/teacher’s screen, click on the screen icon. (second from left) You can then choose which screen to share. Your participants will now see the shared screen on their own devices.
Please note you cannot show video and screen sharing at the same time, it is either or scenario.
When you are finished, to “hang up” you click on the phone icon again.
Recording A Session
Teachers and presenters are now able to record their lessons to video. This will capture what is being shown on the screen so even if you leave your browser, you are able to record your screen. If you have a microphone connected, you can also record your voice. As soon as you click finish, the video is downloaded to you default download location in WEBM format. We chose this format as it is the smallest video size. You see an on screen notification when you are recording.
To start a recording, click on the record icon from the slide in menu at the top left of the screen. (6th from left)
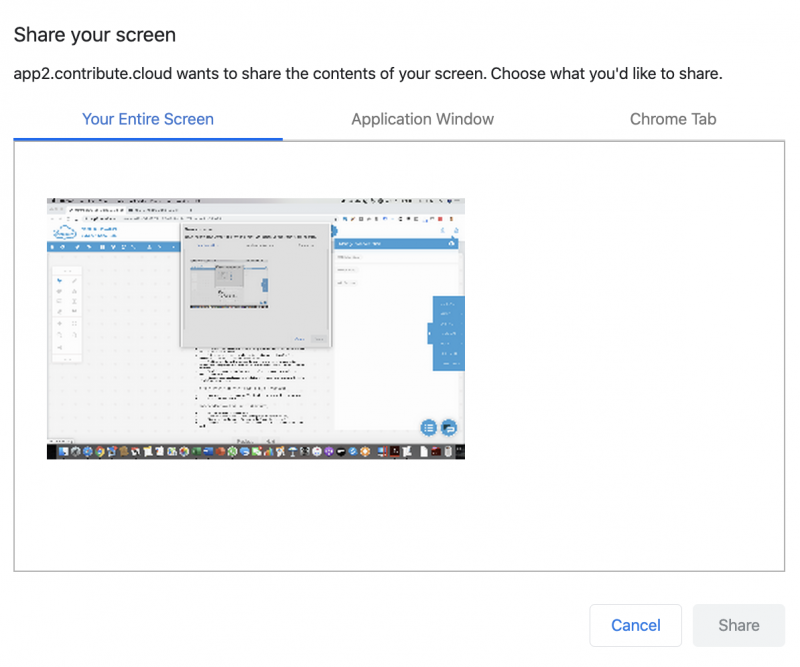
You will need to click on OK to the screen sharing dialogue prompt that appears on the screen.
When you are recording, you will see this message at the bottom of the screen. Click “hide” to hide the message.

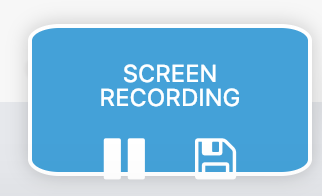
You can pause the recording by clicking on the Pause icon, and when you click save, it will be downloaded as a .WEBM video and saved in your default downloads directory.