
6.Lesson 6 - Advanced Collaboration & Casting
Lesson 6 – Advanced Collaboration & Casting
We’ve taken a look at some of the basic features of Collaborating on a shared workspace, so let’s now look at some of the more advanced collaboration features of Contribute Cloud.
Self Paced & Teacher/Presenter Driven Activities
Contribute Cloud has the ability to offer the teacher the capabilities of delivering a self paced lesson to the students, as well as being able to sync them and also deliver a lecture that the students must work at the pace of the teacher.
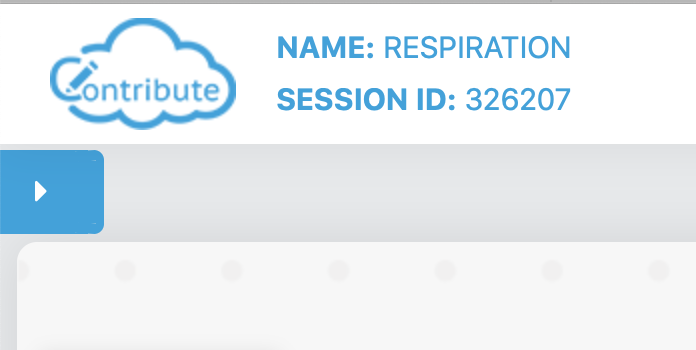
Firstly, by default, the students are offered a self-paced option. If the teacher wishes to remove this option, they click on the “X” icon (2nd from right) from the slide in menu at the top left of the screen. This removes the forward, backwards, sync and save button from the student machines. To access this menu, you need to click on the blue tab at the top left of the screen underneath the session ID and Cloud Logo.
With your student connected on your second machine, experiment by clicking on the X and the ‘Tick” to see how the toolbars disappear on the student side.

To allow the students control again, press the “tick” icon.

The student controls which appear and disappear when this button is clicked are below

If a student navigates forwards or backwards, their sync button turns red so that they know they are not at the same place as the teacher. If they press this button, their screen is returned to the same place as the teacher. Give this a try and see how you can force the students to sync if they have moved forward in the workbook.

(3rd from right)
If the teacher wishes, they can override the students and force a sync by pressing the sync button at the bottom of the screen. Please note, this will not give the students any option to save their work and overrides whatever they have done.
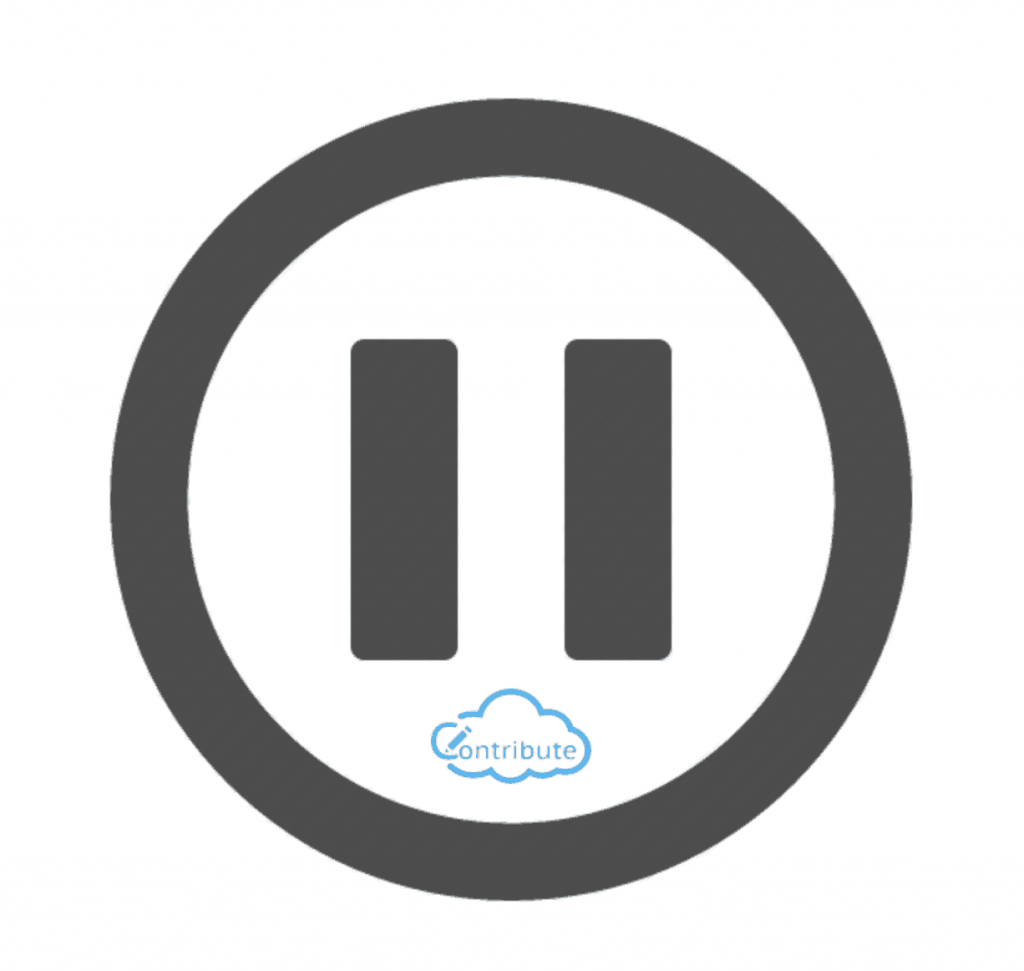
Pause the Student Screen
We have incorporated the ability for a teacher to pause the screen of the students so that verbal explanations or instructions can be given to the students without the distraction of something showing on their device screen. In order for a teacher to pause the screen of the students, they need to click on the pause icon, which can be found in the top left slide in toolbar. (5th from left). Give it a go, see how the screen on the student displays the pause icon until you press it again.
When pressed, the students see the pause logo on their screen over the content until the teacher presses it again and it is removed. Once again, they can view the content.
Chat & File Transfer
Contribute Cloud Chat is a simple an easy way to share information with all your students or participants in a session. Unlike other chat applications, this is a group chat where you can share live links with students. If you click a link, it will open in a new window. Perfect for sharing a URL or a Shared Google Doc. You are even able to send physical documents to all the participants using the Chat System.

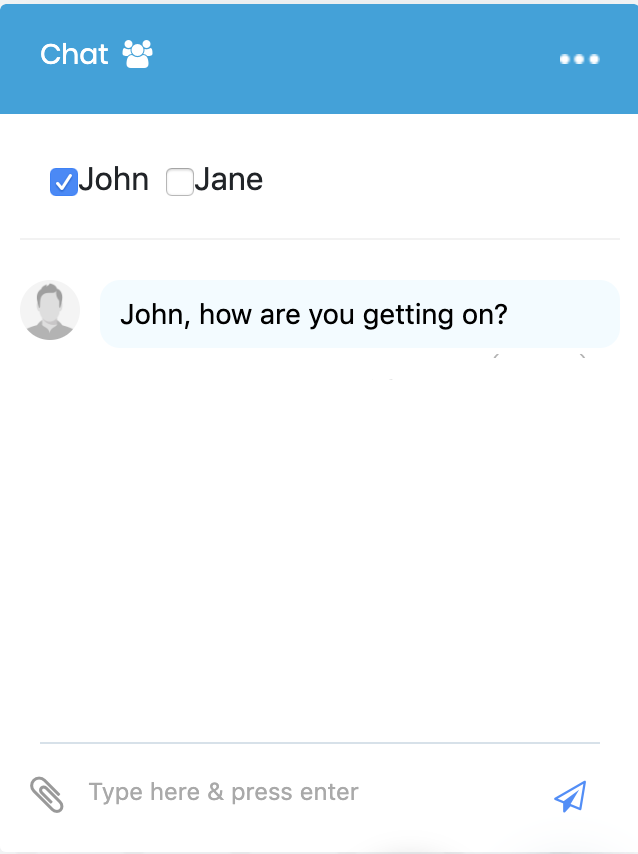
To Access the chat window, click on the Chat Option at the bottom right of the page.

Students can respond directly from their own machines in the session.
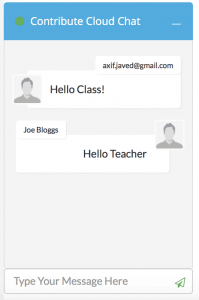
The whole group sees the chat transcript. Try it out, see how quick messages and files can be shared. If you have more than one machine, you can see how the selective chat works as explained below.
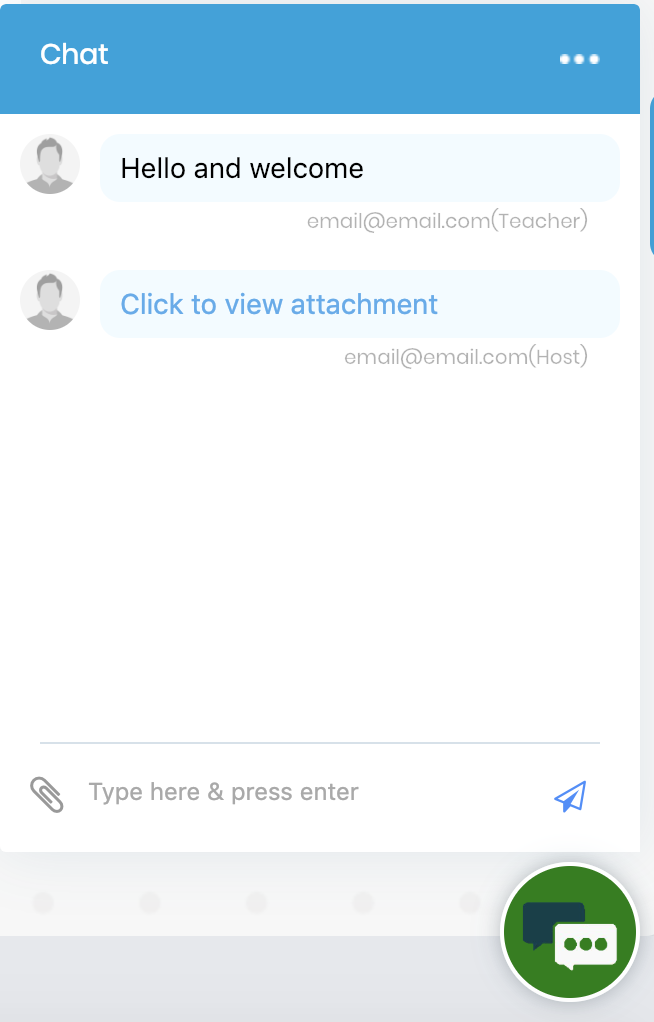
In order to send files, both the students and the host (teacher) are able to do this. Click on the Paperclip icon, select the files from your local machine and then press send. Your colleagues or participants can then download a copy by clicking on the link.
We are also able to use a more selective method of choosing which students we would like to send chat messages or files to. If you click on the people icon at the top of the page, you see a list of the students in the session. You can now select the names of the students to whom you would like to send a chat message, link or file. Only these people will receive it.
Casting & Multi-Casting
Contribute Cast allows teachers and presenters to control which student’s or participant’s screens can be “cast” up to the interactive LED. “Casting” is the ability to send the screen of a student or a participant to the LED without the need for wires. Traditionally, this is done with hardware like a ChromeCast Dongle from Google, but our system has been designed especially for groups of students or users so that a teacher or presenter can quickly and easily switch whose screen is casting.
In order for the Student’s to cast, they need to be using the Chrome (preferred) Browser or the Firfox Browser.
When a teacher or presenter logs into Contribute Cloud, They can access the Cast window from the notifications tab – this is opened by clicking the “Notifications” icon in the upper right of the screen.
When open, You will see all the students that are connected and able to cast in the session. Give it a go, if you are just using your 1 student machine, you will only see one screen preview below.
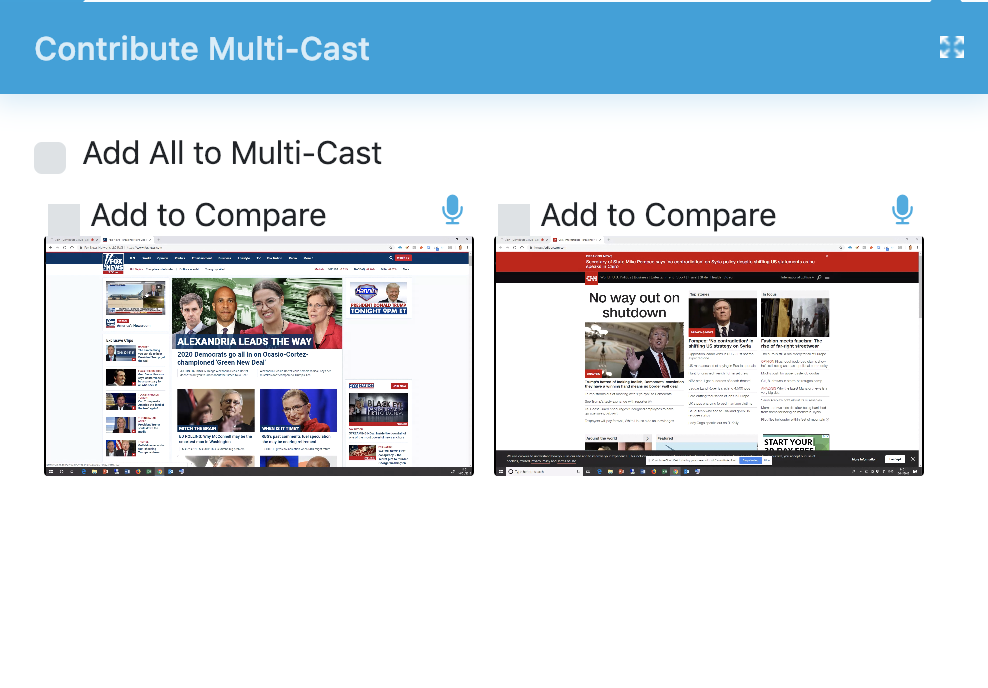
In order to have the students screen cast to the teacher machine (or LED), you simply have to double click on their screen preview. They will then be cast full screen on the LED.
To close the full screen view of the student’s screen, click in the bottom right hand corner, you are looking for the “square” icon in the centre.
Give this a try – experiment with switching between the student machine and your own machine. Getting comfortable with the tools is key to using them in a live class situation.