
3.Lesson 3 - Starting your First Session
Lesson 3 – Starting Your First Session
You saw in the previous lesson how to start a session from the editor. If you have logged out or are doing this at a later stage, you can start a session directly from your Dashboard. Simply click the large play icon on your Workbook to send the workbook into play mode.
When our workbook opens, there will be a unique session ID, we’ll look at this in the next lesson. What we are going to look at now is some of the controls that you have when you are in playback mode.
The first thing to take a look at is the floating toolbar. This can be moved around by getting old of the “dots” at the top and the bottom and then dragging it around on the screen. Here are the functions of the toolbar.
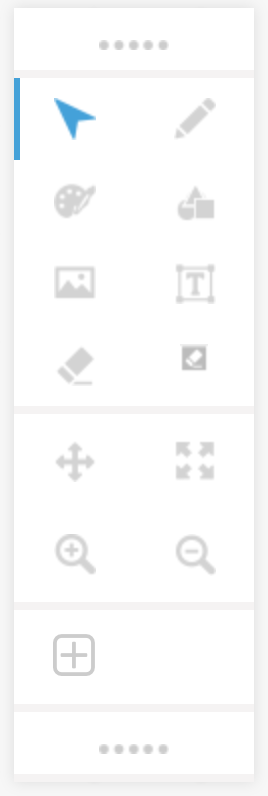
Row 1 Cursor | Pen
Row 2. Color Pallet | Shapes Tool
Row 3 (Image Upload & Live Search ) | Text Tool
Row 4 Pan | Full Screen
Row 5 Zoom In | Zoom Out
Row 6. Add Whiteboard Slide
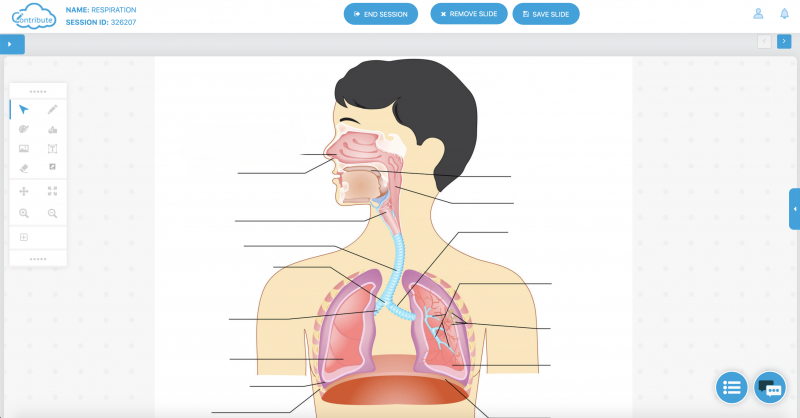
What we are going to do now is move onto the next slide in our workbook. To do this, we need to use the forward arrow in the top left of the screen. Please note that the Previous and Next buttons are for moving through a multiple page document.
Your screen should now look like this.
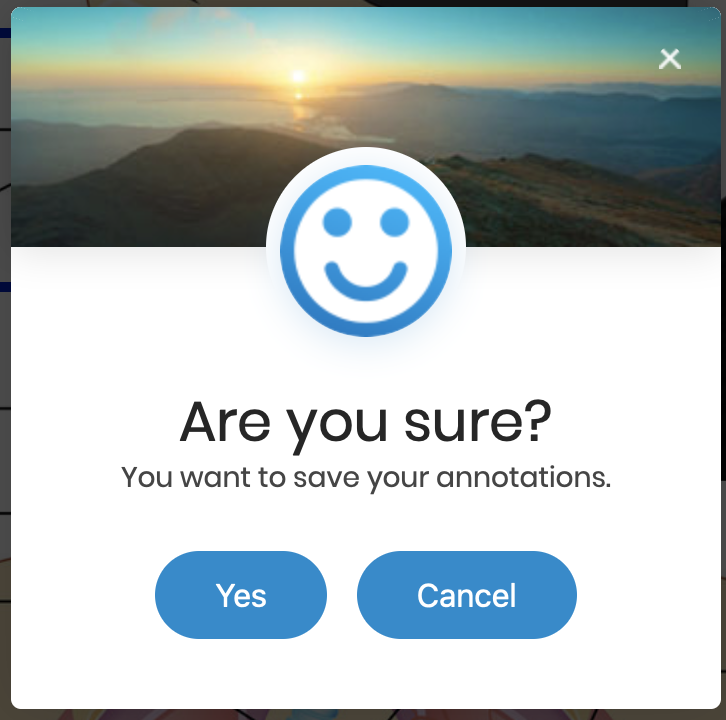
Using the floating toolbar tools, experiment by adding some shapes and text to the screen. Perhaps use the image search to look for “thumb” and add a picture by double clicking on it. See if you can make your canvas look like the one below. To change the color of an object, you need to select it first. To change the size of the text, select the text and then use the red dots to drag it and scale it. When you are finished, press the save button.
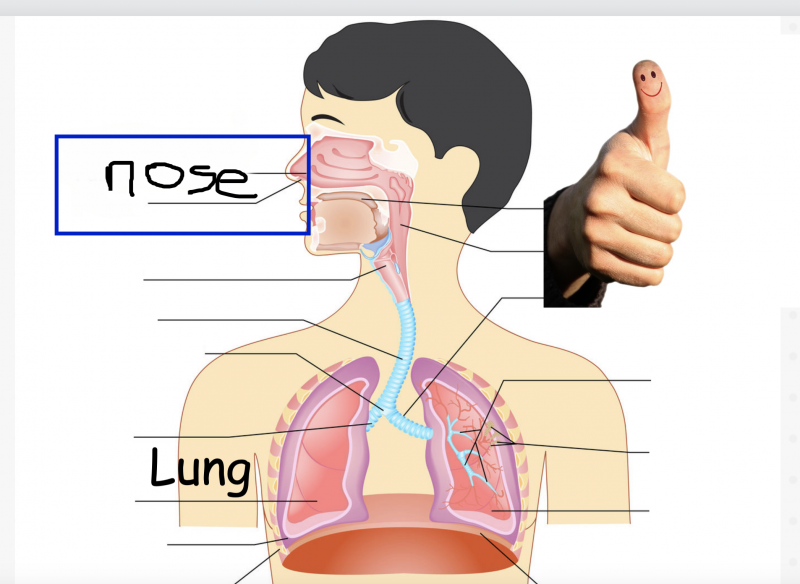
Make sure you confirm that you have saved your work.
Experiment with the tools and see what you can do.
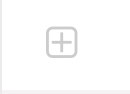
Next, let’s add a new blank page by clicking on the “+” button on the toolbar.
Confirm you want to save again then you will have a blank page. We are going to use this blank page to take a look at some of the education tools that are available by clicking on the blue button on the right of the screen – the tools will then show.
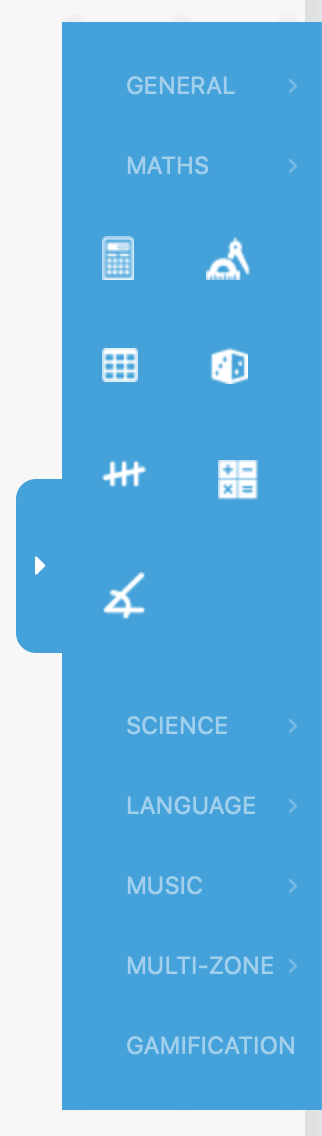
The tools are organized into subject specific categories so what you are now going to do is explore what is there. Check out each of the categories, see if you can find the calculator, or the protractor or even the multi touch piano. Tools can be moved around, resized and closed from the canvas. Experiment, and see what is there that can be used in one of your lessons. Leave the multi-zone gamification as we will look at this later in the training.