Contribute Cloud Training V2
Hello, and welcome to Contribute Cloud training version 2.0
In this training course you will learn all about the features of Contribute Cloud. We’ll guide you through everything from the creation of your account, creating your first workbook, to the starting of a session, collaboration, casting and more. We hope you find it useful. Enjoy!

4.Lesson 4 - Joining your First Session
Lesson 4 – Joining a Session as a Student / Participant
Having somebody join your session is key in Contribute Cloud as that is what it is all about. For this lesson, it is much easier if you have a second computer or Chromebook. Your computer will be the “teacher” and the second computer will be the “student”. As Contribute Cloud is cloud-based and accessible through a browser, your students or participants don’t have to be on the same network as you, they just need a connection to the internet. What this means is that you can connect people remotely to your lesson. Students off sick, colleagues that work remotely and all this is done through the same piece of software.
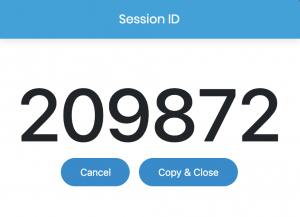
The first thing that we are going to do if we have not done so already is start a session. We’ll use the content that we have created and saved in our Respiration session with the annotations we have already made too. Start your session. Then, you are going to click on the “Session ID” so that you can make it nice and large on the screen. This is useful in a class or a presentation. It should look like below, but again, a different number of course.
Now, on the second computer, you are going to open up a browser window (Chrome is our browser of choice) and head over to http://join.contribute.cloud
It is as this point that it is a good idea to bookmark the page (CRTL + D) or on a MAC, (CMD + D)
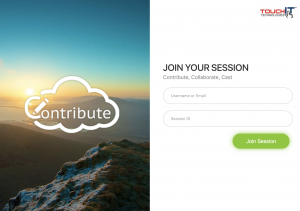
From here you can join your session/lecture. You need to enter the session ID that you will be able to see on the other computer, the one that is running the session.
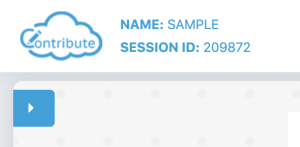
If the teacher/presenter click on it, they can make it large on the screen for the participants to read easily.
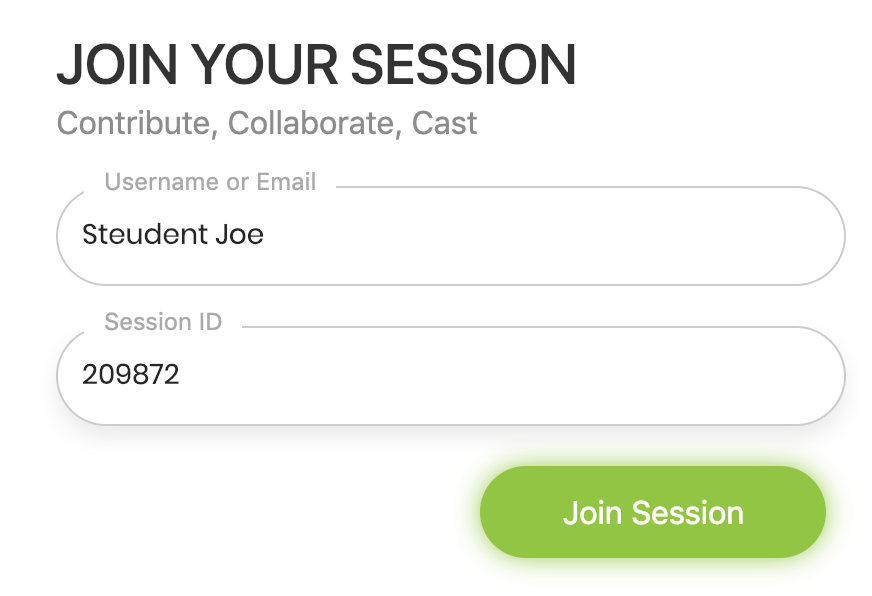
When you have entered your Name/Email and the session ID, click on “Join Session” to join the session.
When your session begins, you should see the “Cast” window, click share to share your screen with the presenter.
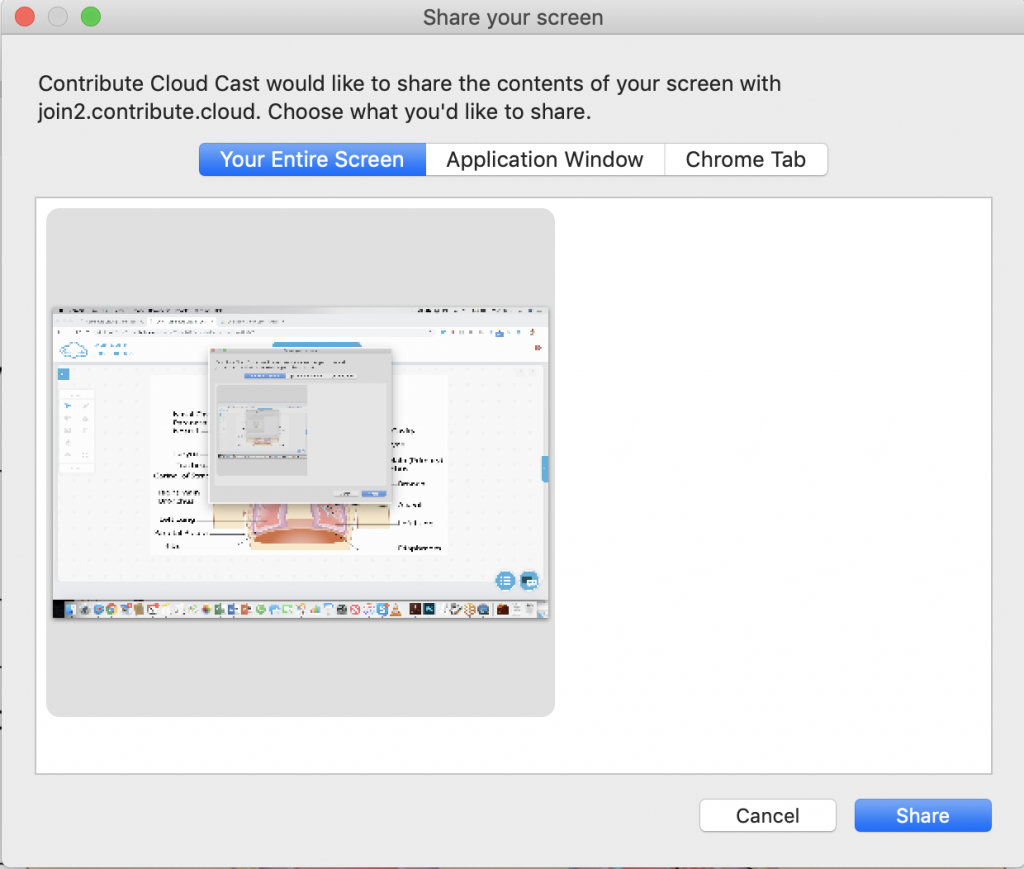
Select “Entire Screen” and click “Share” – you will now join the session.
You should see on both computers exactly the same thing. Now, what you are now going to do is experiment. If you make an annotation on the teacher computer or move to another slide, you should see the same thing happening on the student computer.
Please note, If you do not have the Cast Window showing, you either need to install the Contribute Cast Plugin for Chrome from the Chrome Store – or you need to check your Firewall Settings. Make sure that your browser is up to date as the modern versions of Chrome do not need anything installed to make the casting work.