Contribute Cloud Training V2
Hello, and welcome to Contribute Cloud training version 2.0
In this training course you will learn all about the features of Contribute Cloud. We’ll guide you through everything from the creation of your account, creating your first workbook, to the starting of a session, collaboration, casting and more. We hope you find it useful. Enjoy!

1.Lesson 1 - Creating your Account
Lesson 1 – Creating your Account
Hello and welcome to this training session on Contribute Cloud. Our aim is to give you an overview of all the features of the software. You’ll then be able to decide which features suit the way that you teach or present, the resources you have and the type of lesson or activity you wish to deliver on the software.
So let’s get started and create your account.
The first thing you need to do is navigate to Contribute Cloud – https://contribute.cloud
Click on Login / Register and then you are then presented with this screen.
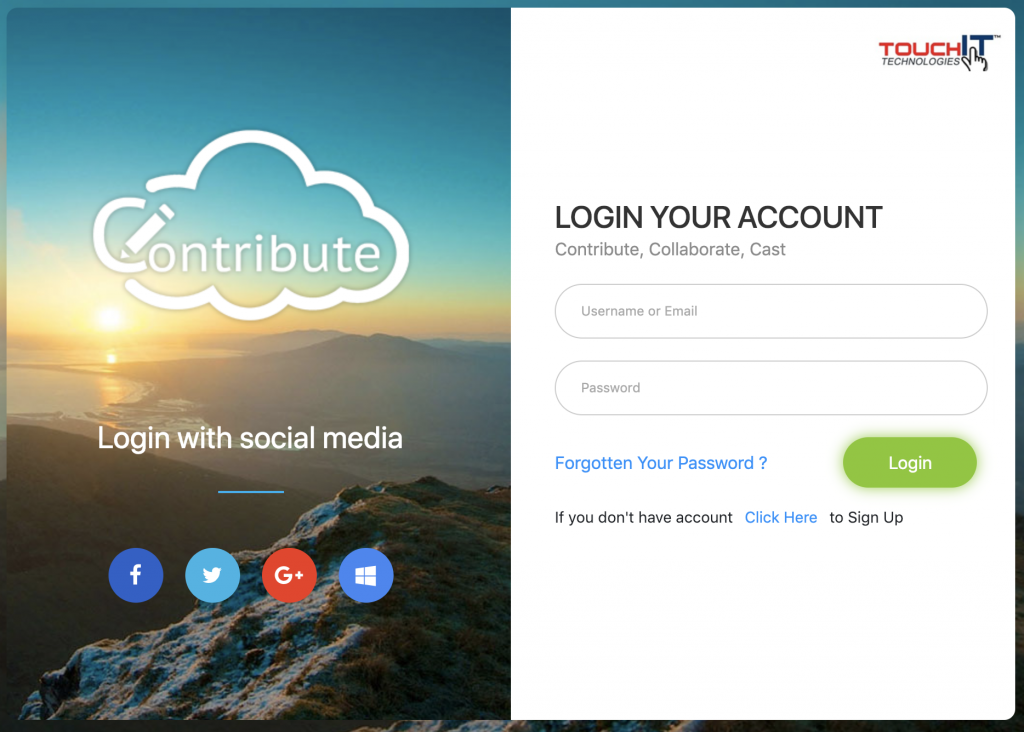
As you can see, you have the option to login with popular social profiles. If you are already logged into your profile on your computer, then creating an account is a one click process. If you are not, you will need to login as show below.
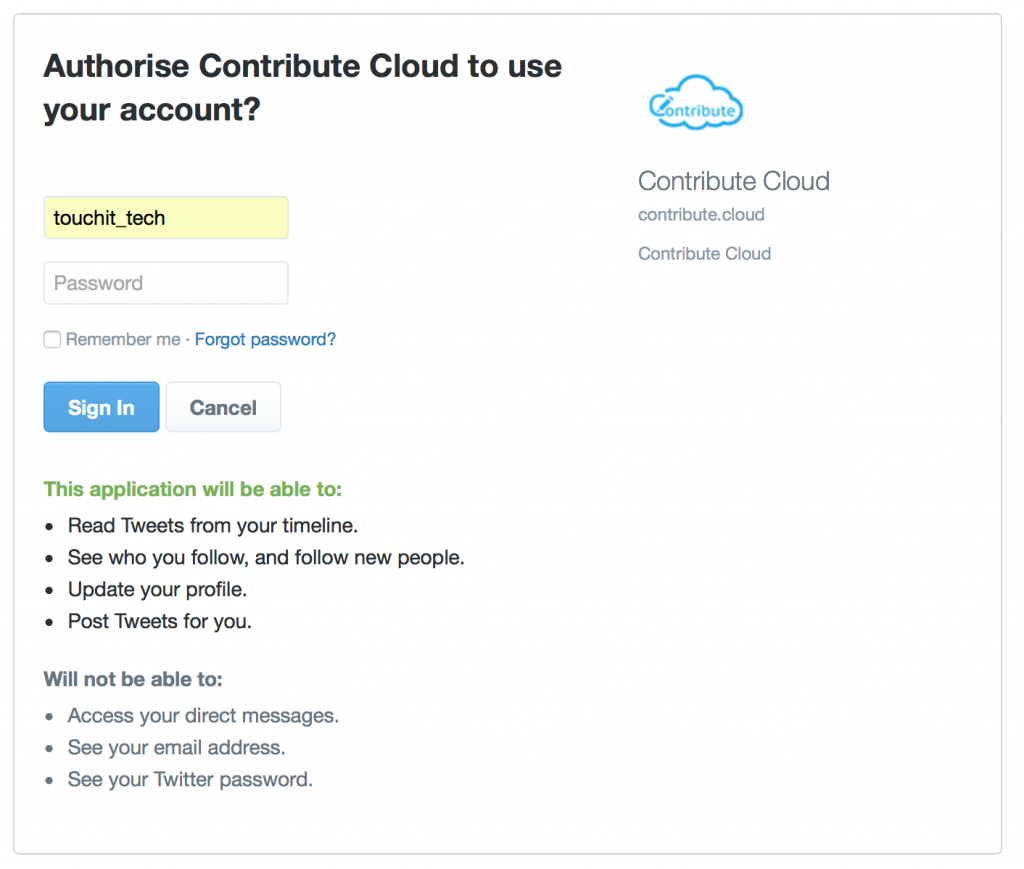
Please note, that if you are using your social profiles to log in, you may need to Authorize the App to have access. We only use your name, email and avatar – not your files or data.
If you don’t want to use your social profiles, or your establishment does not allow this, then you can create an account by choosing an email and password. Click on “Create Account”, fill in the form and click “Sign Up”
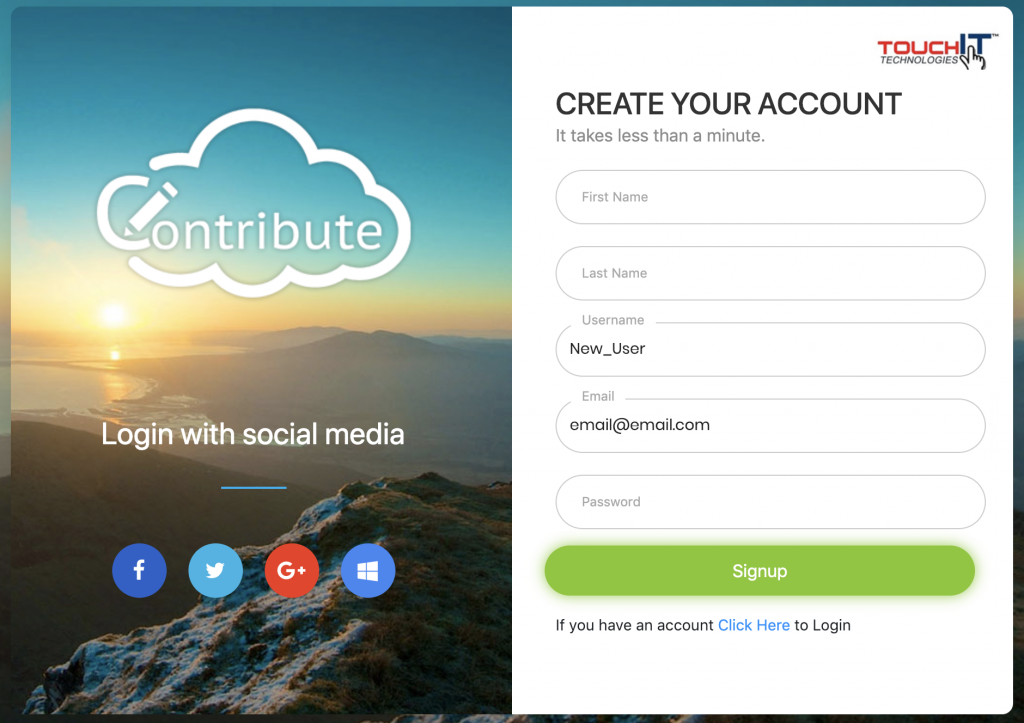
You will then need to login with the email address and password that you have chosen from the main home screen.

When you have signed in successfully, you will be presented with this screen which is your dashboard.
What we are going to do now is activate your account. You do this by clicking on the message at the top of the screen. You are going to need your serial number which can be found on the side of your LED on a white sticker. There are two numbers, you are looking for the one that starts “letter” “letter” “number” “number” something like AU65or LG75 – it is the one in the smaller font. Enter that in the License key tab in your profile and click the button to activate your account.
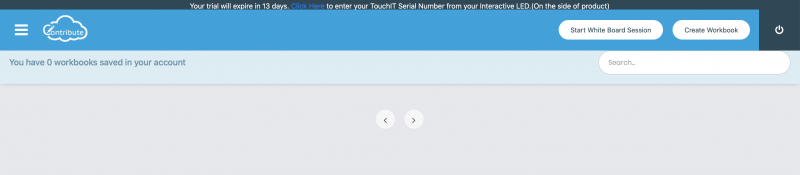

Now, you are going to need to do is create a workbook by clicking on the “Create Workbook” button.