8.Creating Class/Student Lists
By creating Participant Lists in Contribute Cloud, you are able to invite your participants to join the session with a single click of a button. Lists can be added manually and can also be imported from Google Classroom with a single click.
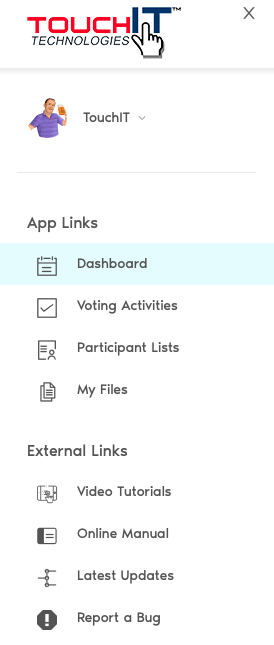
To create a Participant List, you need to click on the “burger Icon” in the top left of the screen. Then choose, participant lists.

From this screen you will see information about the amount and type of files that you have in your Contribute Cloud Account as well as being able to create a new list.
To create a new list, click on “New List”
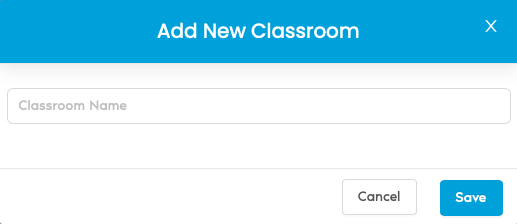
You will then need to give your list a name and then click “Create New List”

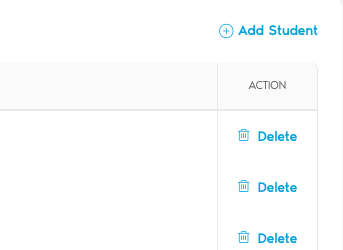
Your list will now display in the Participant Lists section. To add participants, Click on the + to expand the list. Then you can “Add Student”

Here you can add your participants by entering a name and an email address.
To delete a participant, click on the “Delete Participant” option.

You can also edit the name of the list by clicking on the “Edit List Name” option and you can delete the list by click on the “Delete” option. There is a confirmation window and this is a permanent delete, there is no undo.

If you are a Google Classroom user, you will already have created your class lists in your Google Classroom Account. We are able to import all your Google Classroom lists into Contribute Cloud with just one click.
Click on the Google Classroom button
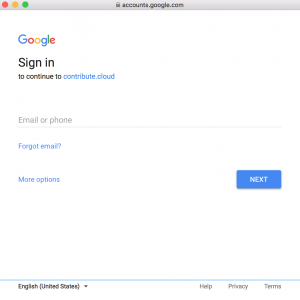
If you are not already logged into your Google Account, you need to sign in with the email and password that is associated with your Google Classroom Account.

Your class lists will all be imported into Contribute Cloud. In the example below, we only have one class (Maths Class) of three students setup in our Google Classroom account. If you have multiple classes and multiple student lists, they will all be imported.

