6.Creating a New Workbook
When you first login, you taken to the Dashboard.
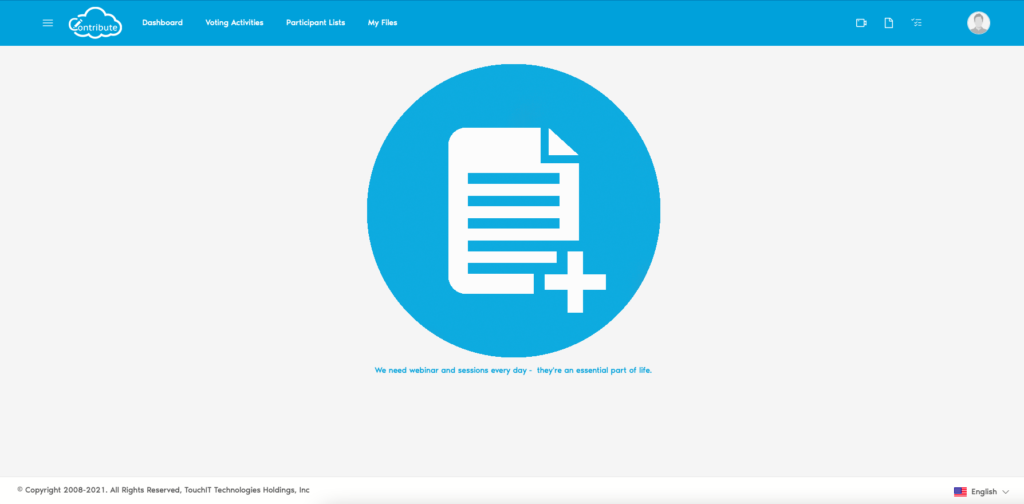
To create a new workbook, click on the large button in the centre of the screen “Create New Workbook” button.
If you already have workbooks in your account, you will need to click on the “Create New Workbook” at the top of the screen.
You then need to give your workbook a name, choose a subject and enter a description.
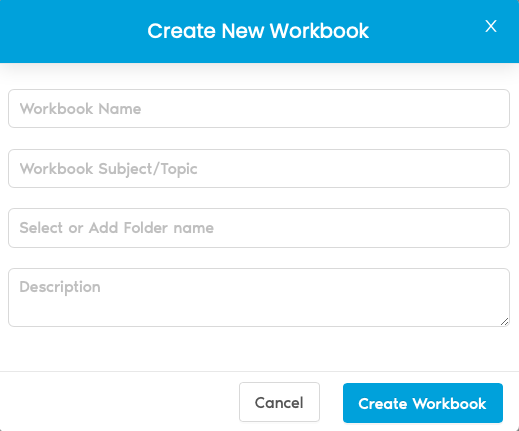
You need also to choose a folder where the workbook will be saved. If you select “New Folder” you will be able to specify a new folder name and create that folder.
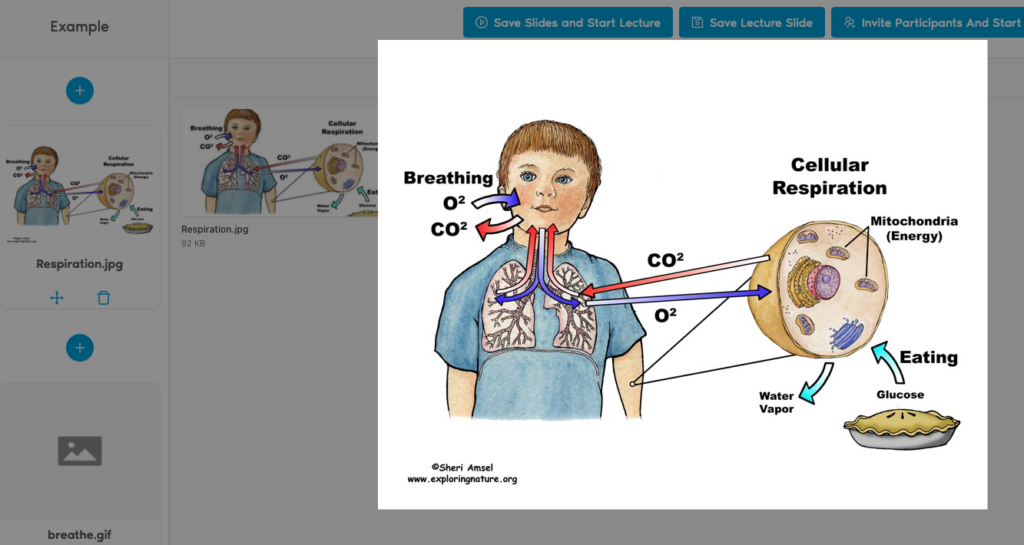
When you click “Create Workbook” you will be taken to the main workbook creation page. It is from this screen that you will add the content into your workbook to create slides.
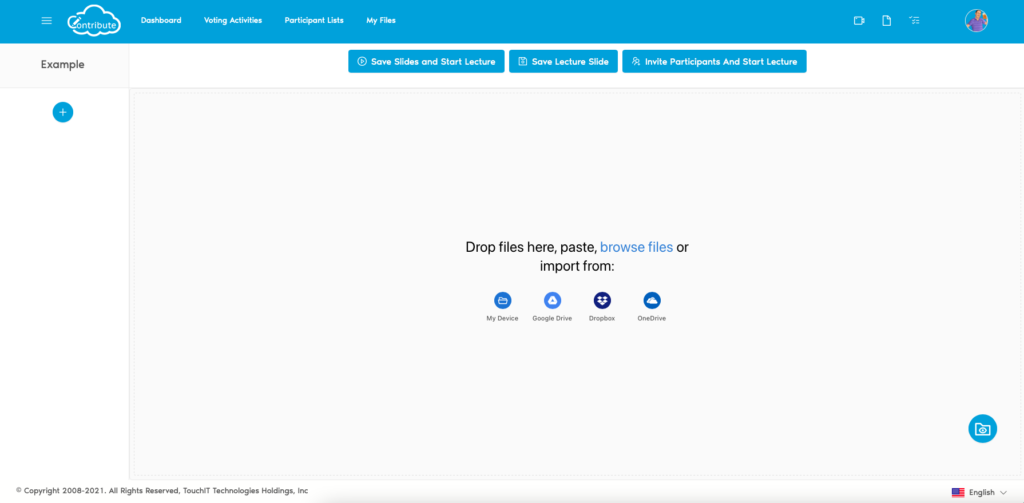
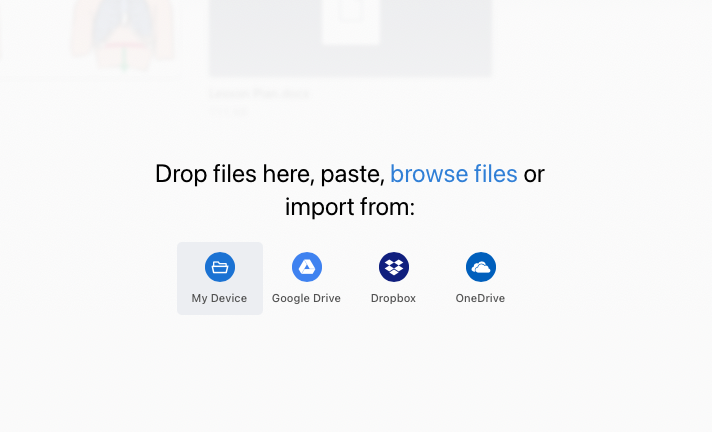
You will see in the centre of the page
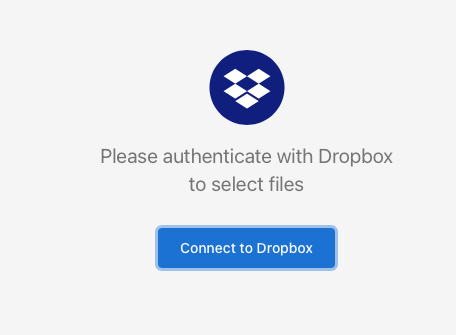
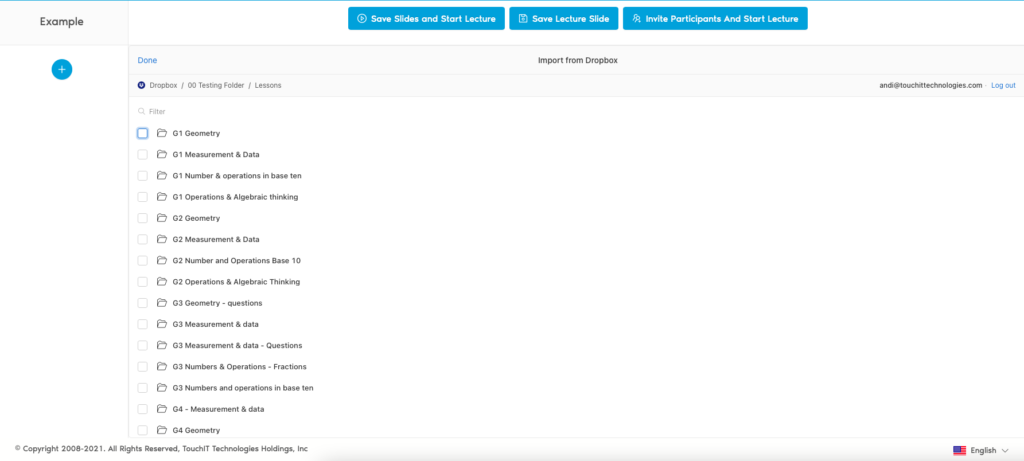
, links to Cloud Storage Drives, Your Local Machine as well as YouTube. You don’t need to use all of them, just whichever one is your drive of choice. Click on the drive of Choice. In the example below we will use Dropbox. You will need to authorize Contribute Cloud to access your Drive, then you will see the list of files.
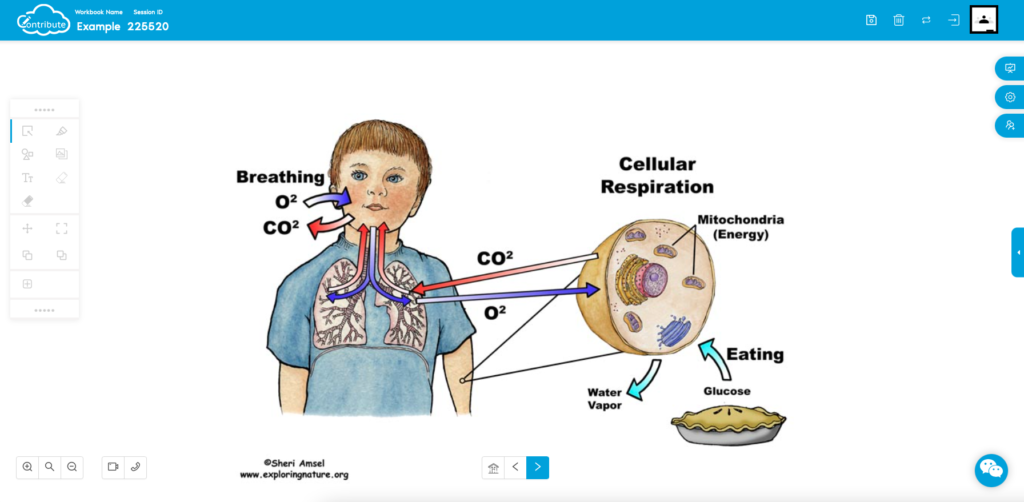
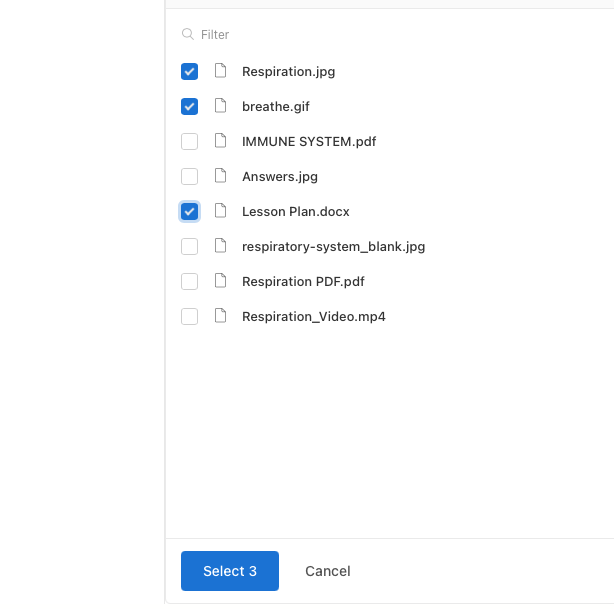
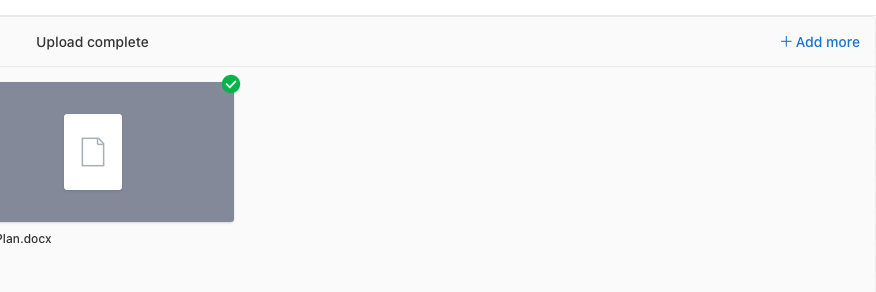
Select the files that you want to include in your workbook and press the “Choose” button when you are done. You will see that your files automatically populate into slides at the bottom of the screen.
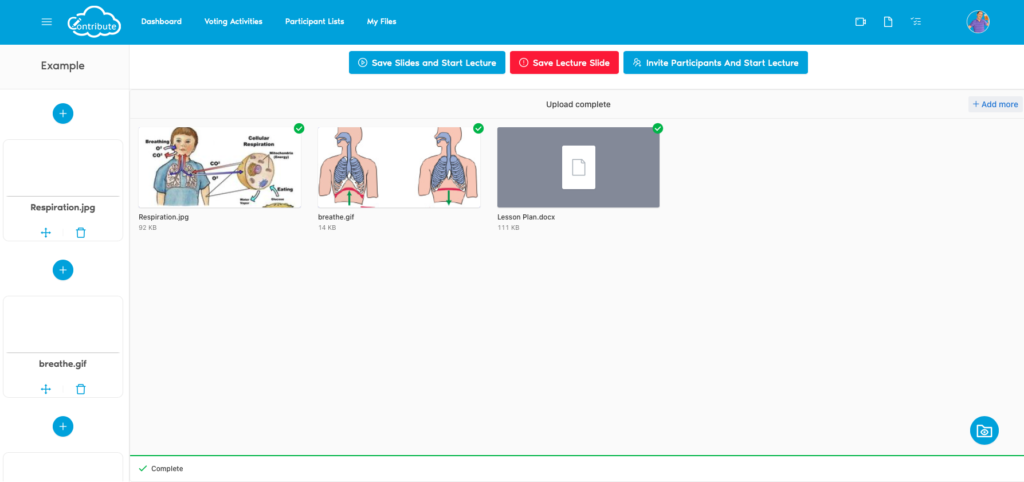
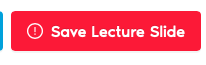
To add the slides, you need to click on the red save button.
The previews will then generate on the left hand side. Please note, this may take some time if you have large files.
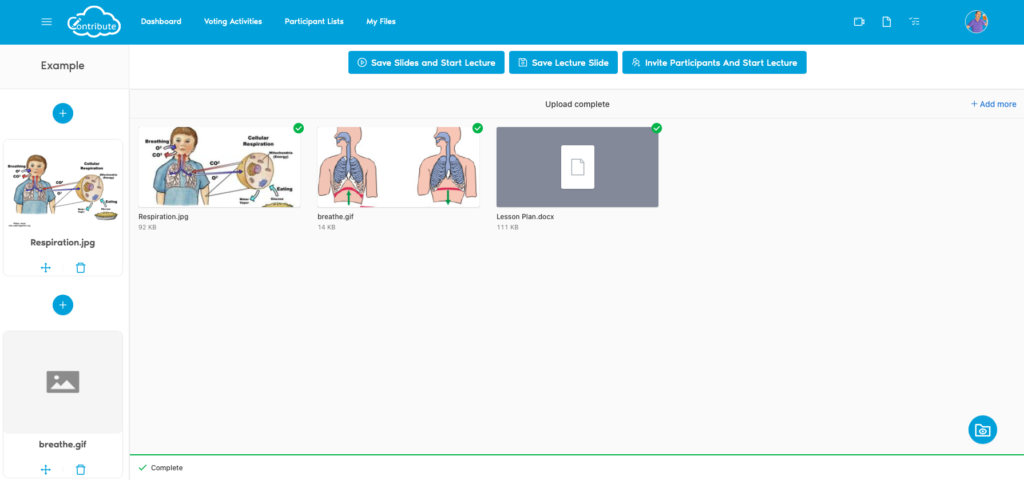
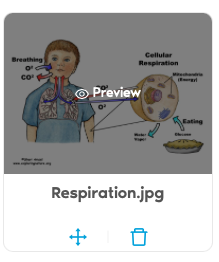
You can re-order the slides by simply dragging on them. Click on the slide and you will be shown a full screen preview of your slide in the editor.
To add a blank whiteboard page to your workbook, you click on the “+” icon. Select Whiteboard for a blank page.
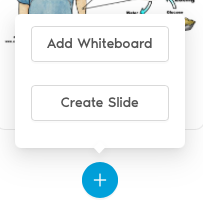
Select “Create Slide” to use the editor to create your own slides.

When you have finished your workbook, click on the “save” button in the bottom right of the screen to save your workbook to the Cloud.
If you would like to add more content, you can do so by clicking on the “add more” at the top of the page.
You are now ready to start your session. To do that, you can click on the play icon in the bottom right of the screen.

If you wish to send your participants an email invitation, click on the participant icon.
You can now select one of your pre-defined lists by clicking “Add” or you can enter a participant manually by typing their email address and clicking on the “Add Participant” button. When you are ready to send the invitation, click on the “Send Email Invitation” button.

Your session will then start and you will see the “playback mode” or “lesson mode”