What is TouchIT Notes – the non-techy overview?
This Blog Post covers TouchIT Notes. It is not designed to be a step-by-Step guide, if this is what you are looking for then visit the downloads section for the Manual or sign up for the Email Course. This is designed to give you a non-techy overview; the Good, Bad and the Ugly if you like of the software.
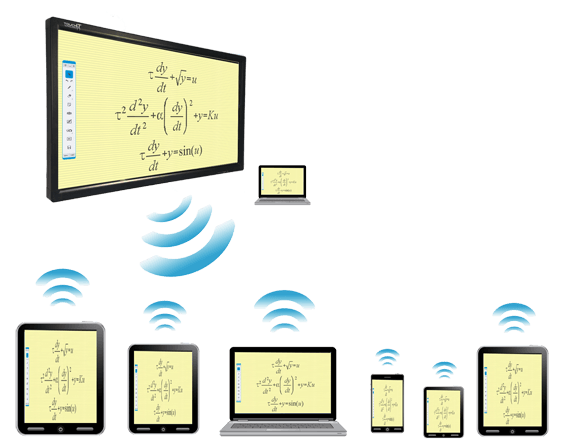
TouchIT Notes forms part of the software offering that comes with the TouchIT LED range. It is a piece of annotation software that really does 4 things:
- It allows you to have mouse control of the Interactive Flat Panel from your Tablet or Cell Phone device (IOS or Android)
- It allows you to broadcast content to connected devices (Windows, MAC, IOS, Android) (Please note, that it does not support Chrome OS and Chromebooks.)
- It allows your students or colleagues that are connected to the presentation to make their own notes on the content and save them to their own device.
- Lastly, it allows you be connected to a shared workspace for collaborative note making.
There are also some added benefits of TouchIT Notes that there is a Comparative Mode built into it so you can do side-by-side analysis of up to 16 screen of your students or colleagues connected to the session, you can poll them with 5 different types of questions and you can also use IOS mirroring from your iPad or iPhone to share your screen up to the Interactive Flat Panel. See “Bells and Whistles” section below.
The Basics
Every TouchIT LED is supplied with a Presenter License of the software. This allows you to have have the functionality of point number 1 above, and then connect 5 people to allow points 2 through 4. If you want to connect more people, then you need to purchase an additional “Collaboration” license which can be done at a later date. I’ll talk about this later.
To make TouchIT Notes work, you need to have the software installed on your PC or MAC to host the session, and on your “attendees” devices, either the software on PC or MAC or the DisplayNote App on IOS or Android. You can get the software from www.touchittechnologies.com/getnotes – there are links to all 4 versions.
You have to use the license that came with your LED (In the brown accessory box on the rear of the Driver CD) and you need to activate it which you do when you install the TouchIT Notes software. Underneath the presenter login there is a link to “Activate your license” This is a two minute process and you will be sent an email where you need to confirm your account. Once you have done this you are ready to login.
Only the “Presenter” needs to activate the license and physically login to the software, all the attendees can join by simply entering the session ID or shooting the QR code. You have to be logged in to actually start a session in TouchIT Notes. Participants (your students or your colleagues) can join either locally on the local area network or they can join remotely in exactly the same way. You can send invitations from the software itself if they are not in the room.
Licensing
And I mentioned, every TouchIT LED comes with a presenter license in the box which allows full control of your LED from your Tablet or Cell Phone device and it allows up to 5 participants to connects to your session. You can only activate once presenter license with one email address. You will need to contact us if you want to change the email that is associated with a particular license.
Unlike something like Microsoft Windows, the licensing for TouchIT Notes is user-based. What this means is that you can log in and out of different machines with your username and password and your TouchIT Note account rather than being stuck to just one machine. It also means that the license travels with you rather that you having to take the same machine with you. This can be helpful in a school classroom scenario where teachers are teaching in different rooms.
Collaboration License – this is an additional purchase which allows you to connect more people to the session. So, for example if you had 20 students in a class that you wanted to connect to the session then you would have to have a license that allows 20 concurrent connections. Likewise, if you had two classes with 10 students in you could have these running off the same license as it is the total number of users connected to a session and the rule of thumb is that each license per 10 concurrent users allows for a presenter. Confused? I hope not.
Why do I need the Presenter Mode or How will I use it?
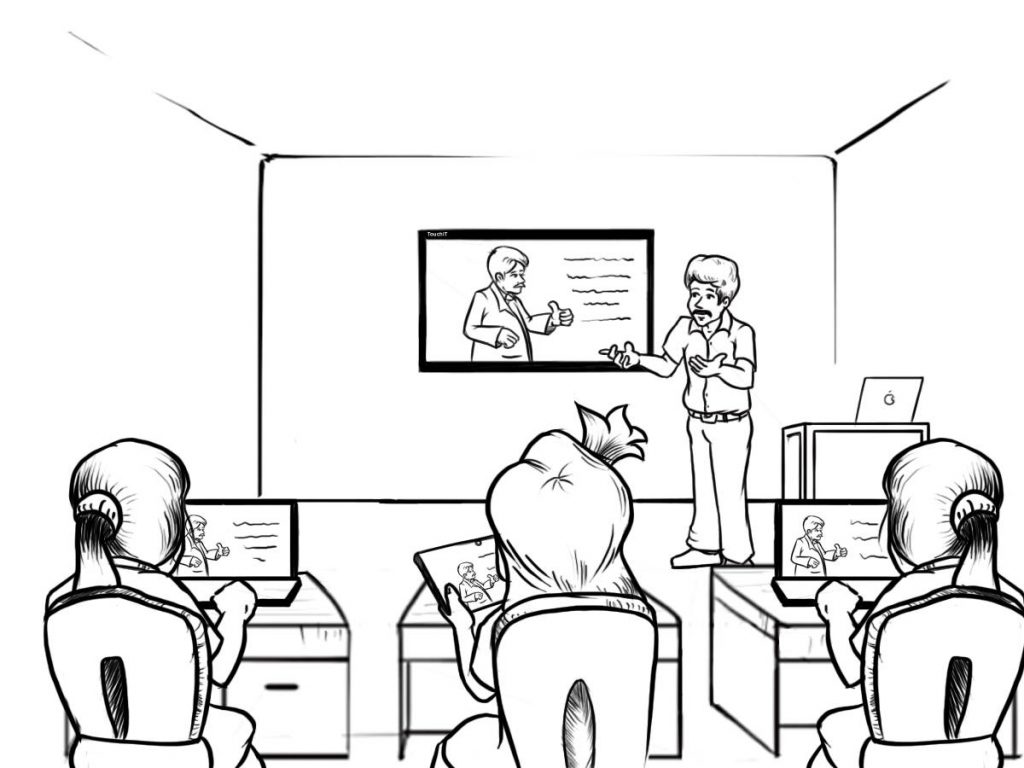
The Presenter mode is designed to give you mouse control of the LED from your Tablet or Cell Phone device. The idea is that it gives you the freedom to move around the room whilst still being in full control of the LED. You can interact with your colleagues or a student and still advance your PowerPoint presentation or make an annotation on your LED – all from your Cell phone or Tablet.
What you can’t do with the Presenter is send the screen of the Table to the LED, that is not how it works. You are doing the exact opposite, sending the screen of your LED to your Tablet or Cell Phone.
What is Content Sharing and Collaboration?
This is really two questions so lets’s look at each in turn starting with Content Sharing. This is a fancy term which means you can send what is on your screen to the screens of anyone that is connected to your session. You see a website on your LED, they see the website on their device. You run a piece of maths software or a PowerPoint Presentation on the LED and they see that same maths software on their device or that same PowerPoint Presentation – simple.
The collaboration portion of this means that when you are sharing that content, so they are seeing it on their device, if as the presenter, you allow them to by clicking a button in the control panel, they can then annotate on the screen and it will appear on their screen, the LED and anyone else that is connected to that session. Thing of it as a shared annotation area.
What the software does not allow you to do is share the screen of any of the participants to everyone. So if student A wanted to show Angry Birds to everyone, he couldn’t, it doesn’t work like that. However, if the Presenter at the LED wanted to show Angry Birds from their PC or MAC, they could do it. You understand the difference?
Annotation Tools
The annotation tools inside of TouchIT Notes are designed to be simple, they are not meant to be exhaustive and everything that you could possibly ever need – think basic and easy to use. A pen, erase, shapes and a few other bits and bobs. It means that you can use TouchIT Notes to annotate (or draw) over any application, a webpage for example. You can then save you annotations to different sides within the App – all very simple.
Where it gets really clever is that in Collaboration mode, your participants also get a set of tools. If they are not actively collaborating, (e.g. you the presenter has not allowed them to) then they can use their own annotation tools to make their own notes on their own device. This is where the whole BYOD or Bring Your Own Device phrase comes from. You bring your device, receive some content, make your own notes and leave with the content and your notes on your own device when the class or meeting has finished – pretty cool huh?
Bells and Whistles
IOS Mirroring – your participants that join on iPhones or iPads can send their whole device screens up to the LED. What this means is that they can share 3rd party Apps onto the LED. So if they wanted to show that Angry Birds App or their Facebook Feed on the LED, they could use this feature to do that. They great thing here is that the presenter can then annotate over their mirrored screen on the LED.
Comparing Screens – you can bring up the screens live of up to 16 participants (in blocks of 4) on the LED. That means you can show was Student A has written compared to Student B and use the large format LED as a means of showing this to the class.
Polling – There are 5 different types of questions that are in TouchIT Notes. This means you can create a question, which you would usually do on your Cell Phone or Tablet device so the user does not see what you are doing, and then you would push this out to all of your participants. This is a great feature for a quick straw poll or pop quiz. What this is not designed to be is a full on Audience Response System that you see being used in some schools and districts.
So what is the Bad and the Ugly?

Chrome is a big “Bad” if you want to look at it that way. If you are a Chromebook school then this software is not for you. It doesn’t run on Chrome. Luckily, we do have Oktopus too which does so check that out.
Streaming Video – this can be a little “clunky” It does work and you can stream it if you have a great network connection with plenty of bandwidth.
Licensing – yes, we know the licensing can be complicated but if you are not sure, think of it like this. If you want to connect 20 people at the same time you need a collationariton license for 20 people. However, if you have 100 students, but you know that you will only ever have two groups of 20 people using it at the same time, you only need a 40 user license, NOT a 100 user.
Remote Server – if you are a Corporate and you are worried about using external servers, then you will not be able to use the remote participant feature. We use the Amazon servers and can provide you with a netowrk document of the stats etc and we definitely do not store data and yes, the connection is enctypted, but we do use an Amazon server to be the middle man to connect Point A to Point B.
No Google Cast – yes we have IOS mirroring over Airplay, but we dont have Google Casting for Android
You can’t share your screen to everyone as a participant and “flip the view” from the Presenter as so to speak.
Collaboration is limited to a shared whiteboard over whatever the Presenter is showing.
Hope you found this article useful.
TouchIT