In this blog post we will discuss how to setup the collaboration features of TouchIT Oktopus and Google Chrome. We have a video Blog that discusses this, but we thought some written instructions might be helpful. It should be noted that you can use the collaboration features of Oktopus on other devices, well any tablet or computer with a browser. If you are going to be using Android or IOS, there is also an App in the respective App stores that you can use. For all other operating systems, browser-based collaboration is how this feature works. However, we are going to concentrate here on the Chrome side of things.
Download and Installation
Firstly, you will need to download and install Oktopus on your computer. Please note, that to host a collaboration session you need to be using either MS Windows or MAC OS X – you cannot host a session on Google Chrome as the OS is not powerful enough. Please use the links below as they have the collaboration feature enabled.
You can download Oktopus here (Windows)
You can download Oktopus here (MAC)
Secondly, you need to have a license key that allows group collaboration. Please note that the standard Oktopus keys that come with the TouchIT LED allow you to connect up to 5 users using Chromebooks to the LED. If you are looking to connect more than this then you need to purchase an additional license.
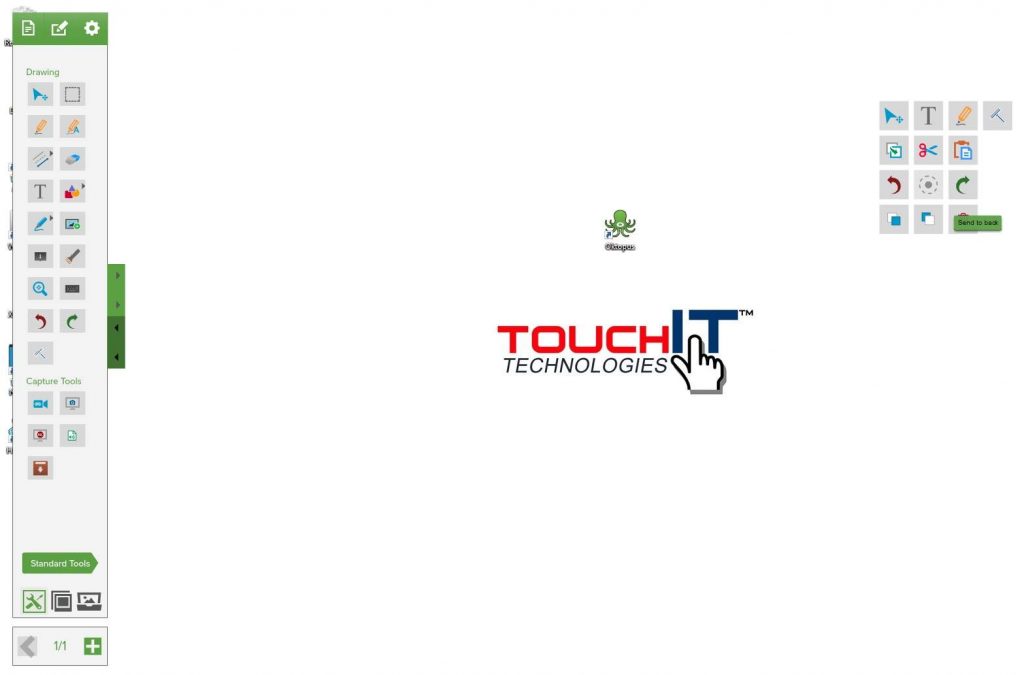
Now you have Oktopus installed, you should find the Oktopus Icon either on your desktop in MS Windows, or in Applications on your MAC.
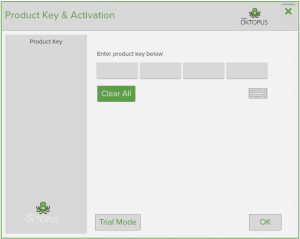
Open Oktopus and you will be presented with the floating toolbar, as well as the regular toolbar on your PC or MAC. When you open the software for the first time, you will be prompted to enter your collaboration license and activate it.
(Please note, that we are assuming that you are connecting both the MAC/Windows machine that will host the collaboration session so the same wireless network that you are connecting the Chromebooks to. Your Chromebooks need to be able to access the IP address of the MAC/Windows machine that is hosting this session – this is how it works.)
Starting a Session
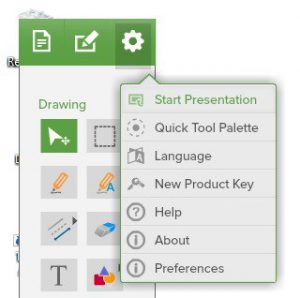
In order to start your collaboration session, you need to click on the ‘settings’ menu which is the ‘cogs’ icon and choose ‘Start Presentation’
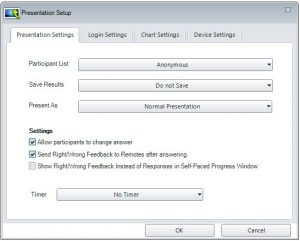
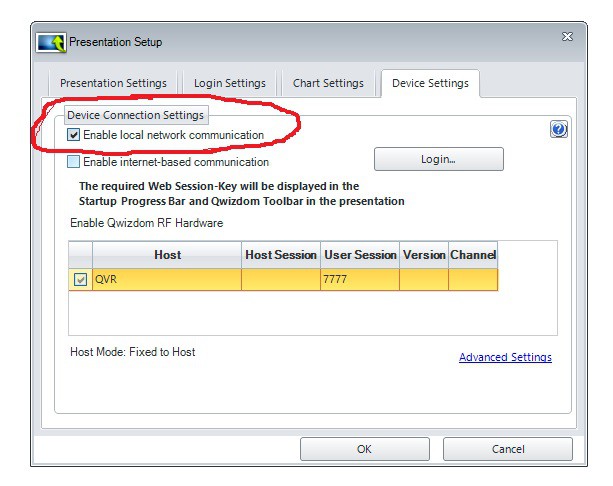
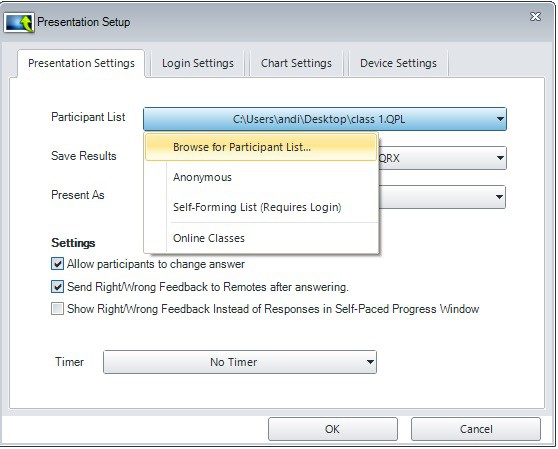
Your Presentation Session will now start and you will be presented with a set of options. The first time that you run a collaboration session, you will need to check in the ‘Device Settings’ tab options that ‘Enable Local network communication’ box is checked. You will get a “device not found error if it is not”
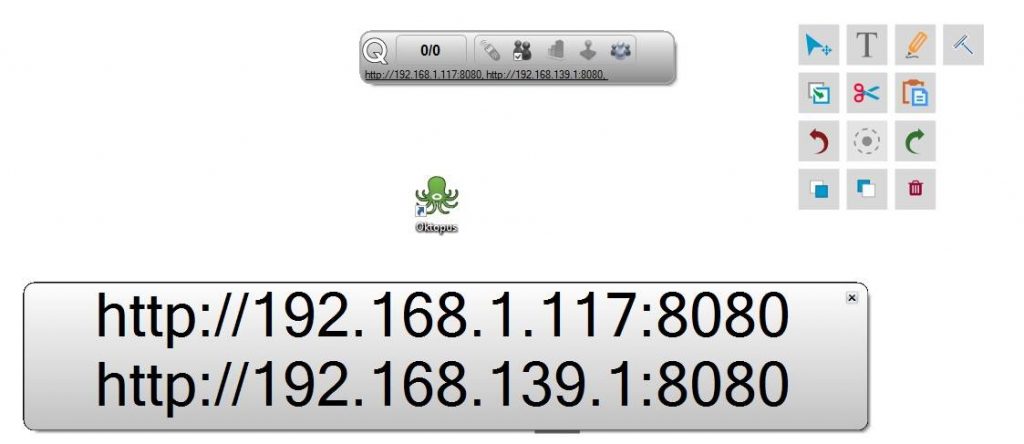
Click on “ok” and your session will now start. You know that your session has started as you will be presented with a floating toolbar that displayed your IP address; this is what you will use to connect your Chromebooks to the session.
If you click on the IP address, it will be shown in large type on the screen so everyone can see it. The “:8080” after the IP address signifies the port that we are going to use on the network. Please note, this port should be open by default but if you run a firewall, you may need to enable access to it – please check with your system admin.
Your session is now running so it is time to move over to the Chromebook and connect the Chromebook to this session.
Connecting from Chrome to the Session
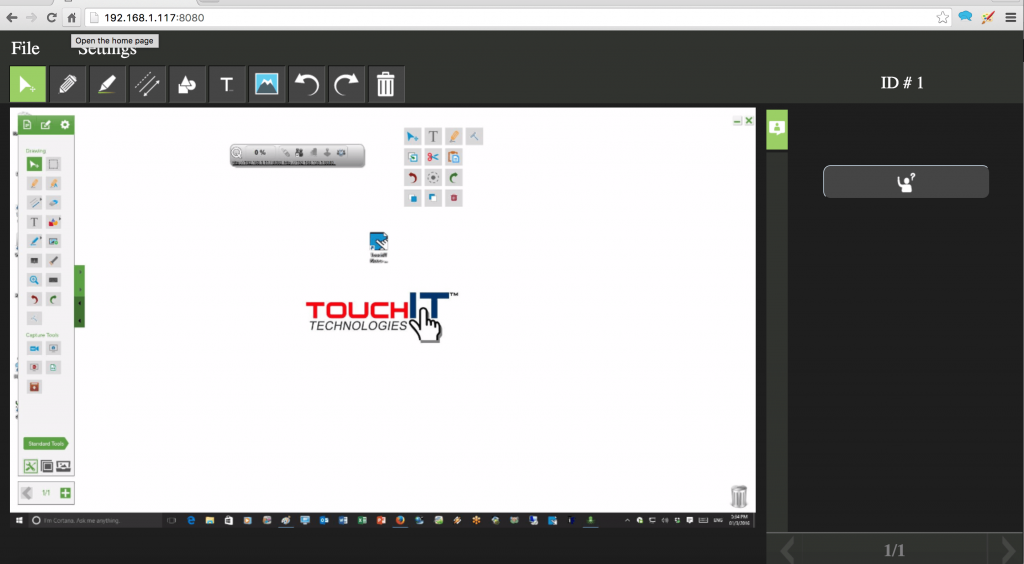
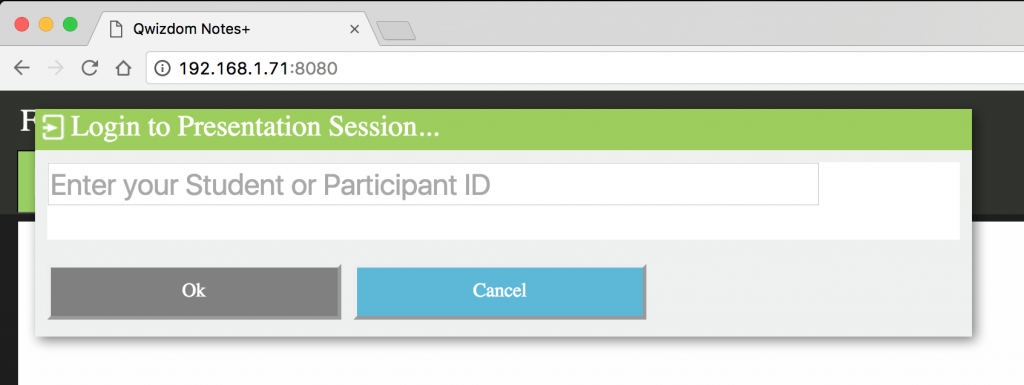
On the Chromebook, please make sure that you join the same network as the Host PC or MAC. Then, open a new Chrome browser window and type the IP address of the session into that window.

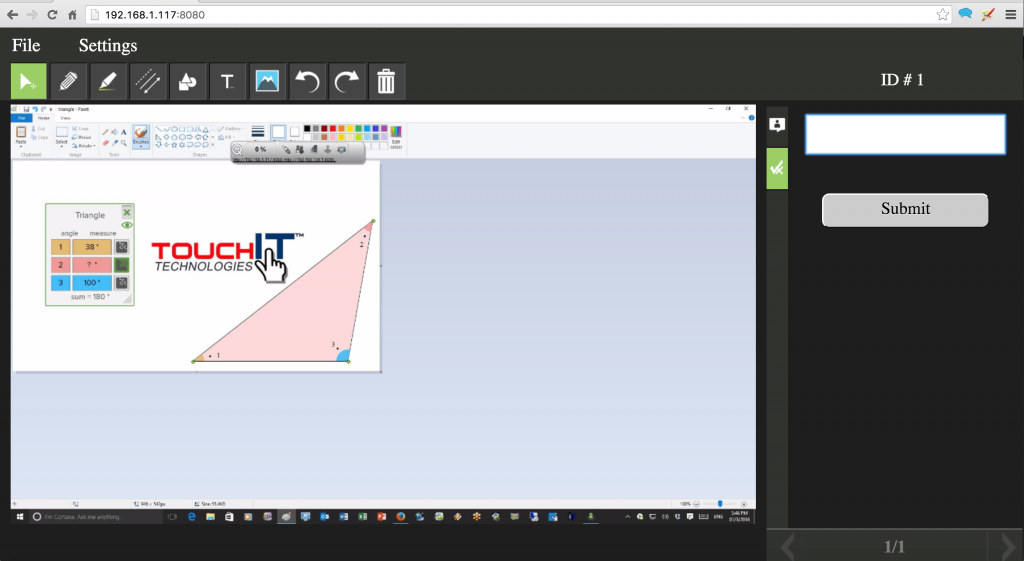
You will now see the host computer’s desktop screen being shared out onto the Chromebook. Anything that the host does on the screen or any application that is opened, is broadcast out to the Chromebooks that are connected to the session.
Creating Questions for Students to Answer
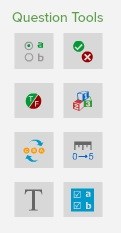
Using the tools inside of Oktopus (for Tutorials please visit here) any tool that creates the following icon, can be used to push out questions to your connected users on their Chromebooks. They can then respond to the question and send the reply/answer back to the teacher.
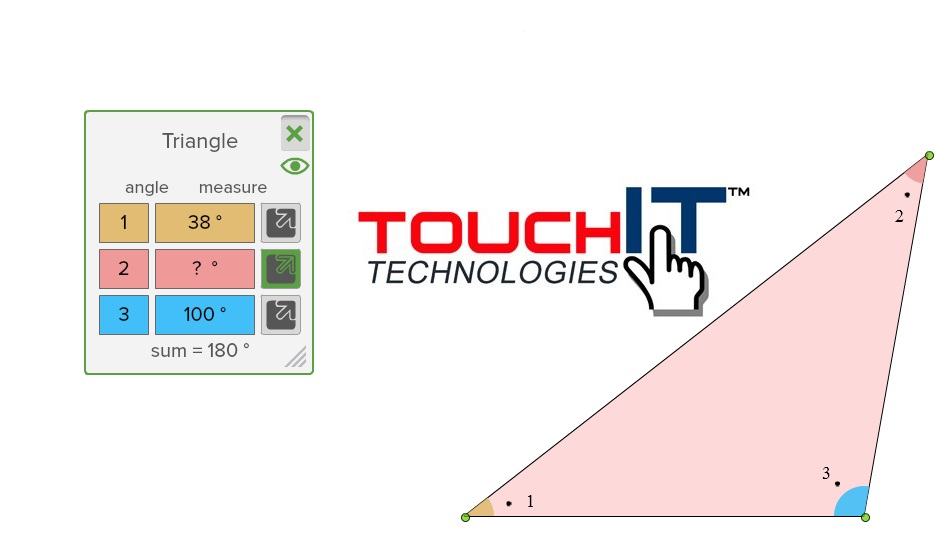
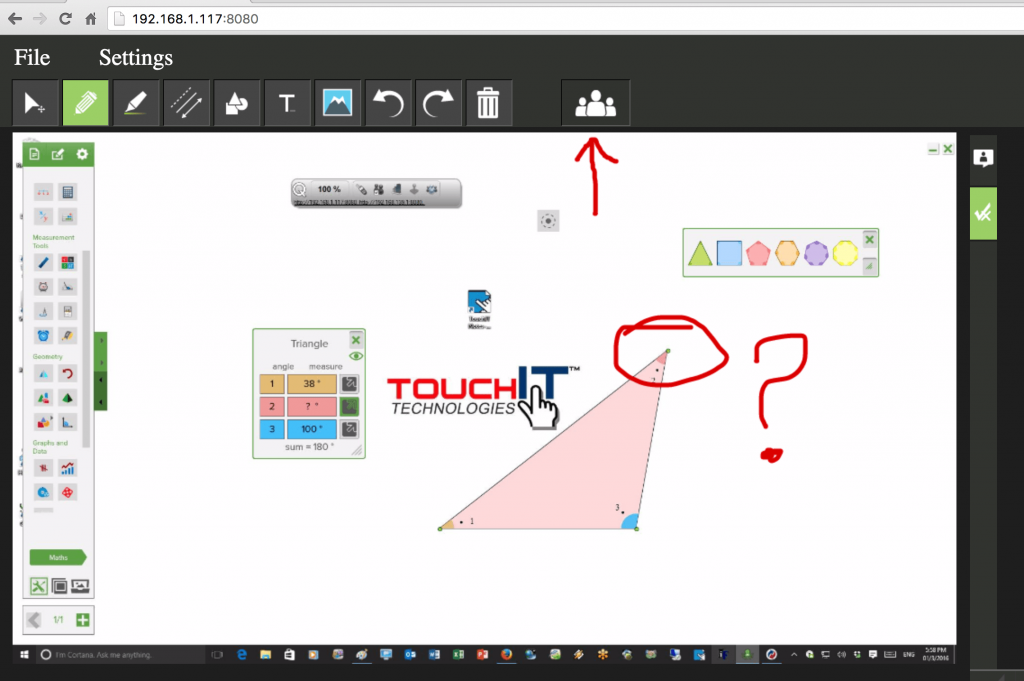
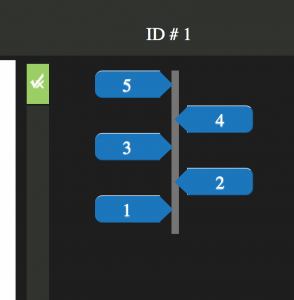
Here we use the maths tools and the Triangle tool to calculate the angle #2 from the other angles.
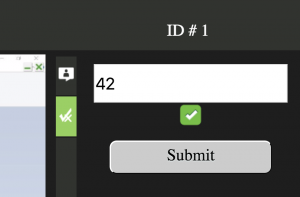
On the Chromebook, you can now answer the question on the right hand side of the screen and clicking on ‘Submit’.
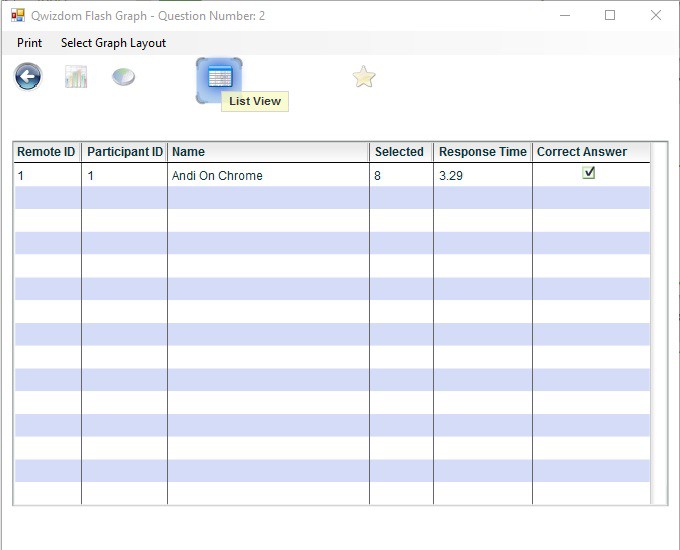
The teacher is able to see the responses from the students by clicking on the Graph icon on the toolbar.
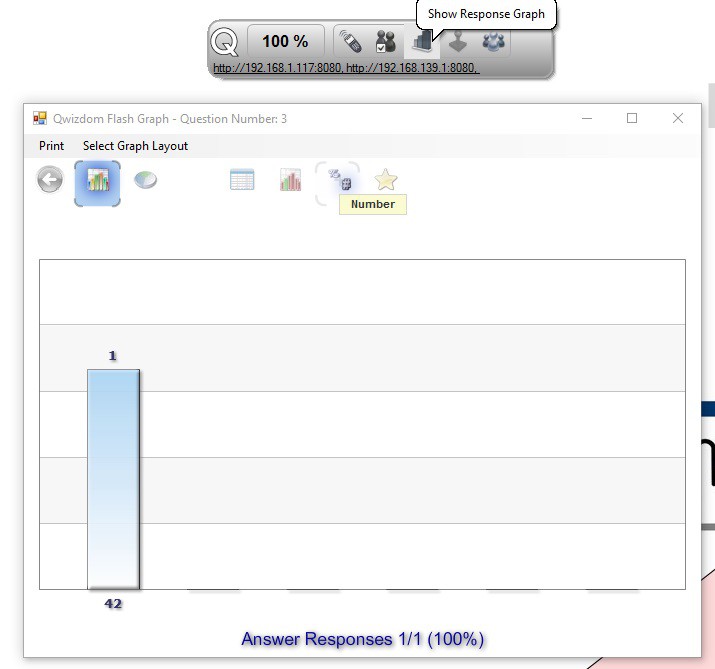
You can look at different layouts such as tabular layouts as well as split screen through the Icons and the ‘Select Graph Layout’ option.
In order for students to send annotations back to the LED from their Chromebook, the teacher needs to enable collaboration mode. This can be found on the presentation toolbar. The teacher needs to put a check in the box next to the students name (or participant number)
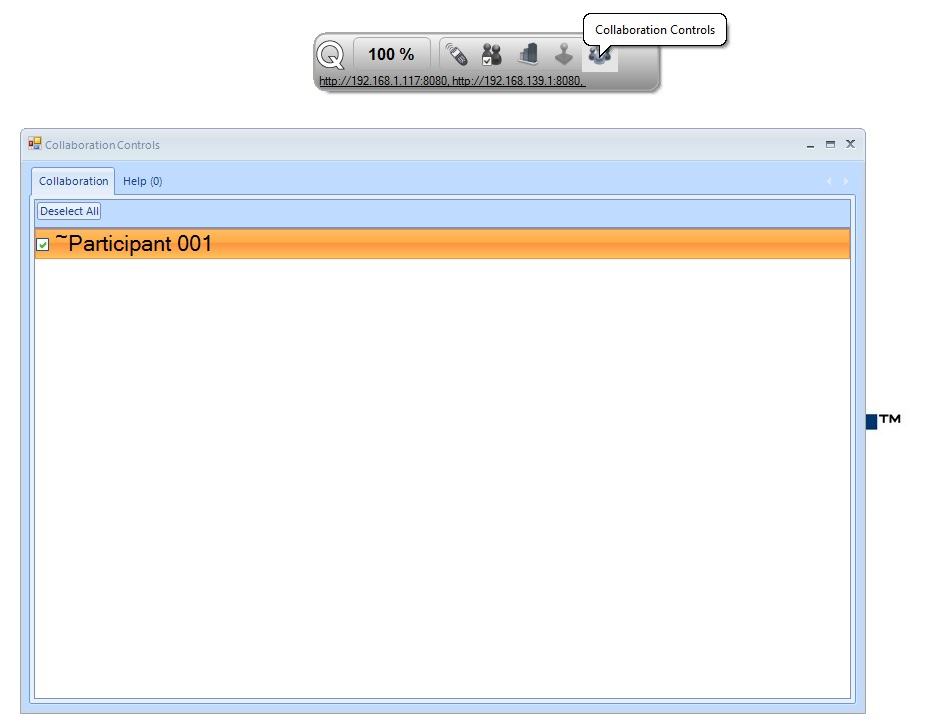
Now the student can use their Chromebook to annotate on the screen, then send the annotation to the LED once they are finished by clicking on the Collaboration Icon (indicated by the red arrow)
Full two-way collaboration using the Oktopus tools as well as shared workspace collaboration under Chrome OS
Let’s now take a look at the Voting Tools that come with the Oktopus Software and also how we can create Class Lists in advance.
Creating Class Lists
The idea of the Class Lists are that when you start a collaboration session with your students, when they respond you can see their name rather than just the generic “Participant 1” as you saw in the above example. Class lists are easy to setup and can even be imported from a .csv file that you may already have. If you have them in excel, you can use the “Save As” option and choose a .csv file and them import the name quick and easily. Let’s have a look how we go about creating class lists.
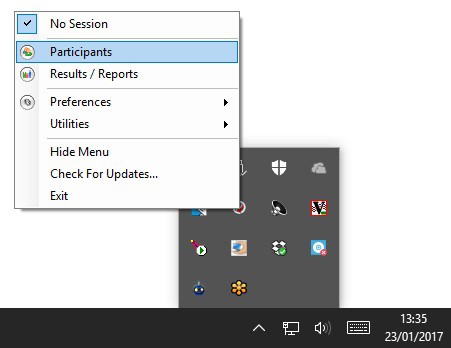
In your system tray (by the clock in the bottom right of your screen) you should be able to find this Tools Icon. (Circle with red and blue arrow) Right click this and choose participants. (If for any reason the icon is not showing, just start a collaboration session from Oktopus and it will show)
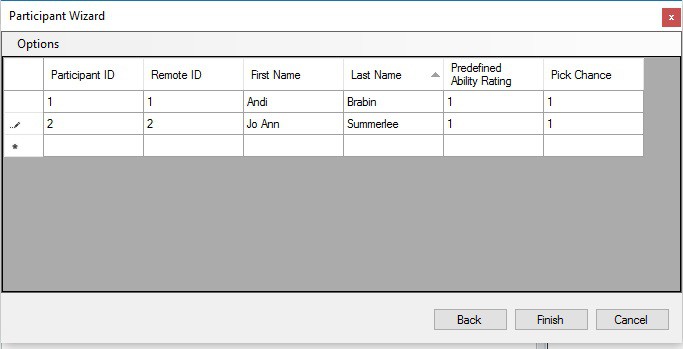
The Participant Wizard window will appear. Choose Create New Participant List, enter a class name, then click Next.
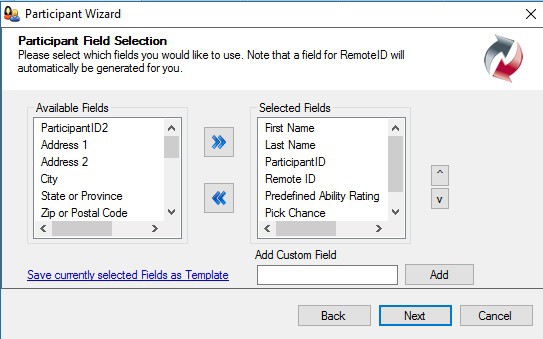
When the Template Selection appears, click Educational, then Next, and then Next again, no need to change any of the field selections
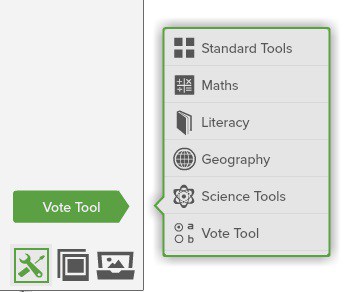
What are the Vote Tools and How Do they Work?
Multiple Choice
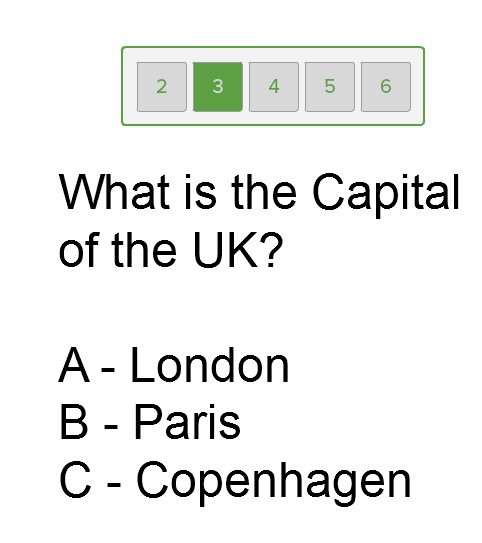 The student then sees this on their screen and the options available to respond are on the right hand side.
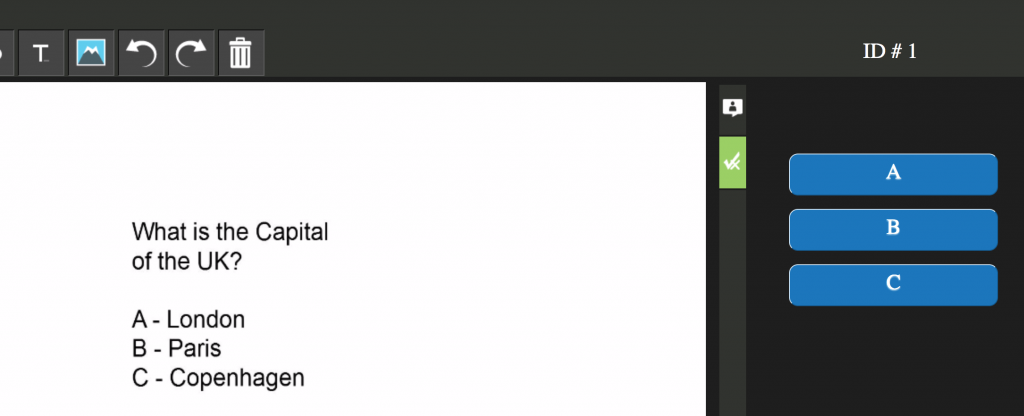
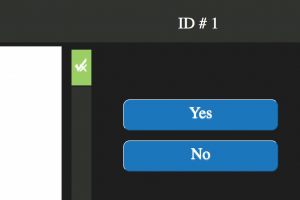
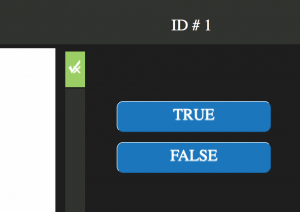
True / False and Yes / No
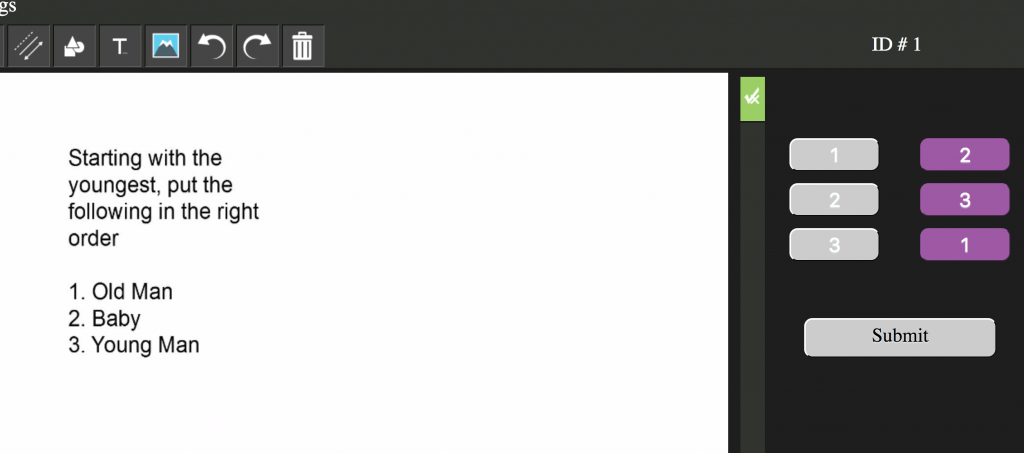
Sequence
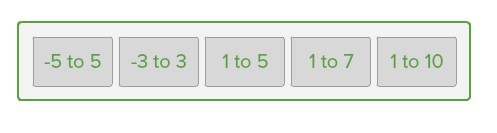
Rating Scale
Numeric and Text Options
